
Heat makes moss substrate problems show up fast, and the usual potting mix tricks do not translate well to thin moss beds. If your moss keeps crisping at noon or turning to slime after a watering, the mix is probably the real issue.
Urban growers deal with hot roofs, reflective walls, shallow trays, and wind that strips moisture in minutes. A moss substrate for heat resilience has to buffer those swings without staying wet enough to rot.
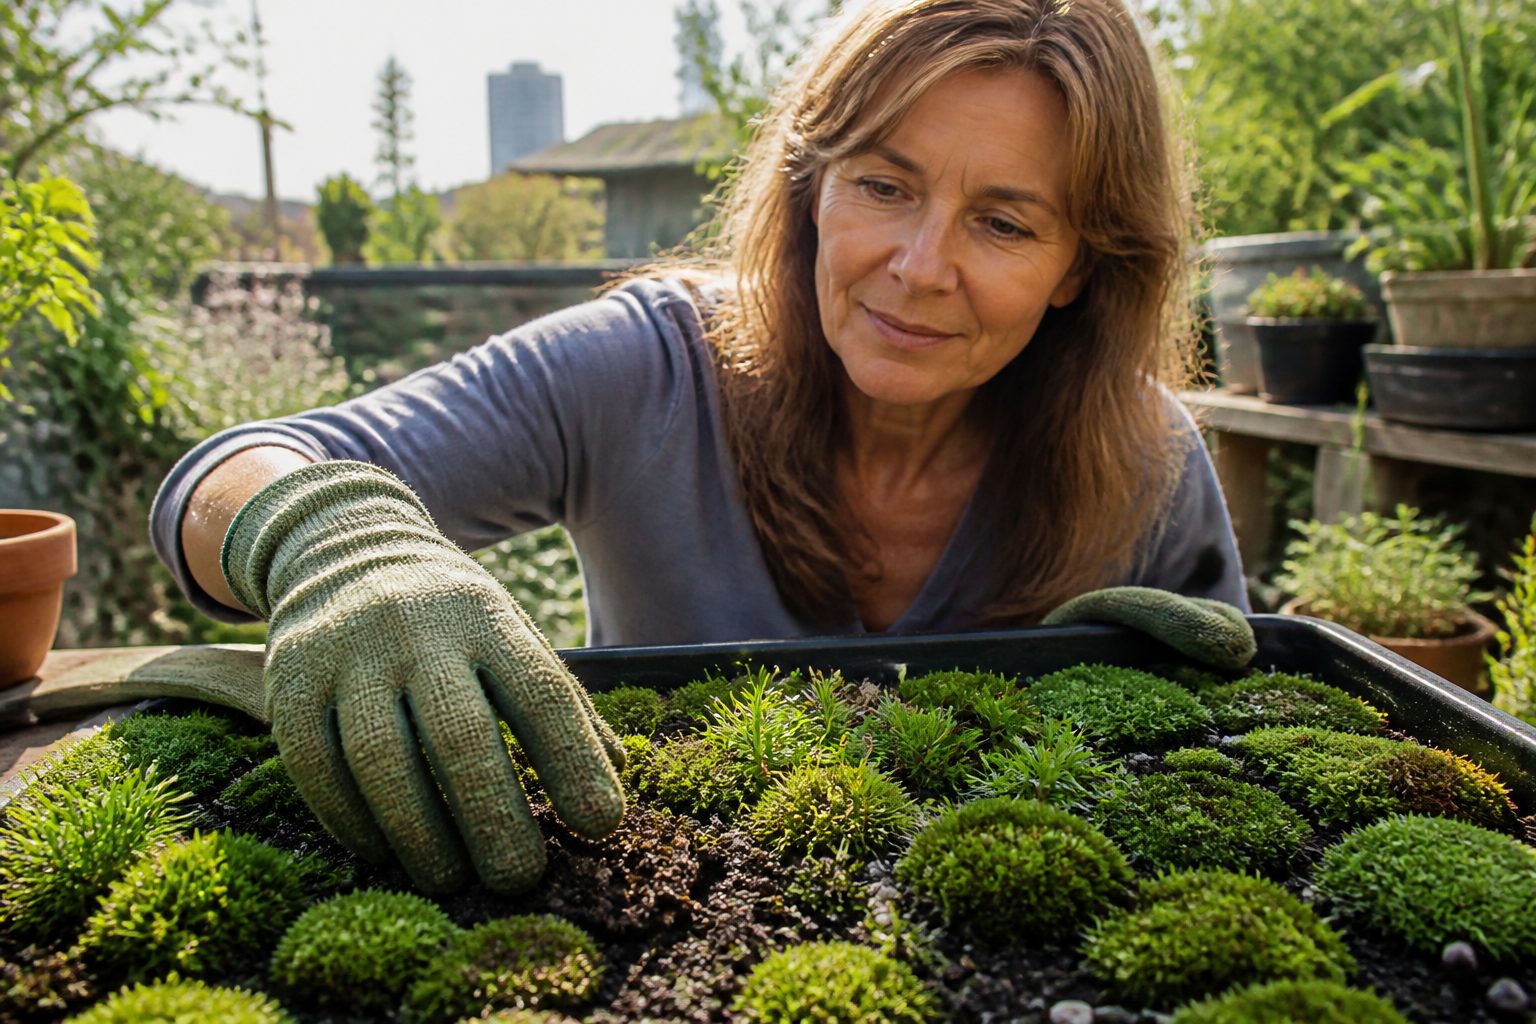
I like mixes that behave like a sponge with open pores, not like mud that seals itself. You want steady moisture at the surface, fast drainage below, and a texture that lets moss rhizoids grab on.
What “heat resilience” means for moss substrates
Heat resilience is the substrate staying functional when the surface temperature spikes and the air dries out. It means the top few millimeters do not swing from flooded to bone dry in the same afternoon.
Moss does not have roots, so the moisture it can use is whatever sits right at the contact zone. When that zone dries too fast, the plant shuts down and you get a brittle, gray look that can take days to recover.
The other failure mode is heat plus constant wetness, which turns some moss beds into a sour, anaerobic mess. If the mix holds water in tiny pores but cannot exchange air, you get algae, fungus gnats, and decay.
A good moss substrate for heat resilience keeps water available through capillary action while still letting excess drain away. I judge it by how it behaves after a hard soak, a quick drain, and then a hot, breezy dry down.
Heat resilience also includes staying stable physically, because shrinkage cracks are real in shallow installs. When a substrate pulls away from a tray edge, the exposed gap becomes a dry moat that spreads dieback inward.
The three substrate jobs: hold, drain, and anchor
Every moss mix has three jobs, and you cannot max out one without paying attention to the others. If you chase moisture holding alone, you usually end up with compaction and poor oxygen.
Holding means storing water in pores that can wick back to the surface. Materials like fine pine bark, coconut coir, and partially decomposed leaf mold can do this, but they need structure so they do not collapse.
Draining means creating pathways for gravity to move extra water away from the moss contact zone. Coarse sand, pumice, and expanded shale help, and a dedicated drainage layer is often the cleanest way to guarantee it.
Anchoring is underrated, because moss mats slide when the surface stays slick. A mix with some rough particles, like crushed granite grit or screened bark, gives rhizoids and protonema something to cling to.
I aim for a surface that stays slightly textured even after repeated watering. If the top turns into a smooth crust, the moss detaches in sheets and the bed never really stabilizes.
Understanding capillary movement in thin moss beds
Capillary action is the reason a shallow moss tray can stay hydrated even when the bottom is only mildly damp. The trick is matching pore size so water can climb, but not so fine that it locks the bed into saturation.
In thin beds, the surface dries first and pulls moisture upward, and that upward pull gets weaker as pores get larger. If you use only coarse particles, the bed drains well but the surface dries too fast in heat.
| Substrate feature | What you see in a shallow bed | What it usually means |
|---|---|---|
| Very fine pores | Surface stays dark and glossy, algae appears | Capillary rise is strong, air exchange is weak |
| Mostly coarse particles | Surface dries in hours, moss curls by midday | Drainage is high, capillary lift is low |
| Mixed pore sizes | Surface stays evenly damp, no standing water | Capillary action feeds the top while excess drains |
| Hydrophobic dry spots | Water beads and runs off in channels | Organic fraction dried too far or became waxy |
Comparing common ingredients by texture and performance
Pine bark fines are my favorite “middle” ingredient because they hold water without turning to paste. Screen them to remove dust, because bark dust compacts and can push substrate pH downward fast.
Coconut coir holds a lot of water, but it can stay too wet if you use it heavy in a shallow tray. If you use coir, cut it with grit or pumice so air can move and the surface dries evenly.
Peat moss has excellent capillary action, and it can work in tiny percentages for wicking. I avoid peat as the main ingredient outdoors because it shrinks, cracks, and can turn hydrophobic after a hot dry spell.
Pumice is light, porous, and stable, and it keeps a mix open for years. It also helps in heat because water stored inside pumice pores releases slowly instead of dumping all at once.
Sand is tricky, because fine sand fills voids and causes compaction, while coarse sand can improve drainage. If you use sand, choose sharp, coarse sand and keep it a minority fraction so it does not settle into a cement layer.
Building a layered system for roofs, walls, and trays
Layering beats a single blended mix when you need predictable behavior in heat. A drainage layer at the bottom gives you a safety valve when a storm or heavy watering hits.
For trays, I like 10 to 20 mm of pumice or expanded shale under a thinner working layer that actually touches the moss. The working layer can be 10 to 25 mm depending on species, wind exposure, and how often you can water.
On walls, gravity already helps drainage, so the bigger issue is keeping the surface from drying out in the afternoon. A slightly higher organic fraction in the working layer helps, but you still need coarse structure so it does not slump.
On roofs, heat and wind are brutal, and shallow systems fail when the whole profile dries at once. I build a deeper drainage layer than I would in a tray, then keep the top layer thin so capillary action can move water up quickly after irrigation.
A geotextile separator can help keep the working layer from migrating into the drainage layer. If you use one, pick a fabric that passes water easily, because a clogged separator creates the same soggy conditions you were trying to avoid.
Testing your mix at home: soak, drain, and dry-down
You can learn more from a one day test than from a month of guessing, and it costs basically nothing. I test in the exact container depth I plan to use, because depth changes everything about moisture behavior.
Start by soaking the substrate fully, then let it drain for 15 minutes and press a paper towel to the surface. If the towel comes away dripping after the drain, the top zone is too wet for most urban moss setups.
Next, weigh the container, set it in the hottest spot you expect, and weigh it again every few hours. The curve tells you if the mix dumps water early and then crashes dry, which is common when the pore sizes are too uniform.
Watch how the surface looks, not just the weight, because moss lives at the skin of the mix. If the surface crusts, beads water, or forms channels, you need more roughness and less fine dust.
Repeat the test after the mix dries completely once, because some organics change behavior after a full dry cycle. If it turns hydrophobic, add a small amount of bark fines or leaf mold and reduce peat or very dry coir.
Preventing compaction over time
Compaction is the silent killer in moss trays, because the bed can look fine until a hot week hits. Once the pore space collapses, you lose both drainage and capillary movement, and recovery is slow.
Fine particles migrate downward with watering and fill the gaps between coarse particles. That is why screening ingredients matters, and why I avoid “all fines” mixes even if they look perfect on day one.
Use stable structural particles that do not break down quickly, like pumice, expanded shale, or granite grit. Those particles keep channels open so oxygen can get in and excess water can get out.
Top dressing helps, especially on outdoor installs where rain hits hard. A thin sprinkle of coarse grit reduces splash erosion and keeps the surface from sealing into a smooth layer.
If you see the bed dropping in height over months, that is a sign the organic fraction is decomposing too fast. Swap part of the organic component for bark fines or mineral particles in the next refresh, and your moss substrate for heat resilience will stay consistent longer.
Managing pH and nutrient levels without overfeeding
Most mosses tolerate a range, but they punish extremes, especially when heat speeds up chemistry. Substrate pH interacts with nutrient availability, and that can flip a calm bed into an algae farm.
I aim for mildly acidic to near neutral mixes for general urban moss cultivation, roughly in the 5.5 to 6.8 zone. If your tap water is very alkaline, it can push substrate pH upward over time, even if the mix started acidic.
Fertilizer is where people wreck things, because moss does not need much and algae loves leftovers. If you must feed, use a very dilute, low nitrogen option and apply it rarely, then flush with plain water at the next irrigation.
Mineral ingredients like pumice and grit bring almost no nutrients, which is good for control. Organic ingredients can carry salts or decomposing nutrients, so rinse coir well and avoid compost that smells sharp or “hot.”
For monitoring, cheap pH strips and a simple EC meter beat guesswork. If EC climbs and the moss tips brown in heat, leach the substrate with a slow soak and drain cycle, then back off any feeding.
Adjusting mixes for sun vs. shade installations
Sun installs need faster capillary refill and a bigger buffer against midday drying. Shade installs need more drainage and air, because evaporation is slower and the surface can stay wet too long.
For sun, I increase water holding with bark fines, a little coir, or a pinch of peat, then I keep structure with pumice or expanded shale. The goal is a surface that stays damp under heat but never looks glossy or puddled.
For shade, I cut back the finest fraction and lean on mineral particles. If the bed stays wet all day, you will see algae first, then moss thinning as the mat loses oxygen at the base.
Wind exposure matters as much as sun, and rooftops often get both. If wind is constant, I use a slightly deeper working layer and a grit top dressing to slow surface evaporation without sealing the bed.
Species matter too, because some urban favorites like Bryum and Ceratodon handle drying better than many pleurocarpous mosses. If you push a delicate species into full sun, even the best moss substrate for heat resilience will need more frequent misting or a micro shade screen.
Refreshing and repairing substrate without starting over
You do not have to tear out an entire moss bed when the substrate starts acting wrong. Most of the time, you can fix drainage, texture, and capillary action with small interventions.
Start by identifying the failure, because soggy corners and dry centers point to different problems. Soggy corners often mean the drainage layer is clogged or the container is not level, while dry centers often mean surface crusting or hydrophobic organics.
For localized sogginess, lift the moss mat gently, remove a small amount of compacted mix, and replace it with a more open blend heavy on pumice. Press the moss back down firmly so the contact zone reforms and capillary action can resume.
For crusting, scratch the surface lightly with a fork and top dress with coarse grit and bark fines. That rough surface breaks channeling, spreads water evenly, and gives new protonema a place to grab.
If substrate pH drifted, correct it slowly, because sudden swings stress moss as much as heat does. A few flushes with rainwater, plus a modest ingredient change during refresh, is usually safer than dumping strong amendments into the bed.
Conclusion
Heat exposes weak mixes fast, so build for moisture stability, air, and grip from the start. When the texture is right, you can water less often and still keep the moss actively growing instead of cycling through stress.
Capillary action, a real drainage layer, and sane substrate pH management are the levers that keep thin beds stable through summer. If you test your mix, screen your fines, and refresh small areas early, a moss substrate for heat resilience will stay reliable for years.


