Urban moss looks tough until you grow it on a balcony, windowsill, or courtyard and realize the water is doing half the growing. When tap water and city dust keep landing on the same patch, salts creep in and stay.
I see the same pattern in urban trays, kokedama bowls, and sidewalk planters, the moss starts fine, then slowly loses that springy, hydrated look. The culprit is often simple mineral buildup, not a mysterious disease.
This article focuses on moss salinity tolerance urban water problems, meaning how moss handles dissolved salts and how your setup can push it past its comfort zone. If you learn to spot salt stress symptoms early and adjust water quality for moss, you can keep growth steady without babying it.
Where salts come from in urban moss setups
Most salts in moss setups start with tap water, because municipal supplies carry dissolved calcium, magnesium, sodium, and bicarbonates. Even if your water tastes fine, evaporation leaves those minerals behind on leaves, stones, and substrate.
Hard water is the obvious offender, but softened water can be worse because it swaps calcium for sodium. Sodium builds up fast, and many mosses have low tolerance for it compared with calcium based minerals.
Fertilizers and plant tonics also count as salts, even the gentle ones marketed for houseplants. A tiny dose that seems harmless in a pot can concentrate in a shallow moss tray after a few dry cycles.
Concrete, mortar, and some stone chips leach alkaline minerals when they stay wet. If your moss pad sits on a cement balcony or in a concrete birdbath, the splash zone can slowly raise salinity and pH together.
Urban air adds its own mix, including road dust, construction grit, and fine particles from brake wear. Those particles dissolve during misting, then dry down into a thin crust that acts like a slow release salt source.
How salt buildup shows up in moss (early warning signs)
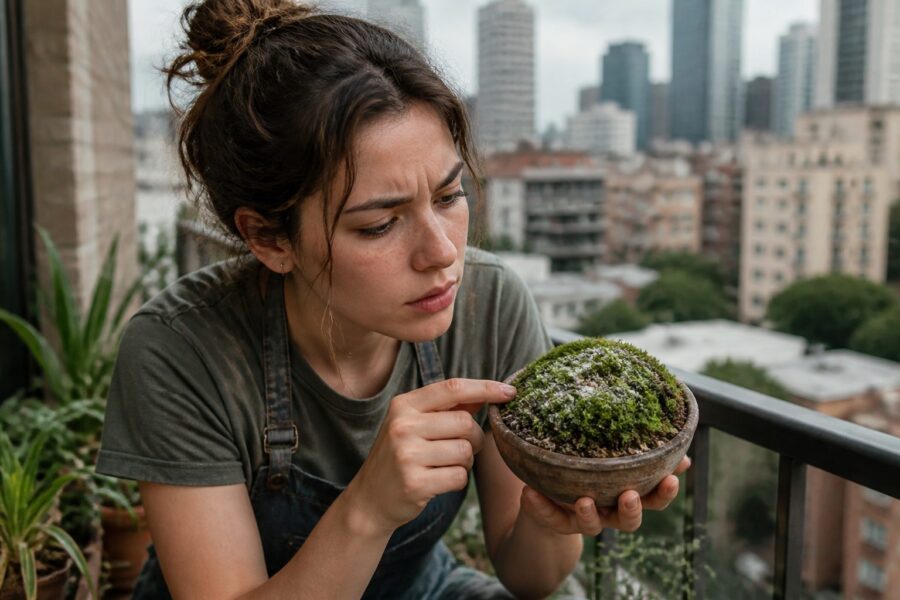
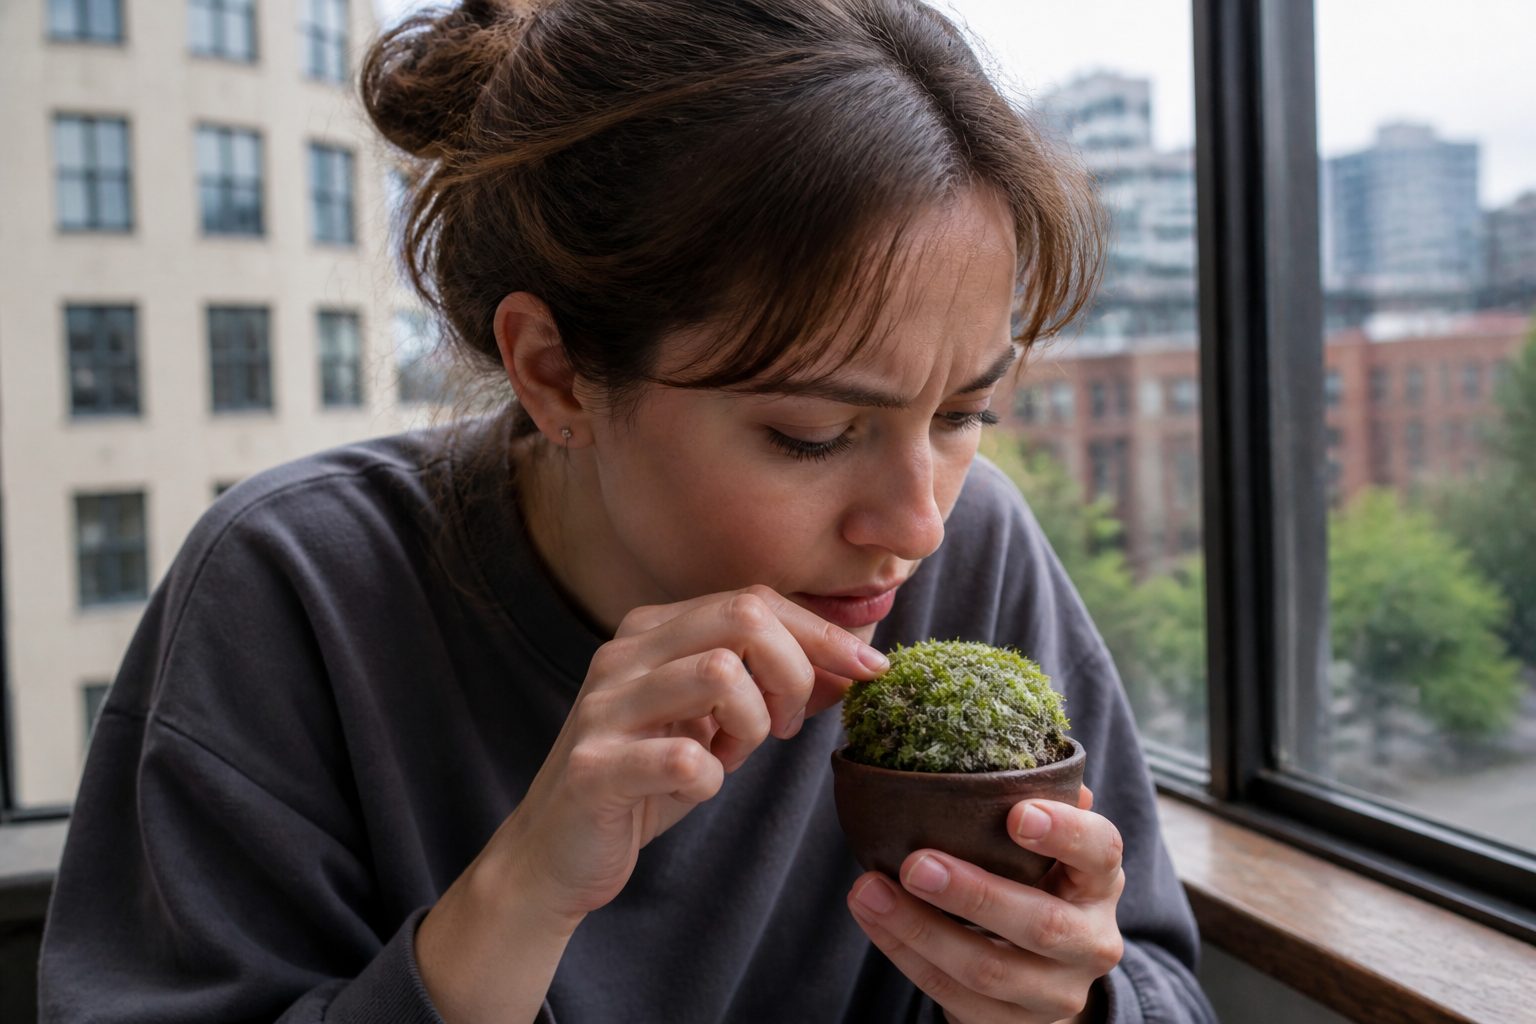
Salt stress symptoms in moss rarely look dramatic at first, they look like laziness. The shoots stop standing up after watering, and the patch stays flat even when it should plump.
Color shifts are common, but they are subtle, a dusty olive tone replaces clean green. Tips may go tan while the base stays green, which tricks people into thinking it is just old growth.
Watch for a crispy texture that appears soon after drying, even when humidity is decent. Salts change how water moves across leaf surfaces, so the moss can look dry while the substrate is still damp.
White residue on rocks or the tray edge is a classic mineral buildup sign, but moss can suffer before you see crust. If you rub a fingertip on a stone and it feels chalky, assume salts are already cycling through the system.
Growth patterns can also change, with new shoots staying short and tight like they are bracing. When moss salinity tolerance urban water limits get crossed, you often see patchy retreat in the areas that dry fastest.
Quick ways to learn what’s in your water
You do not need a lab to get useful answers, you need a couple cheap tools and a little skepticism. I start with a TDS meter and a simple pH strip because they tell you if your water quality for moss is likely to drift toward mineral buildup.
City water reports help, but they describe the distribution system average, not the water coming out of your specific tap today. If you live in an older building, pipe scale and water heater sediment can push your readings higher than the report suggests.
| Check | What it tells you | Quick interpretation for moss |
|---|---|---|
| TDS meter (ppm) | Total dissolved solids level | Lower is safer for long term misting, high values mean faster mineral buildup |
| GH/KH aquarium strips | Hardness and carbonate buffering | High KH often leaves crust and raises pH on surfaces after drying |
| White kettle scale test | How fast scale forms on heated water | Fast scale suggests hard water that will concentrate on moss tips |
| Jar evaporation test | Residue left after water dries | Visible ring or crystals mean salts will stay on your moss between waterings |
Choosing water sources and storage that reduce minerals
For most urban growers, the easiest upgrade is using distilled water or reverse osmosis water for misting. It costs a little, but it cuts the main input that drives moss salinity tolerance urban water issues.
Rainwater can be great, but city rain picks up rooftop grit and air pollution, so you need to collect it carefully. I skip the first flush off the roof and collect after a few minutes of rain has rinsed the surface.
If you store water, use food grade plastic or glass and keep the container sealed. Open buckets collect dust, and that dust becomes minerals the moment you spray it onto moss.
Do not store water in old metal cans or decorative copper vessels, because trace metals can stress bryophytes even when salts are low. Mosses absorb directly across their surfaces, so small contaminants show up fast.
If you must use tap water, blend it with distilled to bring the TDS down and slow mineral buildup. A 50 50 mix is a practical starting point, and you can adjust based on how quickly residue forms.
Rinsing strategies that remove salts without overwatering
Rinsing is the salt reset button, but you have to do it with intent or you will just keep the tray soggy. The goal is to dissolve salts on the surface and carry them out, then let the moss breathe again.
I prefer a gentle top rinse with low mineral water, followed by tilting the tray so runoff leaves the system. If the container has no drain, siphon or pour off the dirty water right away.
For small cushions on stone, a squeeze bottle works better than a mister because it moves more water in less time. A fine mist often evaporates before it can dissolve much, so it leaves salts behind again.
Rinse frequency depends on your inputs, but once every one to three weeks is a good rhythm for many indoor urban setups. If you see salt stress symptoms creeping back, shorten the interval instead of increasing daily watering.
After rinsing, give the patch airflow and indirect light so it dries to its normal baseline. Constant wetness can cause its own problems, and it can mask water quality for moss issues because everything looks temporarily glossy.
Substrate choices that buffer or worsen salt problems
Your substrate decides whether salts stay concentrated at the surface or move deeper where you can flush them out. A shallow, dense medium can trap minerals right where the moss absorbs water.
Inorganic bases like lava rock, pumice, or coarse sand tend to rinse cleaner than fine potting mixes. They do not break down as fast, so they create fewer extra ions that add to mineral buildup.
Peat based mixes can acidify water and sometimes reduce carbonate scale, but they also hold onto dissolved minerals like a sponge. If you use peat, plan on regular rinsing or you will concentrate salts in the top layer.
Clay and akadama can bind some ions, which sounds good until the binding sites fill up. Once saturated, they can release salts back during dry downs, and the moss sees a repeated pulse of stress.
A simple test is to water the substrate alone, let it dry, then rewet and measure the runoff with a TDS meter. If runoff climbs fast compared with your source water, your substrate is feeding the moss salinity tolerance urban water problem.
Dust, splash, and winter residue: site placement tips
Placement is underrated because people treat salts as a water issue only, but urban air is full of dry inputs. A tray near an open window can collect dust faster than it collects light.
Keep moss away from kitchen grease aerosols and bathroom cleaning sprays, because those droplets dry into residues that act like salts. Even mild cleaners can leave sodium compounds that trigger salt stress symptoms.
Outdoors, watch for splash from sidewalks and roads, especially after winter de icing. A single splash event can deliver a concentrated brine that overwhelms water quality for moss for weeks.
If you grow on a balcony, put moss behind a railing panel or a clear wind break to cut grit. You still get airflow, but you reduce the constant dust loading that leads to mineral buildup.
After a windy day or construction nearby, I do a quick plain water rinse on exposed surfaces. That one habit prevents most slow salt accumulation before it becomes a rescue project.
Recovery steps if you suspect salt stress
If you suspect salt stress, stop fertilizing and stop using straight tap water for a while. You want to remove inputs first, then decide if you need to change anything else.
Do a thorough flush with distilled or reverse osmosis water, and repeat it a day later if the first runoff looks cloudy or leaves residue. In containers without drainage, you can soak briefly, then lift the moss mat and discard the soak water.
Reduce light intensity for a week, because stressed moss desiccates faster and cannot regulate ions well. Bright sun on a salty surface is a quick way to turn mild damage into dead tips.
Trim dead, crusty edges if they keep collecting salts and shading new growth. It feels harsh, but removing damaged tissue can stop the patch from staying stuck in a decline loop.
Give it time, because moss recovery is measured in new tips, not instant color change. If new growth comes in tighter and greener, your moss salinity tolerance urban water situation is improving even if old sections look rough.
Long-term prevention plan you can keep simple
The simplest prevention plan is boring, use low mineral water most of the time and flush on a schedule. Consistency beats fancy additives, especially when your goal is stable water quality for moss.
Pick one watering method and stick with it, because switching between misting, soaking, and heavy pours changes how salts move. I like daily light misting with RO water and a deeper rinse every couple weeks.
- Use distilled or RO water for routine misting
- Flush the setup on a fixed calendar date
- Keep a lid or cover on stored water
- Wipe tray rims and stones to remove crust
- Skip water softener output water
- Move moss away from road splash zones in winter
Tracking improvements with a basic observation log
A log sounds nerdy, but it saves you from guessing when salt stress symptoms come and go. Moss changes slowly, so your memory tends to rewrite the timeline.
Once a week, take a photo from the same angle and write down your water source and TDS reading if you have one. If you do not have tools, record whether you used tap, filtered, distilled, or rainwater.
Track visible mineral buildup separately from moss color, because residue can increase before the moss shows damage. A quick note like “white rim on tray” is enough to spot patterns.
Include weather notes for outdoor setups, especially wind, road spray, and freeze thaw periods. Urban winter residue is a real salinity input, and it can explain sudden decline even when your watering stayed the same.
After a month, review the log and look for cause and effect, such as higher TDS weeks matching flatter growth. This is where moss salinity tolerance urban water stops being abstract and becomes something you can manage.
Conclusion
Urban moss cultivation works best when you treat salts like an input you control, not an unavoidable background problem. Tap water, dust, splash, and some substrates keep feeding mineral buildup unless you interrupt the cycle.
Use low mineral water when you can, rinse with purpose, and place moss where city grime does not constantly land on it. When you watch for early salt stress symptoms and keep water quality for moss steady, most patches stay resilient and keep growing.


