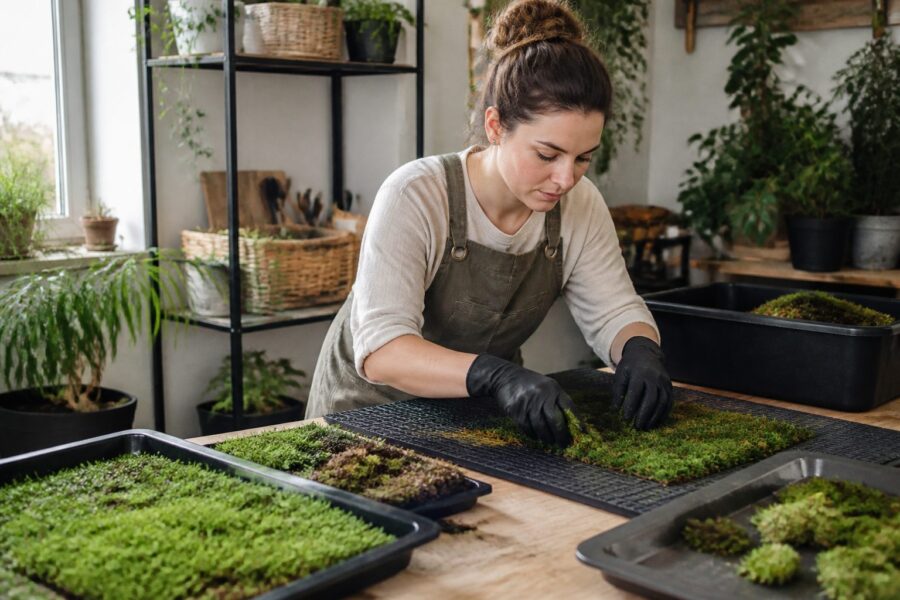
Capillary mats are one of those propagation tools that look too simple to matter, until you run a few moss trays without them and watch the edges dry out overnight. When you are trying to spread moss evenly across shallow trays on an indoor rack, steady moisture is the whole game.
This article focuses on moss propagation with capillary mats because they solve a common indoor problem, uneven watering that causes patchy growth and wasted time. The goal is to keep a consistent moisture gradient under the substrate so fragments can attach, green up, and knit together.
I like capillary watering moss setups because they reduce the temptation to mist constantly, which often turns into algae, fungus gnats, and soft growth. A mat and reservoir do not replace observation, but they give you a stable baseline to work from.
What capillary mats do and why moss responds well
A capillary mat is an absorbent sheet that moves water sideways and upward through tiny spaces in the fibers. When you place a tray on top, the tray floor and substrate pull that moisture up by capillary action.
Moss responds well because many species are built to hydrate fast across their whole surface, then dry down without true roots. In a tray, that means they benefit from frequent rehydration at the base while the top stays airy enough to avoid slime.
With top watering, you often get two extremes at once, a soggy center where water pools and crispy corners where it never reaches. Capillary watering moss tends to flatten those extremes, especially on racks where airflow is stronger at the edges.
Bottom watering trays also keep fragments from floating and drifting into clumps after every misting session. That matters when you are trying to get an even carpet rather than a few thick islands.
The most practical benefit is repeatability, because the mat keeps feeding moisture at the same rate day after day. Once you learn the “look” of a properly hydrated tray, you can scale up without changing your habits for every shelf.
Choosing mat materials and setting up a simple reservoir
Most capillary mats sold for seed starting work, but thickness and fiber type change how fast they move water. A thin polyester felt tends to wick evenly, while thicker recycled fiber mats can hold more water but sometimes create wet spots.
I avoid mats with loose fuzz that sheds into the reservoir, because that fuzz turns into biofilm faster than you expect. If you can tear fibers off with two fingers, it is not my first pick for an indoor moss rack.
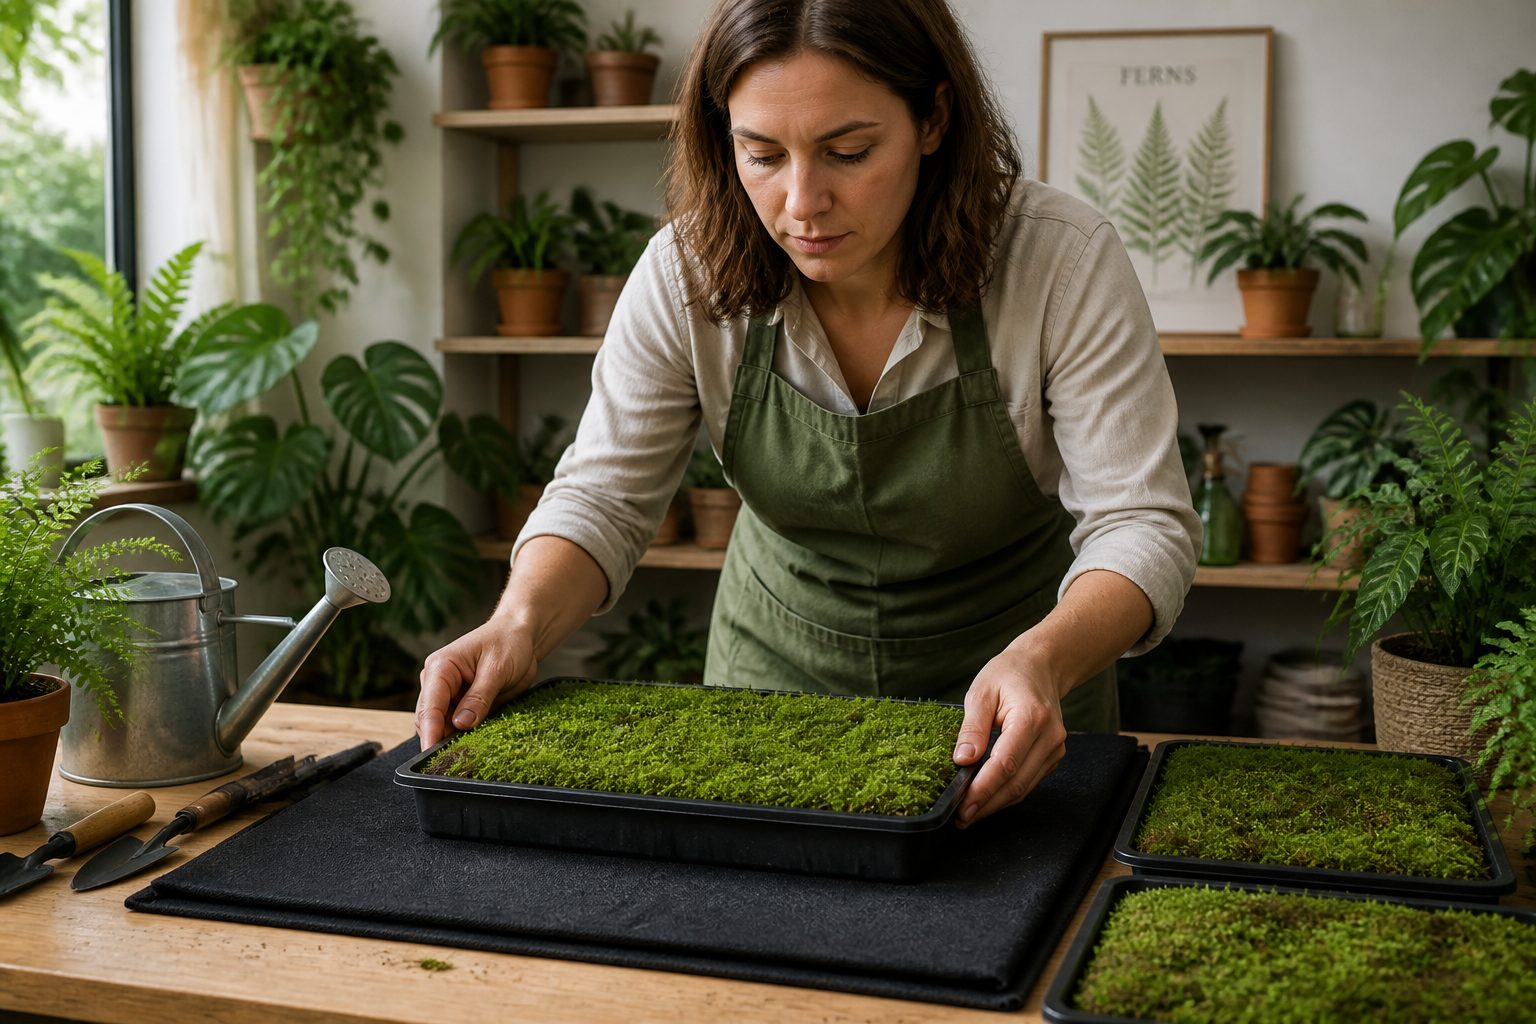
A simple reservoir can be as basic as a boot tray, a cafeteria bus tub, or a shallow storage tote. You lay the mat in the bottom, add a spacer if needed, then set your propagation trays on top.
For a spacer, I use egg crate light diffuser or a grid of chopsticks to keep trays from sitting fully submerged. That small air gap helps humidity control indoors by keeping the mat wet while preventing anaerobic stink under the tray.
Water depth is usually shallow, often a quarter inch to half an inch, and you top it up as it evaporates. If you see the mat turning pale or drying in patches, the reservoir is too low or the mat is not making full contact.
Tray selection: drainage holes vs solid-bottom trays
Tray choice decides whether moss propagation with capillary mats feels effortless or finicky. Drainage holes can work well, but only if the hole pattern and tray plastic allow even contact with the mat.
Solid-bottom trays are simpler for beginners because the mat wets the tray floor evenly, then the substrate pulls moisture upward. The tradeoff is that you must manage water level carefully to avoid a swamp effect.
| Tray type | Best use case on capillary mats | Main risk to watch |
|---|---|---|
| 1020 tray with many drainage holes | Fast-draining substrates, higher airflow racks | Dry corners if holes do not touch the mat evenly |
| 1020 solid-bottom tray | Thin substrates, fragment propagation, clean uniformity | Soggy zones if reservoir level creeps up |
| Shallow bonsai tray with few large holes | Plug production, thicker substrate layers | Uneven wicking, wet rings around holes |
| Food-service bus tub (solid) | Large batch holding, humidity tent setups | Stagnant water and algae if light hits the reservoir |
Substrate layer choices for capillary watering
The substrate is the bridge between the mat and the moss, so it has to wick without staying soupy. If your substrate stays glossy wet on top all day, it is too fine, too thick, or your reservoir level is too high.
For many urban moss cultivation projects, a thin layer of screened pine fines or milled sphagnum mixed with coarse sand works better than pure peat. The coarse fraction creates air pockets so the surface can dry slightly between hydration pulses.
If you are propagating moss to transplant onto stone or concrete, you can use a very thin “training layer” that is mostly sand with a pinch of clay dust. That mix wicks fast and forces the moss to stay low and tight, which is what you want for later adhesion.
For woodland species like many pleurocarpous mosses, I prefer a softer base, often coco coir cut with perlite and a small amount of composted bark. Coir is not magic, but it resists compaction and keeps capillary flow consistent across a tray.
Keep the substrate shallow, commonly a quarter inch to three quarters of an inch, because thick layers store too much water in a bottom watering trays setup. A shallow layer also makes it easier to rinse and reset trays when you get algae or salts.
Planting moss: fragments, plugs, and spacing for fill-in
Fragments are the fastest way to cover area, but they only work if they stay in place long enough to attach. Capillary watering moss helps here because you can hydrate from below and avoid blasting fragments around with a spray bottle.
I chop moss with scissors on a cutting board, then press it into the damp substrate with a flat piece of plastic. The pressing step matters more than people think, because good contact beats extra fertilizer every time.
Plugs are better when you want clean genetics, predictable texture, or a tray that photographs well for sales. You can set plugs on a grid, then let them creep together, which makes it easier to spot contamination early.
Spacing depends on species and patience, but a common starting point is one plug every 2 to 3 inches for medium-speed growers. For fragments, I aim for a light, even confetti layer rather than thick piles that rot in the middle.
After planting, I mist once to settle everything, then I stop touching it for a few days. If you keep rearranging fragments, you break the early attachment points and you delay the spread.
Dialing in moisture: how wet is “wet enough”
“Wet enough” for moss propagation with capillary mats means the substrate stays evenly damp, but the moss tips are not constantly glossy. If the moss looks shiny all day under lights, you are heading toward algae.
I check moisture by lifting a corner of the tray and looking at the mat, because the mat tells the truth. If the mat is wet but the substrate surface is drying slightly, you are in a good zone for steady growth.
- Keep reservoir depth around 0.25 to 0.5 inch
- Use an opaque reservoir to block light
- Let the surface dull slightly between refills
- Top up with low-mineral water when possible
- Raise trays on a grid if the base stays swampy
- Spot mist only the driest corners, not the whole tray
Light and airflow on racks: preventing algae and weak growth
Indoor racks make moss easy to manage, but they also amplify mistakes because light, heat, and airflow are consistent every day. If you combine strong light with a constantly wet surface, algae shows up fast and it wins the race.
I run moderate LED intensity and keep fixtures high enough that the tray does not heat up. Warm trays evaporate faster at the edges, which creates dry corners even when the mat is wet.
Airflow should be gentle and broad, not a fan blasting one side of the shelf. A small clip fan pointed at the wall, with air bouncing back across the rack, is often enough for humidity control indoors.
If you see pale, stretched growth, your light is too weak or too far, and the moss is reaching like a houseplant. If you see dark green slime and a sour smell, your airflow is too low or your surface is staying wet all the time.
I also cover reservoirs so light does not hit the standing water under the mat. Algae loves that bright, nutrient-tinged water, and once it colonizes the mat it spreads into every tray on the shelf.
Cleaning and maintenance: avoiding salt and biofilm buildup
Capillary mats concentrate whatever is in your water, so minerals and fertilizer salts build up over time. If you use hard tap water, you will eventually see a white crust on the mat and a slowdown in growth.
I prefer rainwater, distilled, or reverse osmosis water for bottom watering trays, especially for sensitive species. If that is not realistic, at least flush the system periodically with clean water and dump the reservoir.
Biofilm is the other problem, and it shows up as a slippery layer that smells “pondy” when you lift the tray. Once biofilm is established, it blocks wicking and turns your even moisture setup into random wet and dry patches.
My routine is simple, I rinse mats weekly, and I wash reservoirs with a brush and unscented soap, then rinse thoroughly. If algae is persistent, I soak the mat in a mild hydrogen peroxide solution, then rinse until there is no smell left.
Do not ignore the rack itself, because drips and splashes feed mold on shelves and uprights. A quick wipe with diluted vinegar or a plant-safe disinfectant keeps the whole system from turning into a science experiment you did not sign up for.
Scaling production: rotating trays and standardizing results
Scaling moss propagation with capillary mats is mostly about reducing variation between trays. If every tray has a different substrate depth, different moss density, and different light position, you cannot tell what is working.
I standardize tray fill by measuring substrate volume with a scoop and leveling with a straight edge. That sounds picky, but it saves time when you are running multiple shelves and trying to hit a predictable finish date.
Rotation matters because racks have microclimates, even with fans and uniform lights. I rotate trays front to back and left to right every week so one corner does not always get the dry edge effect.
Label everything, including species, source location, date planted, and water type used in the reservoir. When a tray stalls, those notes help you fix the system instead of guessing and changing five variables at once.
If you sell moss, build a “ready to ship” shelf with slightly drier conditions for a week before harvest. That short hardening period reduces transplant shock and makes mats easier to handle without tearing.
Troubleshooting: dry corners, soggy centers, and slow spread
Dry corners usually come from poor contact between the tray base and the capillary mat, or from strong edge airflow. Check that the mat lies flat, and consider trimming it so it does not buckle against the reservoir wall.
Soggy centers often mean the reservoir is too deep or the tray is sitting directly in water instead of on a wet mat. Raise the tray on a grid, reduce water depth, and switch to a coarser substrate that breathes.
Slow spread can be a light problem, a temperature problem, or a simple “wrong species for this setup” problem. Many urban moss cultivation favorites like Bryum and some Brachythecium move steadily indoors, while others sulk without outdoor temperature swings.
If you see algae first and moss second, your surface is staying too wet, and you are feeding the wrong organism. Back off misting, increase airflow slightly, and block light from the reservoir so algae cannot farm nutrients in standing water.
If the mat wicks unevenly, it may be clogged with salts or biofilm even if it looks fine from above. Replace the mat or do a deep clean, because a worn mat turns capillary watering moss into a constant fight.
Conclusion
Capillary mats make indoor propagation calmer because they keep moisture steady under the tray instead of forcing you to chase dry spots with a sprayer. When you get the reservoir depth, substrate, and airflow working together, moss fills in with fewer surprises.
The best part of moss propagation with capillary mats is that you can standardize the setup and scale it across shelves without changing your daily routine. Start with one tray, take notes, and expand only after you can predict what “wet enough” looks like in your room.

