Vertical moss work looks easy until you try to keep it alive on a wall that dries out faster than a pot. Moss propagation on vertical panels is mostly about controlling moisture, contact, and heat, not about fancy recipes.
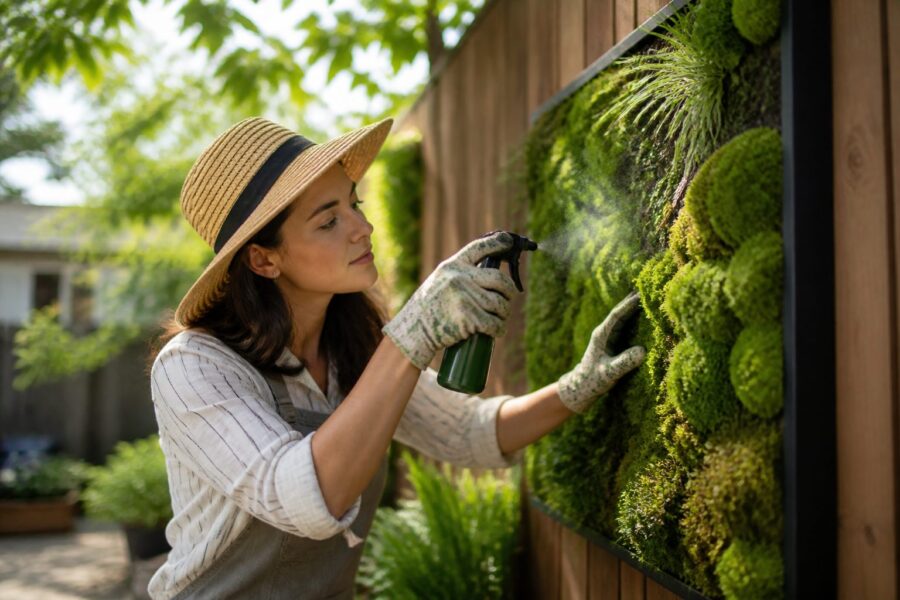
I like panels because they force you to build a repeatable system instead of relying on luck. When the system is right, moss spreads into seams and turns a flat board into a living skin.
This article focuses on practical builds you can maintain with normal tools and predictable routines. If you want a vertical moss panel that stays green, you have to plan for the boring parts like runoff, edge drying, and uneven light.
Why vertical panels fail (and how to design for success)
The most common failure is simple, the moss dries between misting cycles and never rehydrates evenly. On a wall, gravity pulls water away from the growing tips, so the top looks fine while the bottom crusts over.
The second failure is poor contact between moss and the panel face, which creates tiny air gaps that act like insulation. Moss has no roots, so if it is not pressed into a consistently damp surface, it just sits there and browns.
Heat is the silent killer, especially on dark backings in sun or under close LEDs. A panel can look wet and still cook because the surface temperature climbs above what the moss can handle.
Design for success by treating the panel like a shallow sponge with a controlled drain. You want steady humidity at the moss surface, but you also want excess water to leave fast enough that algae does not take over.
Build in adjustability because your first settings will be wrong. I plan for movable lights, a way to throttle misting, and an easy method to lift the panel and inspect the back for mold or trapped water.
Choosing panel materials: backing, face layer, and fasteners
Your backing choice decides whether the panel stays flat and safe when it gets wet every day. Cheap plywood warps, and warped panels break moss contact in slow motion.
For indoor builds, I prefer PVC sheet, HDPE cutting board stock, or fiberglass reinforced plastic because they do not swell. For outdoor builds, cement board works well if you seal edges and keep fasteners corrosion resistant.
The face layer is where moss actually lives, so it must hold moisture without staying slimy. Coir mat, synthetic felt, and jute blends can work, but they behave very differently once biofilm starts.
Fasteners should match the wet environment, so stainless staples, stainless screws, and plastic rivets beat plain steel every time. Rust streaks look bad, and they also change surface chemistry in spots where moss is trying to attach.
When you think about panel backing materials, also think about what touches the wall behind it. A small air gap from spacers or furring strips keeps the wall drier and gives you room to route tubing cleanly.
Selecting moss for vertical growth: traits that matter
The moss you see thriving on sidewalks is not always the moss that thrives on a vertical moss panel. Vertical growth rewards species that tolerate quick wet dry swings and still restart growth after a dry spell.
Look for moss that forms tight mats with lots of branching tips, because fragments knit together faster. Loose, tall moss often collapses under misting and ends up shading itself into rot.
Urban growers often have success with Bryum and Grimmia types when conditions are bright and airflow is decent. Indoors, many people do better with sheet forming pleurocarpous mosses that spread laterally when kept evenly moist.
Avoid species that demand constant seepage unless you are ready to build a true water wall. If you cannot keep the surface consistently damp, those mosses turn crispy at the edges and never recover fully.
Collect responsibly and legally, and avoid stripping whole patches from one spot. A small amount goes a long way on panels because fragmentation multiplies coverage quickly.
Preparing moss: fragmenting, rinsing, and staging
Preparation matters because you are trying to start growth from tiny pieces, not transplant a finished carpet. Clean, evenly sized fragments attach better and reduce the chance you seed the panel with soil fungus or insect eggs.
I rinse moss in cool water, pick out sticks, and remove as much soil as I can without shredding it into mush. Then I stage it damp in a covered bin for a day so it rehydrates evenly before I press it onto the panel.
Fragment size is a tradeoff, because powder dries fast and chunky pieces take longer to knit. For most moss propagation on vertical panels, pieces around a quarter inch to a half inch give a good balance of contact and survival.
If you want faster coverage, you can mix fragments with a little chopped sphagnum or coir fiber to help hold water at the surface. I avoid sugary binders because they feed bacteria, and the smell tells you fast when you made that mistake.
Stage your moss in batches by moisture preference and light tolerance, even if you collected it all in one outing. That way you can place tougher moss on edges and top zones where drying is worse.
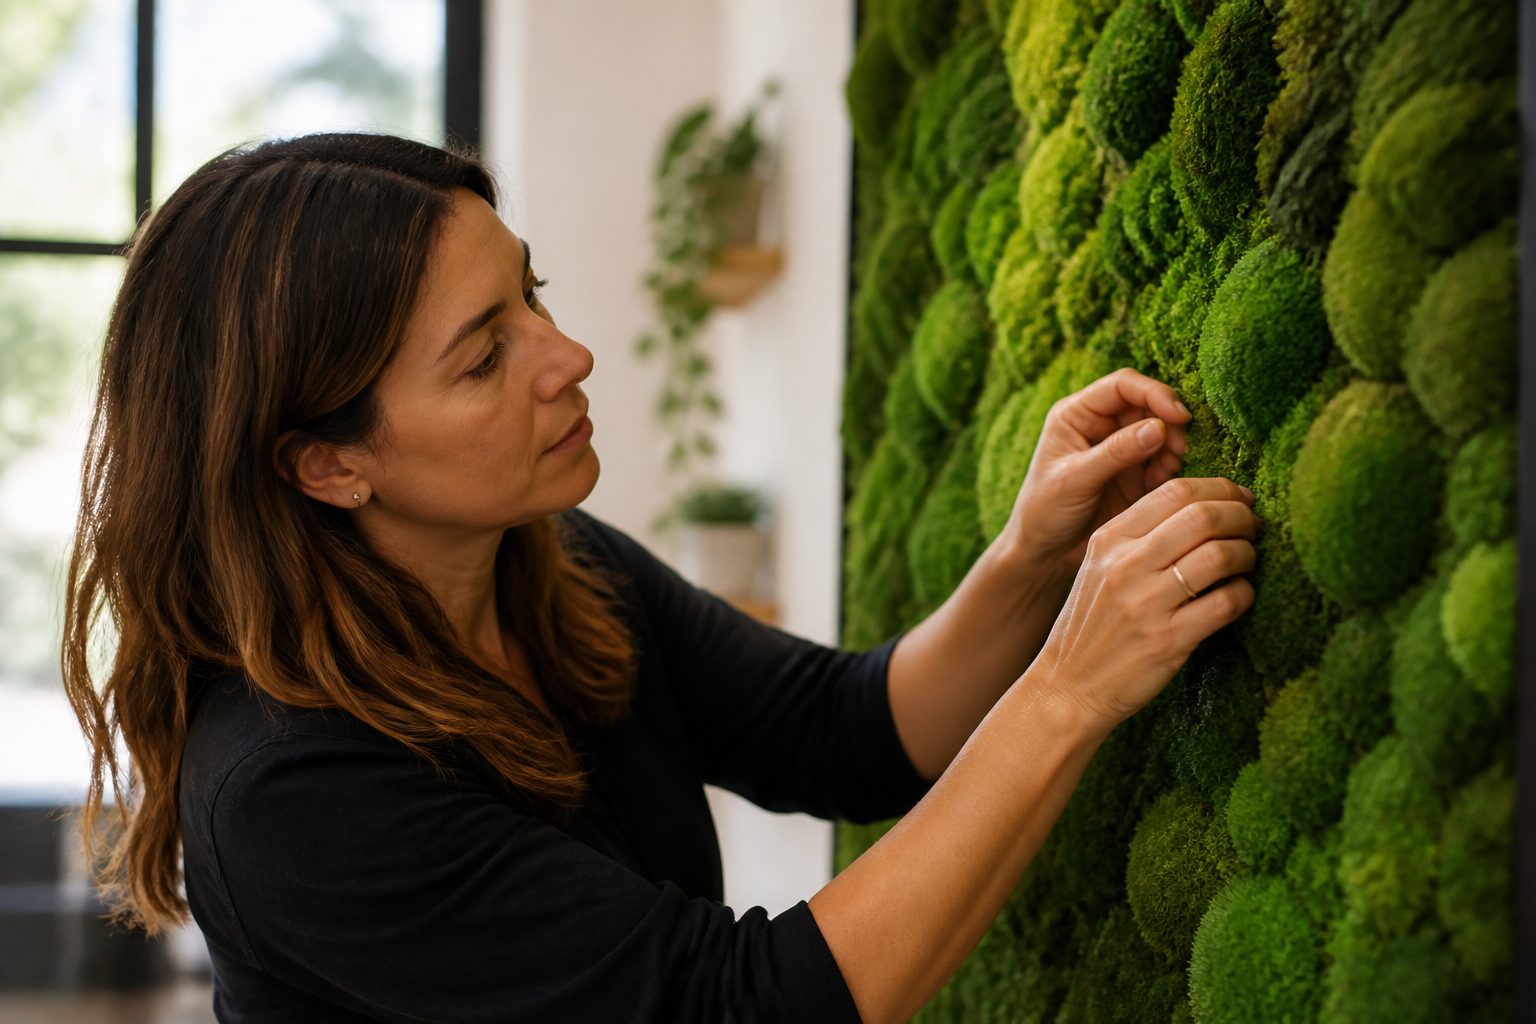
Attachment methods: mesh sandwiches, staples, and pressure contact
Attachment is where most DIY panels go wrong because people treat moss like a glued on decoration. You want mechanical contact that stays tight while the moss grows new rhizoids and grabs the face layer.
A mesh sandwich is the most forgiving method, with moss pressed between the face layer and a plastic mesh or net. The mesh spreads pressure evenly, so you do not get bald spots around every staple point.
Staples work if you use stainless and you staple the mesh, not the moss itself. I staple around the perimeter first, then add a grid pattern so the center does not balloon away from the backing when it gets wet.
Pressure contact methods use a textured face layer and steady humidity so fragments stick and stay put. This is cleaner looking, but any dry week can lift the edges and undo your work.
On small indoor panels, I sometimes use removable compression frames made from thin PVC strips and screws. That lets you retighten after the first few wet cycles, which is when materials relax and gaps form.
Moisture delivery: mist lines, hand sprayers, and drip control
Water delivery is the difference between a green wall and a brown board, and it is where most moss irrigation ideas get too complicated. Start by deciding if you want frequent light misting or occasional heavier wetting, then build around that choice.
Mist lines with fine nozzles work well when you can run short bursts several times a day. Hand sprayers can work too, but only if you are honest about your schedule and you do not miss weekends.
- Fine mist nozzles spaced 6 to 10 inches apart
- Short cycles, 10 to 30 seconds, multiple times daily
- Inline filter to prevent nozzle clogging
- Check valve to stop siphoning and drips
- Manual shutoff for seasonal adjustments
- Drain tray or gutter under the panel
Light placement indoors and outdoors: avoiding hot spots
Light is usually the second killer after drying, because strong light often comes with heat and fast evaporation. A panel can be evenly watered and still fail if the top third gets blasted by a hot beam every afternoon.
Indoors, keep LEDs farther away than you think and use more fixtures at lower intensity. That spreads light across the vertical moss panel and reduces hot spots that turn into crispy patches.
Outdoors, morning sun is easier than late day sun because surfaces stay cooler and humidity is often higher. If you only have afternoon exposure, use a shade cloth or place the panel where it gets dappled light.
Aim for even light from top to bottom, because moss growth follows energy and you will get thick mats only where light is strongest. If the bottom stays dim, it stays wet longer, and algae starts first down there.
Watch surface temperature with a cheap infrared thermometer, not your hand. If the panel face regularly climbs into the 80s Fahrenheit under lights, expect slow growth and more edge dieback.
Managing runoff and keeping the area clean
Runoff is not a side issue, it is part of the build. If you do not plan for it, you will stop watering properly because you get tired of wiping puddles.
I like a simple gutter at the bottom that drains to a removable tray you can dump and rinse. For indoor panels, a sealed tray with a lip saves floors, baseboards, and your patience.
Keep overspray off drywall and nearby furniture by adding side shields or a shallow cabinet style frame. Clear polycarbonate sheets work well because you can see when algae starts building up.
Cleanliness also means controlling nutrients, because moss does not need much and algae loves leftovers. If you fertilize at all, use very weak doses and expect to clean the tray more often.
Plan a weekly wipe down of hard surfaces with plain water, because mineral spots and biofilm creep fast in a misted corner. If you use tap water that leaves scale, consider a small reverse osmosis setup or at least distilled for the final rinse.
Establishment timeline: what to monitor in the first 6 weeks
The first two weeks are about survival and attachment, not growth you can brag about. Your goal is stable moisture and firm contact, so fragments stop shifting when you mist.
By week three, you should see slight brightening and small new tips if the species likes your setup. If everything stays dull olive and brittle, your misting frequency is too low or your light is too hot.
Watch edges and corners every day because they dry first and they tell you the truth. If edges pale, add a border strip of more absorbent face material or increase misting just for that zone.
Smell is a real diagnostic tool, because sour or swampy odor means you have stagnant water somewhere. That usually comes from a face layer that stays soaked or a backing that traps water against the wall.
Take weekly photos from the same spot and lighting, because your eyes adjust and you miss slow decline. A good panel shows gradual knitting, fewer visible fragment boundaries, and more uniform color by week six.
Maintenance: patching, trimming, and preventing dry edges
Maintenance is mostly small corrections before problems spread. If you wait until a patch is fully brown, you end up rebuilding that area instead of patching it.
For patching, I press fresh fragments into the thin spot and add temporary mesh pressure for two weeks. This works best when you patch right after a full wetting, while the surrounding moss is soft and receptive.
Trimming is optional, but it can help airflow and reduce self shading on thick mats. Use scissors, remove loose debris, and avoid ripping, because tearing lifts attached sections and creates new bare edges.
Dry edges are a design flaw you can treat, but not fully ignore. Add a perimeter wick strip, increase mist frequency slightly, or frame the panel so air does not strip moisture from the sides.
Check fasteners and tension every month because materials creep, especially in humid rooms. When mesh loosens, moss loses contact, and moss propagation on vertical panels slows to a crawl.
Conclusion
A maintainable living moss surface comes from boring engineering choices, steady moisture, and even light. If you treat a vertical moss panel like a controlled habitat instead of wall art, the moss rewards you with real spread.
Pick panel backing materials that stay stable, choose moss that tolerates your conditions, and build runoff handling from day one. Once the first six weeks go well, the routine gets simpler and the panel starts taking care of itself.

