
Moss is tough, but the stuff that rides in on it can be tougher in the wrong way. If you skip moss propagation cleaning and quarantine, you can end up growing fungus gnats, algae slime, and mystery weeds instead of the moss you wanted.
Urban growers have an extra problem because indoor conditions are stable, humid, and basically perfect for pests to multiply. A careful cleaning step and a short quarantine moss indoors routine saves you from tearing apart a whole tray later.
I like collecting moss, but I do not trust anything that came off a sidewalk crack, a roof, or a nursery pot. Treat every patch like it has eggs, spores, and tiny seeds tucked into it, because it often does.
Why cleaning and quarantine matter for propagation success
Propagation fails more often from contamination than from the moss itself being “picky.” When a tray stalls, the usual cause is mold, algae, or insects stealing oxygen and space.
Moss is slow compared to most hitchhikers, so a small problem becomes a takeover. A single weed seedling can shade a whole plug, and fungus gnats can chew tender protonema before you even notice it.
Quarantine is where you learn what you really collected. If the moss is going to erupt with springtails, mites, or liverwort bits, you want that to happen inside a contained box, not your main propagation bin.
Cleaning also helps the moss rehydrate evenly and attach faster to new substrate. Dirt clumps and dead leaves trap pockets of rot, and rot is a mold starter kit.
Most “sterilize everything” advice is aimed at seed starting, not bryophytes. Moss does better with a gentle reset, plus time under observation, than with harsh chemical baths.
What you should (and shouldn’t) try to remove from moss
Start by deciding what counts as a problem, because you cannot pick a moss patch clean down to individual stems without damaging it. Your goal is to remove the fast competitors and the rot sources, not to create a lab sample.
Remove loose soil, decomposing leaves, pine needles, and bark flakes that crumble in your fingers. Those pieces break down quickly indoors and they feed molds that smother the moss surface.
Pull out obvious vascular plants like grass, chickweed, oxalis, and any fern gametophytes you can spot. If you leave them, they grow roots into the moss mat and you will rip the moss later when you finally get annoyed.
Do not try to remove every grain of mineral grit, because some mosses naturally grow with embedded sand. If the moss is acrocarpous and forms tight cushions, a little grit is normal and it can even help drainage.
Do not chase every springtail like it is a disaster, because many are harmless detritus eaters at low numbers. I treat exploding populations, fungus gnats, and visible larvae as a real moss pest control issue, but I ignore a few tiny jumpers.
Setting up a simple quarantine container that still allows growth
Quarantine moss indoors works best when the container is humid but not airless. If you seal moss in a jar with no airflow, you often get a sour smell and a gray fuzz party within a week.
I use clear food storage boxes with a snap lid and I add small vent holes with a hot nail. The moss stays damp, but the headspace exchanges enough air that mold struggles to dominate.
| Container choice | How to vent it | Best use during quarantine |
|---|---|---|
| Clear food box with snap lid | 6 to 12 pin holes in lid | General quarantine, easy inspection |
| Deli cup with lid | 2 to 4 pin holes near rim | Small samples, species separation |
| Plastic shoe box | Row of holes on short sides | Large mats, slower drying buffer |
| Mini seedling dome tray | Crack vents open slightly | Fast growth check, higher light |
Dry inspection: spotting insects, eggs, and weed seedlings
Do a dry inspection before you rinse anything, because water makes small pests hide. Spread the moss on a white plate or paper towel under a bright desk lamp.
Tap the moss gently and watch what moves, because mites and small beetles often drop and run. If you see tiny white grains stuck to stems in clusters, assume eggs and remove that piece.
Look for webbing between stems, which can mean spider mites or small spiders that laid eggs. A few spiders are not a big deal, but egg sacs hatch into a mess inside a closed container.
Weed seedlings are easiest to spot when the moss is slightly dry and the stems are not glossy. Anything with a clear two leaf pattern, a red stem, or a visible taproot does not belong in your moss tray.
Use tweezers and a toothpick, not your fingernails, because you want control. I keep a small “reject cup” nearby so I do not set suspect bits back onto the clean pile by accident.
Rinsing and debris removal: a gentle wash routine that works
Rinsing is where most people either do nothing or they go too hard and shred the mat. The sweet spot is a gentle wash that knocks out dust and spores without blasting the stems apart.
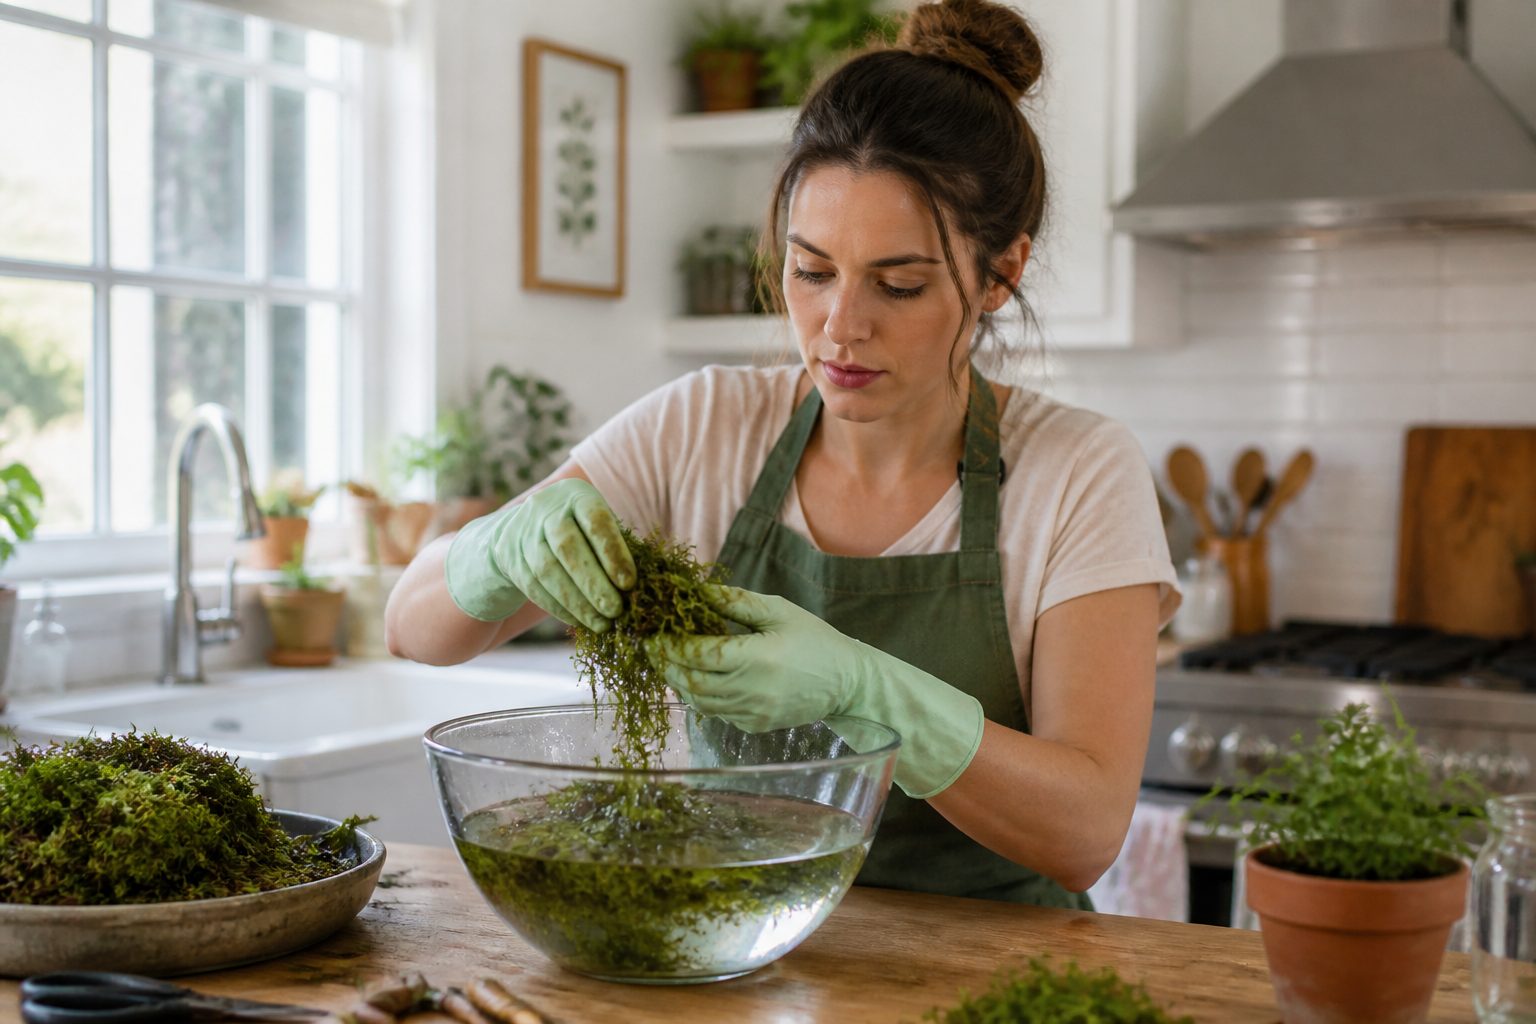
Fill a bowl with cool water, preferably dechlorinated or left out overnight, and swish the moss like you are rinsing berries. Dump the water, repeat until the water is only lightly cloudy, and stop before the moss starts falling into pieces.
If the moss came from a gritty spot, do a quick float test to drop heavier sand. Hold the moss under the surface, let go, and lift it out while the grit sinks.
For stubborn leaf litter, use a soft paintbrush or a pipette to tease debris out of the stems. A toothbrush is too aggressive for many pleurocarpous mosses, and it can turn a nice sheet into fuzz.
After rinsing, press the moss between two paper towels to remove excess water. You want it damp, not dripping, because standing water in quarantine is a mold invitation.
Managing fungus risk: balancing cleanliness with moss health
Fungus shows up when the container stays too wet, too warm, and too still. Most mold issues are a ventilation and debris problem first, and a “need chemicals” problem second.
If you want sterilizing moss safely, start with the least dramatic option, which is airflow plus removing rot food. I would rather vent more and mist less than soak the moss in something harsh.
A light mist of 3% hydrogen peroxide diluted 1:4 with water can help on small fuzzy spots, but it can also bleach tips if you overdo it. Test on a small corner and wait a day, because some species shrug it off and others sulk.
Cinnamon, chamomile tea, and other kitchen cures are unpredictable and they can leave residues that feed other microbes. If you want a real tool, use clean water habits, lower humidity slightly, and brighter light to dry the surface between mists.
Algae is the other fungus look alike, and it loves nutrients and constant wetness. If the moss sits on rich potting soil, switch to inert substrate like washed sand, fired clay, or a thin layer of milled sphagnum that you rinse well.
Handling hitchhiker plants: removing roots without ripping moss
Hitchhiker plants are the main reason I take quarantine seriously, because they hide until you give them light and moisture. Once they root into a moss mat, they behave like rebar in concrete.
Work when the moss is damp, because dry moss snaps and wet moss turns to mush. I aim for “wrung sponge” moisture so stems flex and the rhizoids hold together.
Slide a toothpick under the weed crown and lift slowly while you pinch the moss down with your other hand. If the root runs under the mat, follow it and pull it out in sections instead of yanking.
For grasses, the trick is to find the white basal plate and remove that whole chunk. If you leave the plate, it regrows like nothing happened, and you will see it again in a week.
If the moss is completely woven with roots, accept a loss and cut out that area. Tossing a contaminated piece is cheaper than fighting weeds for months in your propagation trays.
Monitoring during quarantine: what changes are normal vs. warning signs
Quarantine is not a pause button, the moss is still alive and it will react to the new conditions. Some color shift is normal, especially if you moved it from shade outdoors to brighter indoor light.
Normal changes include stems perking up after rehydration, new green tips, and a slow tightening of cushions. You might also see a little brown at the base where old material was already dying back.
Warning signs include a sour smell, slimy surfaces, and cottony growth that returns the day after you wipe it away. If you see that, open vents wider, remove wet debris, and cut out the worst patch instead of trying to “spray it away.”
Watch for insect patterns, not single sightings, because one gnat is not a plague. If you see adults daily and tiny larvae in the substrate, treat it as a moss pest control problem and dry the surface more between mists.
Keep notes with dates, because your memory lies when you are checking five containers. I write down misting days and any pests seen, and that makes it obvious when I am overwatering.
When moss is ready to move into your propagation setup
Moss is ready when it stays clean and stable for long enough that you stop seeing new surprises. For most indoor setups, I want 10 to 21 days of quarantine with no new weeds and no expanding mold.
Look for active growth, which is usually brighter tips or a thin green haze of new tissue along the edges. If the moss still looks limp and gray after two weeks, something about moisture or light is off.
Move only the best pieces into your main bin, because mediocre scraps drag problems along. This is where moss propagation cleaning and quarantine pays off, since you can be picky without losing the whole batch.
Before transfer, rinse your hands or wear gloves, because skin oils and potting soil crumbs are real contamination sources. Use clean scissors to cut plugs, and avoid pressing the moss into soggy substrate where it cannot breathe.
If you plan to blend moss into slurry, quarantine first anyway. Slurry spreads contaminants like a paint roller, so you want the material as clean as you can reasonably get it.
Keeping future batches cleaner: storage and handling habits
Most contamination starts before you even get home, because collection bags turn into warm humid incubators. If you cram moss into a sealed plastic bag in the sun, you are basically pre growing mold.
Carry paper bags or vented containers, and keep collections cool until you can sort them. When you get home, spread the moss out for an hour so it can breathe before you start your quarantine moss indoors setup.
- Use paper bags for collection, not sealed zip bags
- Label batches with location and date
- Separate species into different containers
- Rinse tools and tweezers between batches
- Discard rotting leaf litter before it enters quarantine
- Keep quarantine boxes out of direct sun
Conclusion
Cleaning moss is not about making it sterile, it is about giving moss the advantage over faster organisms. When you treat moss propagation cleaning and quarantine as a standard step, your trays stay greener and a lot less weird.
If you want sterilizing moss safely, keep your routine simple and lean on airflow, debris removal, and time under observation. The best quarantine is the one you actually repeat, because it prevents the same pest and mold problems from cycling through every new batch.

