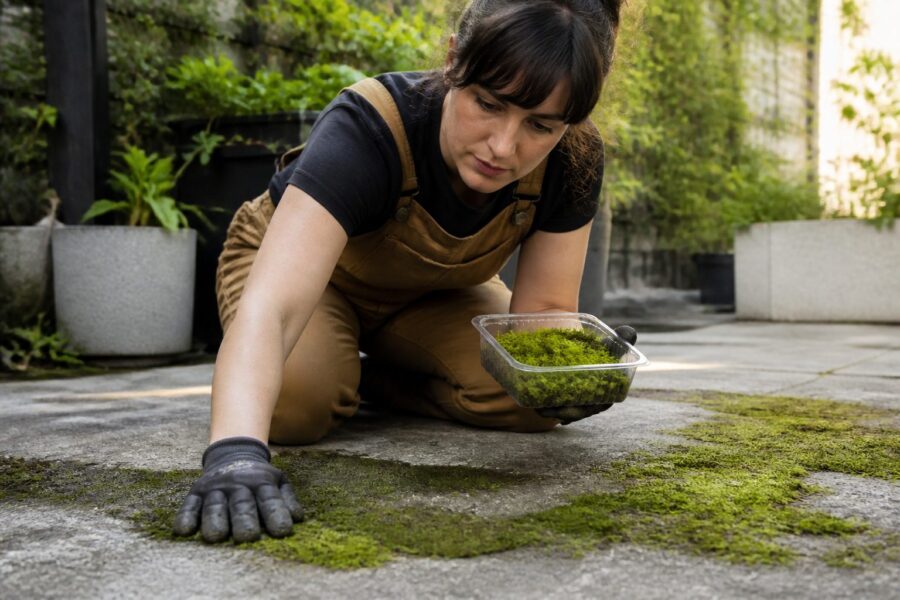
Concrete looks like the perfect blank canvas for moss, but it fights you in quiet ways. If you want to propagate moss on concrete and keep it there, you have to treat the surface like a hostile growing medium.
Moss does not need soil, but it does need a stable foothold, steady moisture, and chemistry it can tolerate. Most urban concrete fails at least two of those on day one.
I like concrete moss projects because the feedback is honest and fast, you either get a green haze in weeks or you get nothing. The good news is that once you fix grip, moisture, and concrete pH for moss, maintenance gets easier each season.
Why concrete is tricky for moss (and why it can still work)
Concrete is hard, dense, and usually alkaline, which is a rough starting point for many common mosses. It also sheds water quickly, so the surface dries in hours even when the air feels humid.
The pores that do exist can trap salts, dust, and runoff residue that burn tender protonema as it tries to establish. That is why early growth often looks patchy, like a dusting that never thickens.
Still, concrete can work because moss is stubborn and opportunistic when conditions line up. If you have shade, frequent light wetting, and a surface with texture, moss will take the hint and start anchoring.
Urban walls and patios also create microclimates that moss actually likes, such as north facing corners and spots that stay cool from evaporative shade. You can use those pockets to your advantage instead of trying to green up a sun baked driveway.
Another reason concrete can succeed is that you control it more than soil, especially in containers, planters, and vertical panels. When you propagate moss on concrete in a controlled spot, you can dial in water and light without weeds muscling in.
Checking your concrete type: new vs weathered surfaces
New concrete is the worst candidate because it is still curing and leaching lime, which keeps the surface highly alkaline. Even if it looks dry, rain and irrigation will keep pulling alkaline compounds to the top for months.
Weathered concrete usually grows moss faster because it has micro pits, a dusting of organic matter, and less active lime at the surface. If you see darkening after rain and a little grit under your fingers, you are already closer to success.
I avoid installing moss on slabs under a year old unless the project is purely experimental. If you must use new concrete, plan on extra steps for concrete pH for moss and expect slower establishment.
Sealed concrete is another problem because sealers block absorption and can leave residues that repel water. If water beads up like on a waxed car, moss will struggle to stay moist long enough to attach.
Before you do anything else, identify whether your surface is poured concrete, concrete block, or a cement based skim coat over masonry. Concrete block and rough stucco often take moss more readily because they already have tooth and pores.
Cleaning without residue: what to use and what to avoid
Cleaning is where people sabotage themselves because many household cleaners leave films that moss hates. When you propagate moss on concrete, you want the surface clean, but you also want it chemically boring.
My default is stiff brushing with plain water, then a rinse that actually carries grime away instead of smearing it around. If algae or grease is heavy, I use a small amount of unscented dish soap, then rinse until the water runs clear and stops foaming.
| Cleaner or method | Why people use it | What it does to moss work |
|---|---|---|
| Plain water plus stiff nylon brush | Removes dust and loose grit | Safe baseline, no residue if rinsed well |
| Unscented dish soap, small amount | Cuts oily patio grime | Can work if rinsed thoroughly, any film slows attachment |
| Vinegar wash | Knocks down surface alkalinity | Helps pH briefly, but overuse can etch and loosen fines |
| Bleach or chlorine products | Kills algae fast | Leaves salts, can burn fragments and delay regrowth |
| Pressure washing | Fast deep cleaning | Can help texture, but can also polish or fracture weak surfaces |
Creating texture: safe ways to roughen for better grip
Roughening concrete is the step that separates projects that stick from projects that wash away. Moss needs tiny anchor points, and smooth troweled concrete gives it almost none.
You can roughen with a masonry rubbing stone, 60 to 80 grit sandpaper on a block, or a wire brush, and each method works if you are patient. The goal is a uniformly dull, slightly pitted surface, not deep gouges that collect puddles.
I prefer hand methods for small urban setups because they keep dust down and avoid cracking edges. If you do use power tools, a diamond cup wheel can be effective, but it can also create slick polished patches if you rush.
After roughening concrete, vacuum or rinse away the powder because cement dust spikes alkalinity right where you want growth. Let the surface dry, then do a quick water test to see if it darkens evenly instead of shedding water in streaks.
Texture is also about shape, so do not ignore seams, corners, and vertical faces that catch mist. A slightly rough vertical wall in shade often outperforms a flat slab because water clings longer and foot traffic stays away.
Managing alkalinity: practical pH approaches for urban setups
Concrete pH for moss is usually too high, especially on newer pours, and that slows establishment even when moisture is perfect. Many mosses tolerate mildly acidic to near neutral conditions better than fresh concrete alkalinity.
Start with testing because guessing wastes time, and cheap pH strips work fine if you wet the surface and press the strip into the water film. If you read consistently above about 9, expect slower growth unless you intervene.
The simplest approach is repeated soaking and drying cycles with plain water, which leaches surface lime over time. This takes patience, but it avoids adding residues that can backfire later.
If you need a faster shift, a light vinegar rinse can drop surface pH temporarily, and I mean light, like diluted kitchen vinegar applied and then rinsed. Do not treat it like pickling a patio, because aggressive acid can weaken the surface and create chalky dust that raises pH again.
Rainwater helps more than tap water in many cities because it is often softer and slightly acidic. If your tap water is hard, collect rainwater for the first month so you are not feeding alkalinity back onto the concrete every day.
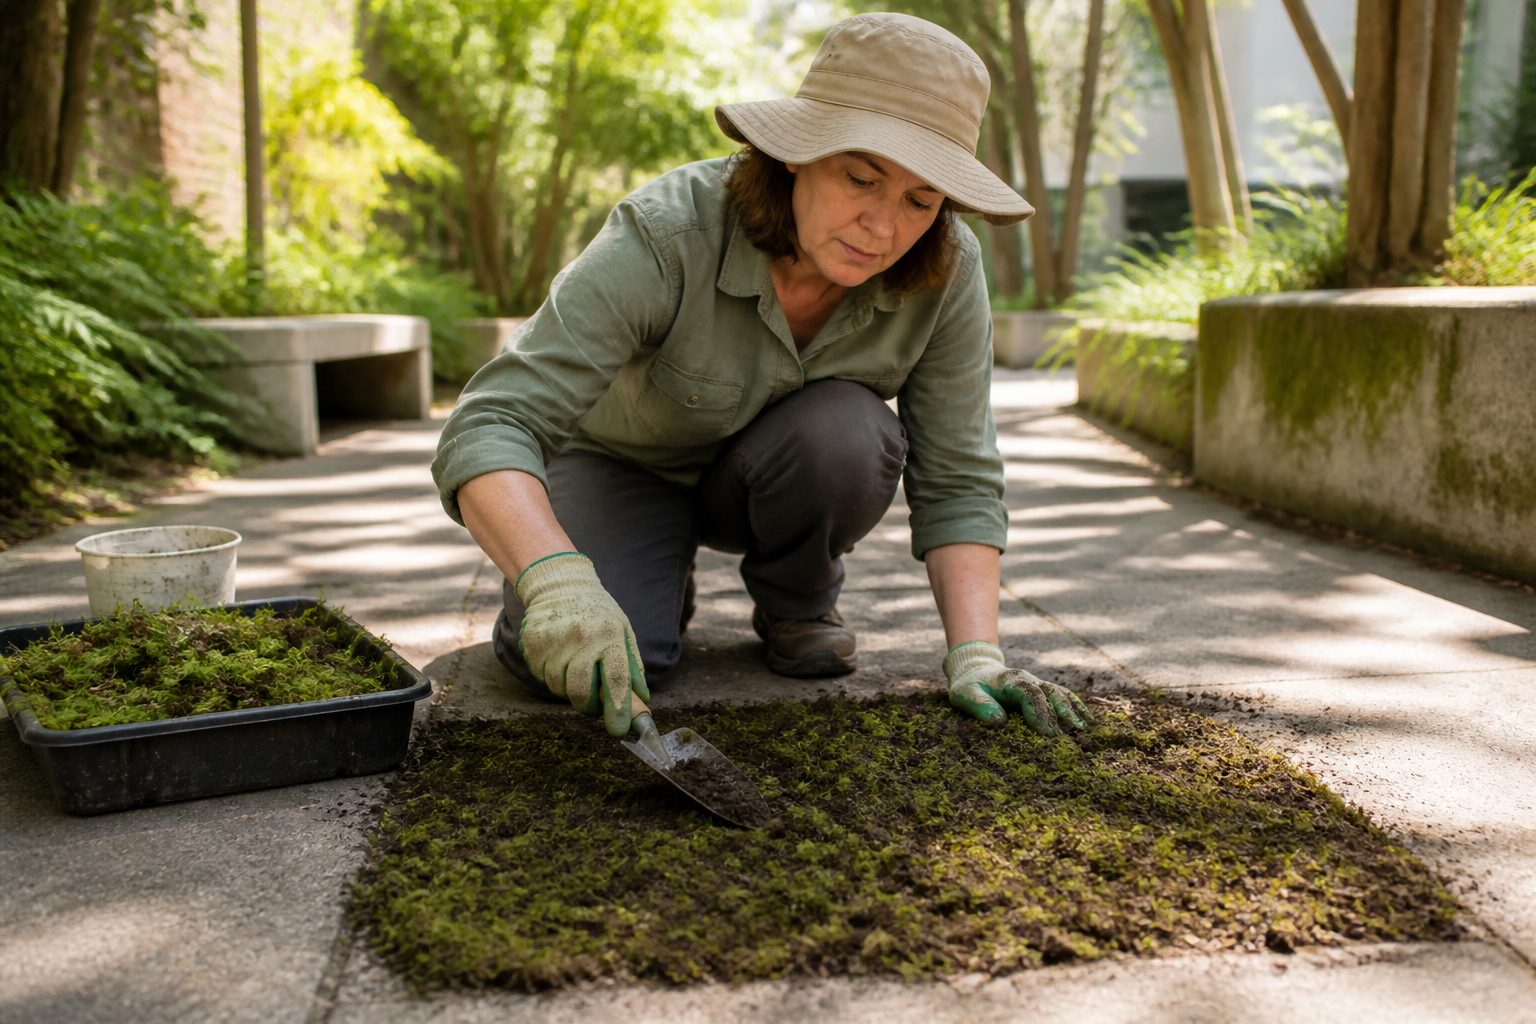
Best propagation method on concrete: fragments vs slurry vs mats
There are three common ways to propagate moss on concrete, and each has a place depending on how vertical the surface is and how much time you have. Fragments are my go to because they are simple, clean, and easy to patch later.
A slurry can work, but many recipes online are messy and encourage mold, especially when people add dairy or sugar. If you insist on slurry, use water plus moss fragments blended briefly, then paint it thinly so air still reaches the surface.
- Fragments pressed into damp roughened concrete
- Thin water based slurry painted onto textured areas
- Pre grown moss mats pinned or weighted in place
- Hybrid method, mats for edges, fragments for infill
- Test patch first on the shadiest square foot
- Use local moss species that already grow on masonry
Moisture strategy: keeping concrete evenly damp without puddles
Moisture is the make or break factor because concrete swings from wet to bone dry faster than soil. Your job is to keep a thin, frequent moisture film so fragments can attach and start spreading.
A moss watering schedule should favor misting and light sprays over deep watering. Puddles float fragments away, and constant saturation encourages algae that can smother young moss.
For the first two weeks, I mist two to four times a day in warm weather, then taper as you see attachment. In cooler shade, once or twice a day can be enough, especially if morning dew lingers.
Use a pump sprayer or a hose nozzle set to mist, and aim for darkening without runoff. If water streams down the wall or across the slab, you watered too hard for establishment.
After the first month, shift to a rhythm that matches your site, often every other day in summer shade and weekly in rainy seasons. A good moss watering schedule is boring and consistent, not heroic weekend soaking.
Light placement: shade mapping around buildings and patios
Light is where urban moss projects get surprisingly technical, because buildings create sharp shade lines that move by the hour. If you map shade for a day, you can pick spots that stay cool and damp long enough for moss to win.
North facing walls, the underside of steps, and the back edge of planters often give the best results. East facing surfaces can work too, because they get gentle morning light and then shade during the hottest part of the day.
Full sun concrete is a bad bet unless you live in a foggy coastal zone and can keep up with misting. Even then, sun plus wind can erase a week of progress in one dry afternoon.
Watch for reflected heat from windows, white fences, and light colored walls, because that can cook moss even in partial shade. I have seen a north wall fail simply because a nearby glass door bounced afternoon sun onto it.
If you are unsure, start with a small test patch and track how long it stays dark after misting. The best locations often look a little gloomy, and that is exactly what moss prefers.
Protecting from runoff, splash, and foot traffic
Runoff is a quiet killer because it brings grit, fertilizer, and roof residues right onto your moss. Downspouts and drip lines can also physically scour the surface during storms.
If you can, redirect downspouts away from the moss zone or add a splash block that sends water elsewhere. For walls, a small drip edge above the patch can stop dirty streaks from washing through your new growth.
Splash from soil beds is another issue, especially after heavy rain, because it coats moss with silt. A gravel strip or a simple edging lip reduces that splash and keeps the moss surface open to light and air.
Foot traffic compacts and shears moss, and concrete patios invite people to step exactly where you want growth. Put moss in corners, between stones that are not used as stepping lines, or on vertical faces where shoes cannot reach.
If you need moss in a walkway, accept that it becomes a design problem, not just a biology problem. Use stepping stones, clear paths, and visible boundaries so people do not grind the patch into dust.
Maintenance plan: patching thin spots and encouraging spread
Maintenance is mostly about small corrections, because moss spreads slowly and hates being smothered. If you wait until a patch fails completely, you usually have to redo surface prep.
Every couple of weeks, inspect after a misting and look for areas that refuse to darken evenly. Those spots often have smoother concrete, higher alkalinity, or a thin film of residue that needs a quick scrub.
Patching thin areas is easiest with fragments, because you can press them into the damp spot and mist lightly until they grab. I keep a small container of local moss in a shaded tray so I always have donor material without stripping wild patches.
Once you get a stable patch, encourage spread by keeping edges slightly wetter than the center for a while. Moss expands outward, so edge conditions matter more than people think.
Do not fertilize moss on concrete, because most fertilizers push algae and make the surface slimy. If you want faster fill, focus on texture, concrete pH for moss, and a moss watering schedule you can actually keep.
Conclusion
To propagate moss on concrete successfully, treat the job like surface engineering first and plant care second. Clean without residue, commit to roughening concrete where it matters, and pick a shaded spot that stays damp after misting.
Keep an eye on concrete pH for moss, especially on newer slabs, and use water habits that avoid both drought and puddles. With steady moisture and a little patience, the patch stops looking like scattered crumbs and starts behaving like a living skin.

