Moss propagation in trays is the fastest way I know to turn a small handful of city-collected moss into a steady supply for projects. Trays keep the mess contained, the moisture predictable, and the growth easy to monitor.
If you have ever tried to “grow moss” directly on a wall or patio planter, you already know the problem is consistency. One hot afternoon or one windy night can dry a patch out and set you back weeks.
A tray nursery gives you repeatable results because you control drainage, humidity, and light in a small footprint. It also lets you run experiments with substrate mixes and a moss misting routine without gambling on your final installation.
Urban growers usually work with limited shade, limited water storage, and neighbors who do not want puddles dripping off balconies. Trays solve those problems while still producing clean, liftable mats that transplant well.
Why tray propagation is efficient for small urban growers
Tray systems shrink the variables that ruin moss, especially wind, sun spikes, and uneven watering. When your growing area is a balcony or fire escape, that control is the difference between steady growth and crispy disappointment.
They also make your time count because you can water ten trays in the same time it takes to baby one awkward planter. A quick check for moisture and color tells you a lot, and you can walk away.
Another perk is hygiene, since trays keep moss off gritty concrete where it picks up trash, salts, and dog pee residue. Clean input stock matters, but clean growing surfaces matter just as much.
Trays let you separate species and growth forms instead of mixing everything into one confused patch. If you keep acrocarp mosses in one tray and pleurocarps in another, you can harvest predictable textures later.
Finally, trays are easy to move when the weather turns, and that is a big deal in cities with heat waves. You can slide them under shade cloth for moss or bring them indoors for a week without tearing anything up.
Picking trays and liners: drainage vs humidity trade-offs
The tray you pick sets the tone for your whole nursery, so I do not treat it like an afterthought. I like shallow, rigid trays that do not flex when wet, because flexing breaks the moss-to-substrate contact.
Drainage holes are great until they are not, because too much drainage can force you into constant misting. If you live in a dry apartment with forced air, a fully perforated flat can turn into a dehydration machine.
Solid-bottom trays hold humidity better, but they can go sour if water sits and the substrate turns anaerobic. If you use solid trays, you need a disciplined bottom-watering approach and a light hand with water depth.
Liners are where you can fine-tune the system without buying new trays. Weed barrier fabric, burlap, and plastic mesh all work, but each changes how water moves and how easily you harvest.
For a practical propagation tray setup, I often use a rigid tray with a thin mesh liner and a shallow substrate layer. That combination drains enough to avoid swampy smells, yet it still holds moisture close to the moss.
Substrate choices: sand, fine bark, coco fiber, and mixes
Moss does not “eat” substrate the way many people assume, but it absolutely reacts to texture, pH, and how long the surface stays damp. The best substrate is boring, stable, and consistent across the whole tray.
I prefer mixes that resist compaction because a sealed surface sheds water and encourages algae. If you can press a finger in and leave a clean dent, you are usually in the right range.
| Substrate option | What it does well | Watch-outs in trays |
|---|---|---|
| Washed coarse sand | Firm surface, fast drainage, low nutrients | Dries quickly, needs tighter misting routine |
| Fine pine bark (screened) | Air pockets, good grip for fragments | Can float if overwatered, may acidify over time |
| Coco fiber (rinsed) | Even moisture, easy to level | Can stay too wet, salts if not rinsed well |
| Sand + bark (50/50) | Balanced drainage and grip | Needs occasional top-up as bark breaks down |
| Sand + coco (60/40) | Stable moisture in dry apartments | Algae risk if light is strong and airflow is low |
Preparing moss stock: cleaning and fragmenting for even coverage
Your tray nursery is only as clean as the moss you start with, and city moss can carry a lot of junk. I pick out leaf litter, twigs, and obvious weeds with tweezers before anything touches a tray.
If the moss came from a gritty surface, I rinse it in a bowl of clean water and swirl gently to drop sand and dust. I change the water once or twice, because that first rinse is usually gross.
After rinsing, I squeeze the moss like a sponge until it is damp but not dripping. If it is too wet, fragments clump and you end up with thick blobs and bare patches.
Fragmenting is where many growers get sloppy, and it shows later in uneven trays. I tear moss into small pieces by hand, aiming for bits about the size of a fingernail for most species.
If you want maximum coverage, you can chop with clean scissors, but do not turn it into pulp. Pulp dries fast on the surface and tends to invite algae before the moss recovers.
Spreading techniques: thin layer vs patch planting
There are two main ways to start moss propagation in trays, and I use both depending on the species and my patience. Thin spreading gives quick visual coverage, while patch planting often gives stronger attachment.
With thin spreading, you sprinkle fragments evenly like you are salting food. The goal is contact points across the whole tray, not a thick blanket that blocks airflow.
Patch planting is literally planting small islands of intact moss and letting them creep. This works well for species that spread laterally, and it reduces the amount of handling you do up front.
I avoid thick layers because the bottom of the pile stays wet and starts to rot, especially indoors. Rot smells bad, but the bigger problem is that it sets up algae and fungus that spread tray to tray.
After spreading, I press gently with a clean piece of window screen or a flat board. That simple press step improves contact and keeps fragments from floating when you start watering.
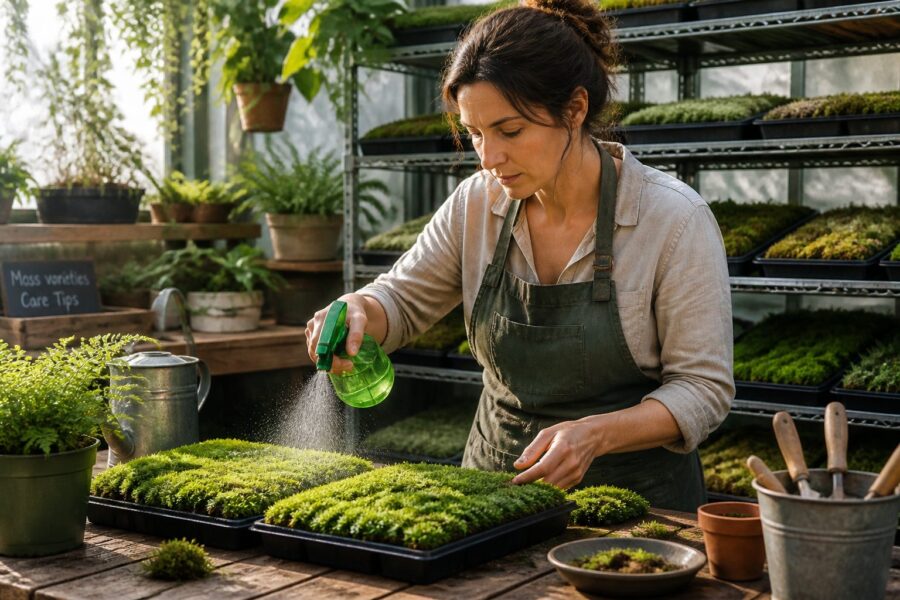
Moisture management: bottom-watering, misting, and covers
Moisture is where tray nurseries either shine or turn into green slime trays. I like a system where the substrate stays evenly damp, but the moss surface dries slightly between misting sessions.
Bottom-watering is my default because it keeps fragments in place and reduces splash that moves spores and algae around. I pour water into a larger catch tray, set the moss tray inside for ten minutes, then pull it out to drain.
A moss misting routine still matters, especially during the first two weeks when fragments are reattaching. I mist lightly once or twice a day if the surface looks pale or crunchy, and I skip misting if the tips look glossy wet.
Covers can help, but they are easy to abuse because high humidity hides problems until they explode. A clear dome or plastic wrap works best when you vent it daily and keep it off the moss surface.
Tap water quality can quietly ruin your work in trays, especially if your city water is hard. If you see white crust, switch to collected rainwater or filtered water and flush the tray with a deeper soak.
Light setup: outdoor shade, balconies, and indoor racks
Light is the other half of the tray equation, and direct sun is usually too much for nursery trays. Moss can take sun in the wild because it has microclimates, but a flat tray heats up fast.
Outdoor setups work best with shade cloth for moss, especially 40 to 60 percent shade on bright balconies. I would rather give moss a longer day under shade than blast it with a short, harsh sun window.
On balconies, wind is as damaging as sun because it strips moisture from the surface. I tuck trays behind a railing panel or a simple windbreak so my watering schedule stays sane.
Indoor racks can work if you accept that you are running a small controlled environment. I use LED shop lights at a modest intensity and keep them higher than you think, because close lights dry trays out.
Watch the moss color and growth form to dial light in. If it stretches and looks loose, it wants more light, and if it bleaches or crisps, it wants less or better humidity control.
Controlling weeds and algae in a tray nursery
Weeds show up in tray nurseries because spores and seeds are everywhere, and urban air is full of them. I pull invaders early with tweezers, because waiting turns a two-minute fix into a full re-tray job.
Algae is usually a sign of too much light hitting a wet, nutrient-rich surface. If you see slick green film, cut back misting, increase airflow, and consider switching to a leaner substrate like sand-heavy mixes.
I avoid fertilizers in moss trays because they feed algae faster than they help moss. If you want faster fill-in, focus on stable moisture and good contact instead of chasing nutrients.
Sanitation between trays matters when you scale past a couple flats. I rinse tools, wash catch trays, and do not reuse old substrate unless I heat-treat it and accept some losses.
If fungus gnats show up indoors, it usually means the substrate stays wet for too long. I let the surface dry a bit more between bottom-watering cycles and add a small fan for gentle air movement.
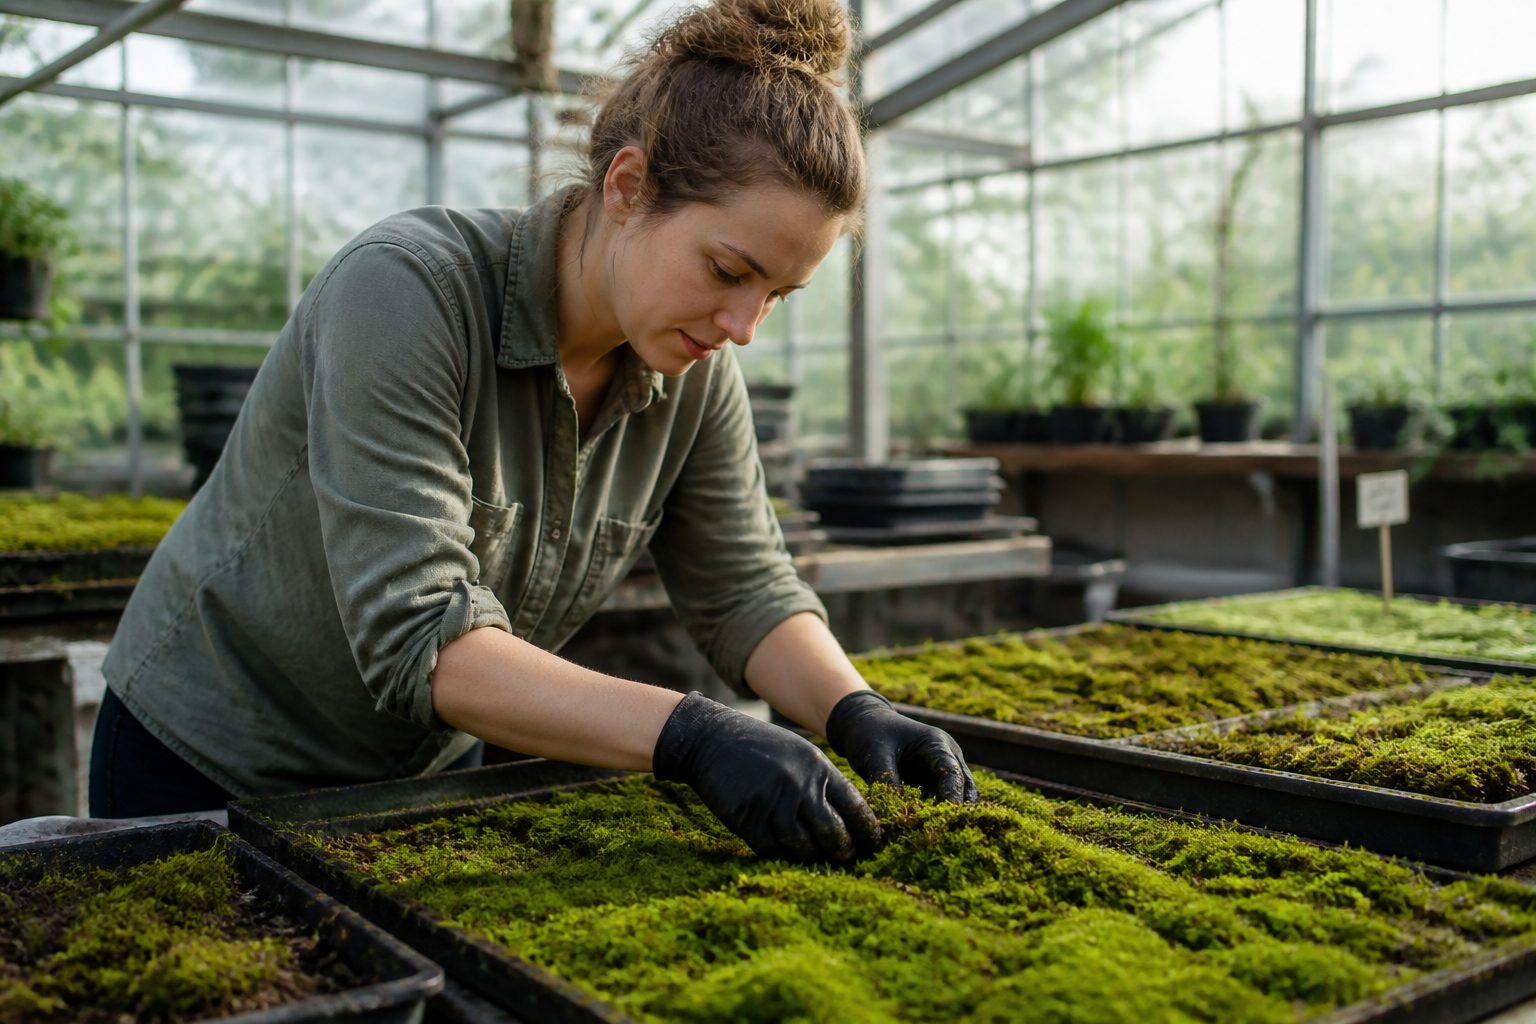
Harvesting moss without tearing: lifting and dividing methods
Harvest time is where trays pay you back, because you can lift moss in controlled sheets instead of scraping it off random surfaces. The trick is to harvest when the mat has knitted together but before it gets too thick and spongy.
I like to water lightly an hour before harvesting so the mat is flexible. Dry mats tear, and soaking wet mats stretch and distort.
A thin spatula, a plastic putty knife, or even a credit card works for lifting edges. I slide the tool under the mat slowly and keep it flat, because prying upward rips the rhizoids and breaks the sheet.
If the mat resists, I stop and cut the tray into sections instead of forcing it. Dividing into quarters often saves the moss and makes transplanting easier on small urban projects.
After lifting, I set pieces on damp paper or a damp cloth while I prep the new site. Leaving harvested moss in a dry bin for even an hour can undo weeks of careful tray work.
Scaling up: rotating trays and maintaining genetic variety
Scaling up moss propagation in trays is mostly about rhythm, not fancy gear. I rotate trays through phases, fresh trays starting, mid-phase knitting, and mature trays ready for harvest.
To keep the system manageable, I label trays with date, species, and substrate. That simple habit helps you spot what works, and it keeps you from repeating the same mistakes all season.
- Label trays with start date and source location
- Stagger starts, one or two trays per week
- Keep at least two substrate mixes in rotation
- Quarantine new moss stock for two weeks
- Harvest in sections, then re-seed bare spots
- Photograph trays weekly for growth comparison
Conclusion
A tray nursery turns moss growing into a repeatable practice instead of a luck-based experiment. Once you have a reliable propagation tray setup, you can produce clean mats on your schedule and stop hunting for moss every time you need more.
Pay attention to the basics, firm contact, steady moisture, and sane light, and the trays will do the rest. Keep your moss misting routine simple, use shade cloth for moss when the sun gets aggressive, and harvest patiently so your supply keeps expanding.

