
Cultivating feather moss indoors offers a unique way to bring a touch of natural tranquility into your home environment. This delicate green carpet, often found gracefully spreading across forest floors, can thrive beautifully in controlled indoor settings. Understanding its specific growth habits and propagation techniques is key to successfully establishing and maintaining healthy, dense patches.
Many enthusiasts enjoy the challenge and reward of propagating feather moss indoors dense patches, creating miniature landscapes that require minimal attention once established. The soft, feathery texture of mosses like Hypnum feather moss propagation adds a distinct aesthetic appeal, offering a calming contrast to traditional houseplants. Proper care ensures your moss remains vibrant and lush, avoiding common pitfalls that lead to thinning or browning.
This guide provides practical advice for feather moss indoor cultivation, covering everything from initial setup to long-term maintenance. We will explore effective methods for encouraging robust growth and managing its spread, ensuring your indoor moss garden flourishes. Get ready to transform your indoor spaces with the serene beauty of thriving feather moss.
How Feather Moss Grows and Spreads Differently From Cushion Types
Feather moss, primarily species within the Hypnum genus, exhibits a distinct growth pattern compared to cushion or upright moss varieties. These pleurocarpous moss spreading types grow horizontally, forming intricate, branching mats rather than upright tufts. This sprawling habit allows them to cover surfaces quickly and efficiently, making them excellent choices for groundcover.
Cushion mosses, like pincushion moss (Leucobryum glaucum), typically grow in dense, rounded mounds, expanding slowly from a central point. Feather moss, however, sends out runners and lateral branches that creep across the substrate, continually expanding its footprint. This difference in growth strategy is a primary consideration when planning for feather moss indoor cultivation.
The branching stems of feather moss intertwine, creating a cohesive, resilient mat that can withstand some disturbance. This mat-forming characteristic is what makes propagating feather moss indoors dense patches such an achievable goal. You are essentially encouraging this natural spreading behavior within a contained environment.
Observing Hypnum feather moss propagation in its natural habitat reveals its preference for covering large areas, often creating a soft, green carpet over rocks, logs, and soil. This natural inclination to spread widely is something we can leverage for indoor projects. Mimicking these conditions helps ensure successful growth and expansion.
The rhizoids, which are root-like structures, of feather moss serve mainly for anchorage rather than nutrient absorption, unlike vascular plants. Nutrients and water are absorbed directly through the moss’s leafy tissues, a characteristic common to all bryophytes. This means the substrate’s primary role is to provide stable footing and consistent moisture, not complex nutrient delivery.
Understanding the pleurocarpous moss spreading habit is fundamental to managing its growth in a terrarium or other indoor setup. You should anticipate its horizontal expansion and provide adequate space or plan for regular trimming. This proactive approach prevents overcrowding and maintains the desired aesthetic.
Unlike acrocarpous mosses that grow vertically and often fruit from the tips of their stems, pleurocarpous mosses produce sporophytes laterally along their stems. This distinction further emphasizes their mat-forming nature and continuous horizontal growth. This constant outward expansion is what makes them so effective at covering surfaces.
Choosing the Right Container and Substrate Depth
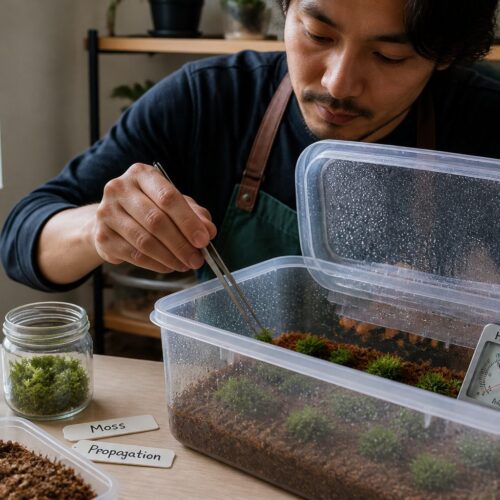
Selecting an appropriate container is the first step in successful feather moss indoor cultivation. Terrariums, glass cloches, or even wide, shallow ceramic dishes with a clear cover work well, providing the enclosed environment mosses prefer. Ensure the container allows for good visibility, as you will want to admire your propagating feather moss indoors dense patches.
The substrate depth does not need to be extensive, as mosses have shallow rhizoids that only anchor them. A layer of about one to two inches of suitable material is usually sufficient. This shallow depth also helps prevent waterlogging, which can be detrimental to moss health.
| Container Type | Ideal Substrate Depth | Key Benefit | Considerations |
|---|---|---|---|
| Closed Terrarium | 1-2 inches | High humidity retention | Requires occasional airing |
| Open Terrarium/Dish | 1-1.5 inches | Easy access for maintenance | Needs more frequent misting |
| Glass Cloche over Tray | 0.5-1 inch | Elegant display, good humidity | Limited surface area |
| Shallow Planter with Lid | 1-2 inches | Versatile, good for larger mats | Lid must fit snugly |
| Paludarium Section | 1-2 inches (above water) | Integrates with aquatic features | Specific humidity management |
Division and Layering Methods for Fast Coverage
Propagating feather moss indoors dense patches is most effectively achieved through division and layering, which are straightforward and reliable methods. These techniques capitalize on the moss’s natural ability to regenerate from small fragments, ensuring rapid coverage of your chosen surface. You can quickly expand your moss collection or fill new areas.
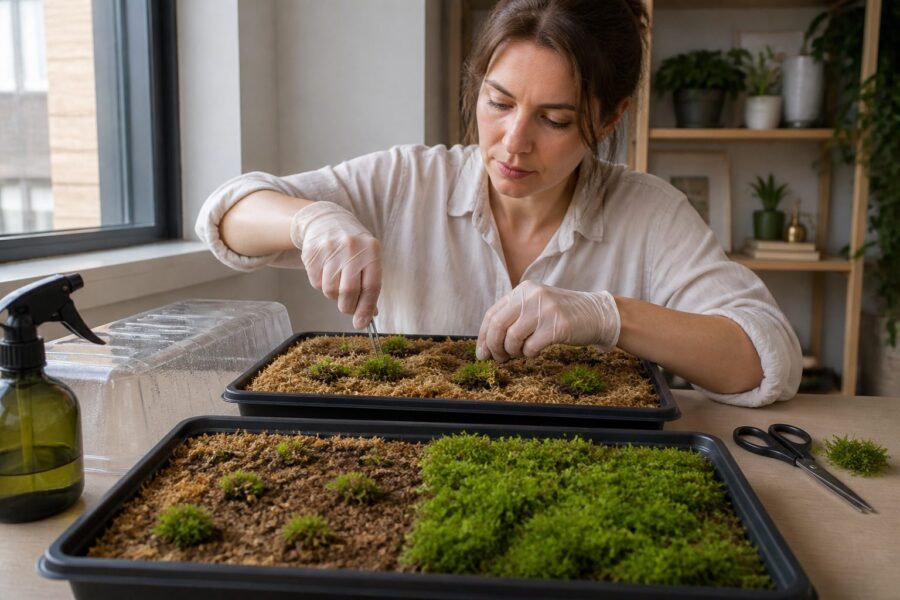
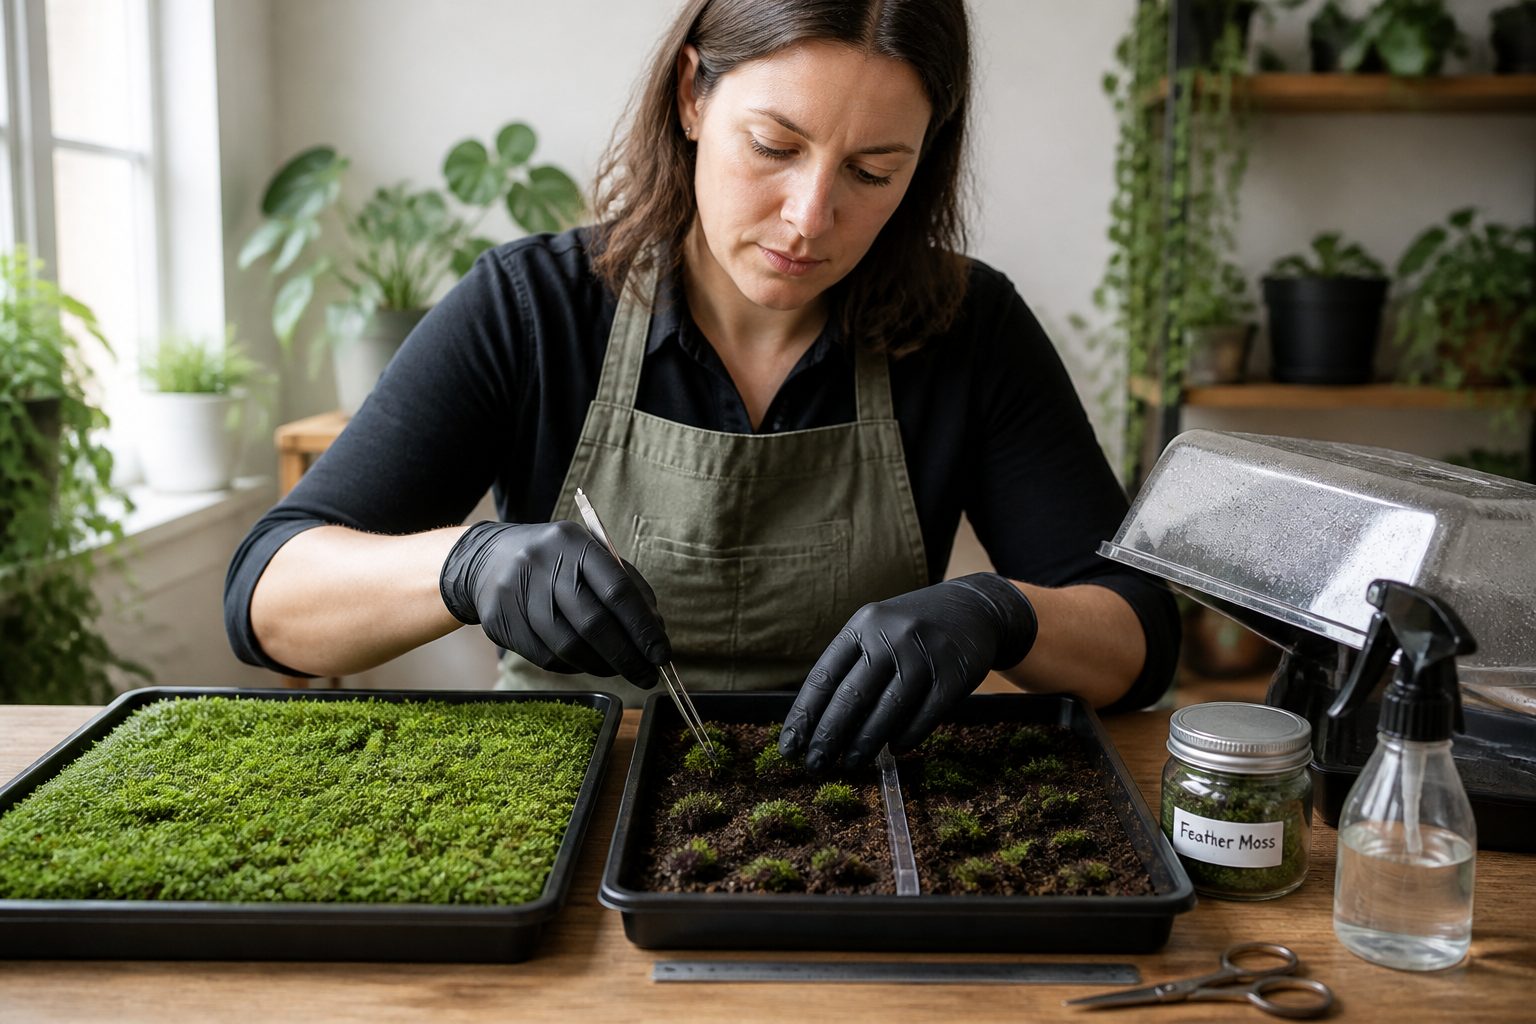
For division, simply take an existing healthy mat of Hypnum feather moss propagation and gently tear or cut it into smaller pieces. Each piece should have some green growth and ideally a few rhizoids attached, though moss is quite forgiving. These smaller sections are then ready for placement in your new setup.
To plant these divisions, press them firmly onto the prepared substrate, ensuring good contact between the moss and the moist surface. The pressure helps the rhizoids adhere and encourages new growth to establish quickly. Lightly mist the newly placed moss to settle it in and provide immediate hydration.
Layering is another excellent method, particularly for encouraging pleurocarpous moss spreading over a specific area. This involves taking a portion of a healthy moss mat and extending it over an adjacent, moist substrate. You can gently pin it down with small stones or non-corrosive wire to maintain contact.
Over time, the extended portion will establish new rhizoids into the fresh substrate, effectively creating a larger, continuous patch. This method works well for gradually expanding a moss carpet across a terrarium floor or a decorative rock. It mimics how moss spreads naturally in the wild.
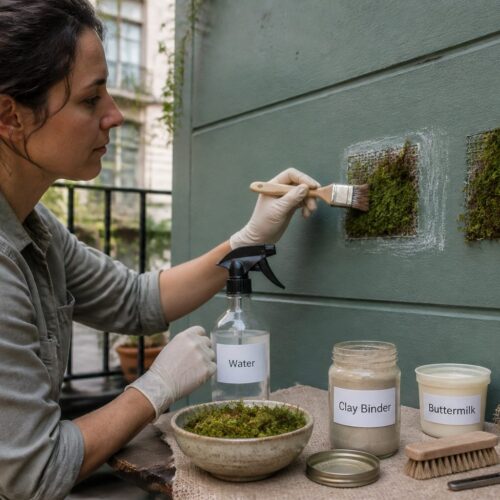
Another variation of division involves blending moss fragments with a small amount of buttermilk or water in a blender to create a slurry. This slurry can then be painted onto surfaces where you want moss to grow, such as rocks or wood. While often used for outdoor projects, it can work indoors on rough textures, though it is messier.
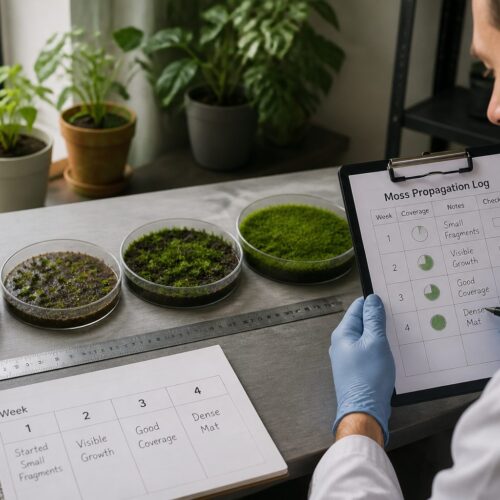
Regardless of the method, consistent moisture and stable conditions are critical for successful establishment. Avoid letting the moss dry out completely during the initial weeks after propagation. Regular checks ensure the moss is settling in properly and beginning its growth.
Humidity and Light Requirements Indoors
Feather moss indoor cultivation depends heavily on maintaining precise humidity and light conditions. Mosses do not possess true roots or a cuticle, meaning they absorb water directly from the air and rely on ambient moisture. High humidity is therefore non-negotiable for their survival and expansion.
For propagating feather moss indoors dense patches, aim for humidity levels between 70% and 90%, which is easily achieved in a closed terrarium or cloche. Regularly misting with distilled or rainwater also helps maintain the necessary moisture. Avoid tap water if possible, as it can leave mineral deposits on the moss over time.
Light requirements for Hypnum feather moss propagation are moderate and indirect. They thrive in bright, filtered light, similar to their natural forest floor habitat where they are shielded by tree canopies. Direct sunlight, especially through glass, can quickly scorch and dry out the delicate moss, leading to browning.
Position your moss container near a north-facing window, or a few feet away from an east or west-facing window. If natural light is insufficient, low-intensity LED grow lights can provide the necessary illumination. A light cycle of 10-12 hours per day is generally suitable for promoting steady growth without overexposure.
Signs of insufficient humidity include crispy or faded moss, while too much direct light causes bleaching or rapid browning. Observe your moss closely and adjust its environment as needed. Consistency in these conditions is more important than extreme measures.
Good air circulation is also important in a closed environment to prevent stagnant air and potential fungal issues, though this should not compromise humidity. Briefly opening the terrarium lid for 15-30 minutes once a week can refresh the air. This simple practice helps maintain a healthy balance.
Monitoring these environmental factors closely will contribute significantly to the success of your pleurocarpous moss spreading project. A hygrometer inside a closed terrarium can provide accurate readings, helping you fine-tune your misting schedule. Consistent attention to these details will yield lush, healthy moss.
Trimming and Shaping to Keep Patches Tidy and Dense
Regular trimming is essential for maintaining the aesthetic appeal and overall health of your propagating feather moss indoors dense patches. This practice encourages denser growth and prevents the moss from becoming leggy or overgrown, which can lead to thinning in the center. Think of it as pruning a miniature lawn.
Use small, sharp scissors to snip away any unruly or overly long sections of Hypnum feather moss propagation. You are not just tidying; you are also stimulating new lateral growth, which contributes to the desired thickness. This controlled maintenance ensures your moss remains a beautiful, compact carpet.
- Use sharp, clean scissors
- Trim leggy or discolored sections
- Cut uneven edges for a neat appearance
- Remove any brown or dead material
- Collect trimmed pieces for propagation
- Shape moss to fit container boundaries
- Trim every 2-4 weeks as needed
Preventing Browning in the Center of Large Mats
Browning in the center of large feather moss mats is a common issue for those propagating feather moss indoors dense patches, often indicating an underlying environmental problem. This usually occurs when the oldest parts of the moss are no longer receiving adequate light or moisture. Addressing this requires careful observation and adjustments.
One primary cause is insufficient light penetration to the inner layers of a thick mat. As the pleurocarpous moss spreading outward, the newer growth can shade the older, central parts. Ensure your light source is diffuse but adequate, allowing light to reach all sections of the moss. Consider rotating your container periodically to expose all sides to light.
Another significant factor is uneven moisture distribution. The outer edges of a large mat often receive more misting or condensation, while the center can dry out. When misting, make sure to apply water evenly across the entire surface of the Hypnum feather moss propagation. You might need to use a finer mister or gently lift edges to spray underneath.
Overcrowding also contributes to central browning. When a moss mat becomes too dense, air circulation can be restricted, and competition for resources increases. Regular trimming, as discussed previously, helps thin out the moss and allows light and air to penetrate more effectively. This proactive trimming prevents stagnation.
Nutrient deficiency, though less common for mosses, can sometimes play a role, especially if the substrate is completely inert over a long period. While mosses are not heavy feeders, a very dilute, balanced liquid fertilizer designed for houseplants can be applied sparingly. Use only a tiny fraction of the recommended dose, perhaps once every few months.
Finally, inspect for pests or fungal growth, which can sometimes manifest as browning. While mosses are generally resistant, stagnant conditions can encourage problems. If you notice any signs of disease, immediately isolate the affected area and consider removing it to prevent further spread. Proper air circulation helps deter these issues.
By diligently managing light, moisture, density, and air circulation, you can largely prevent central browning and keep your feather moss indoor cultivation looking uniformly green and healthy. These preventative measures are far more effective than trying to revive an already browned patch. Consistent care yields the best results.
Transitioning Feather Moss Patches Outdoors
Transitioning indoor propagating feather moss indoors dense patches to an outdoor environment requires careful acclimatization to ensure their survival. Mosses grown in the stable, high-humidity conditions of a terrarium are not immediately ready for the fluctuating temperatures and drier air outside. A gradual approach is key to success.
First, choose an appropriate outdoor location that mimics the moss’s preferred conditions: shade or partial shade, away from direct afternoon sun, and with consistent moisture. Hypnum feather moss propagation thrives in areas that stay damp, such as under trees, alongside shaded pathways, or on north-facing slopes. Observe your chosen spot throughout the day.
Begin the acclimatization process by gradually exposing the moss to outdoor air. For a closed terrarium, start by opening the lid for a few hours each day, slowly increasing the duration over a week or two. This helps the moss adjust to lower humidity levels and varying temperatures without sudden shock.
Once the moss has spent several days with the lid fully open, you can move the entire container outdoors to a sheltered, shaded spot. Leave it in the container for another week, continuing to monitor its response to the new environment. Look for any signs of stress, such as drying or discoloration.
When the moss appears well-adjusted, you can carefully transplant it to its permanent outdoor location. Prepare the outdoor substrate by moistening it thoroughly and ensuring it is free of loose debris. Gently press the moss mat onto the surface, making sure there is good contact for the rhizoids to anchor.
After transplanting, water the moss generously and continue to monitor it daily for the first few weeks. Regular misting or watering during dry spells will help the pleurocarpous moss spreading establish itself in its new home. Protecting it with a temporary shade cloth might be beneficial if the light proves too intense initially.