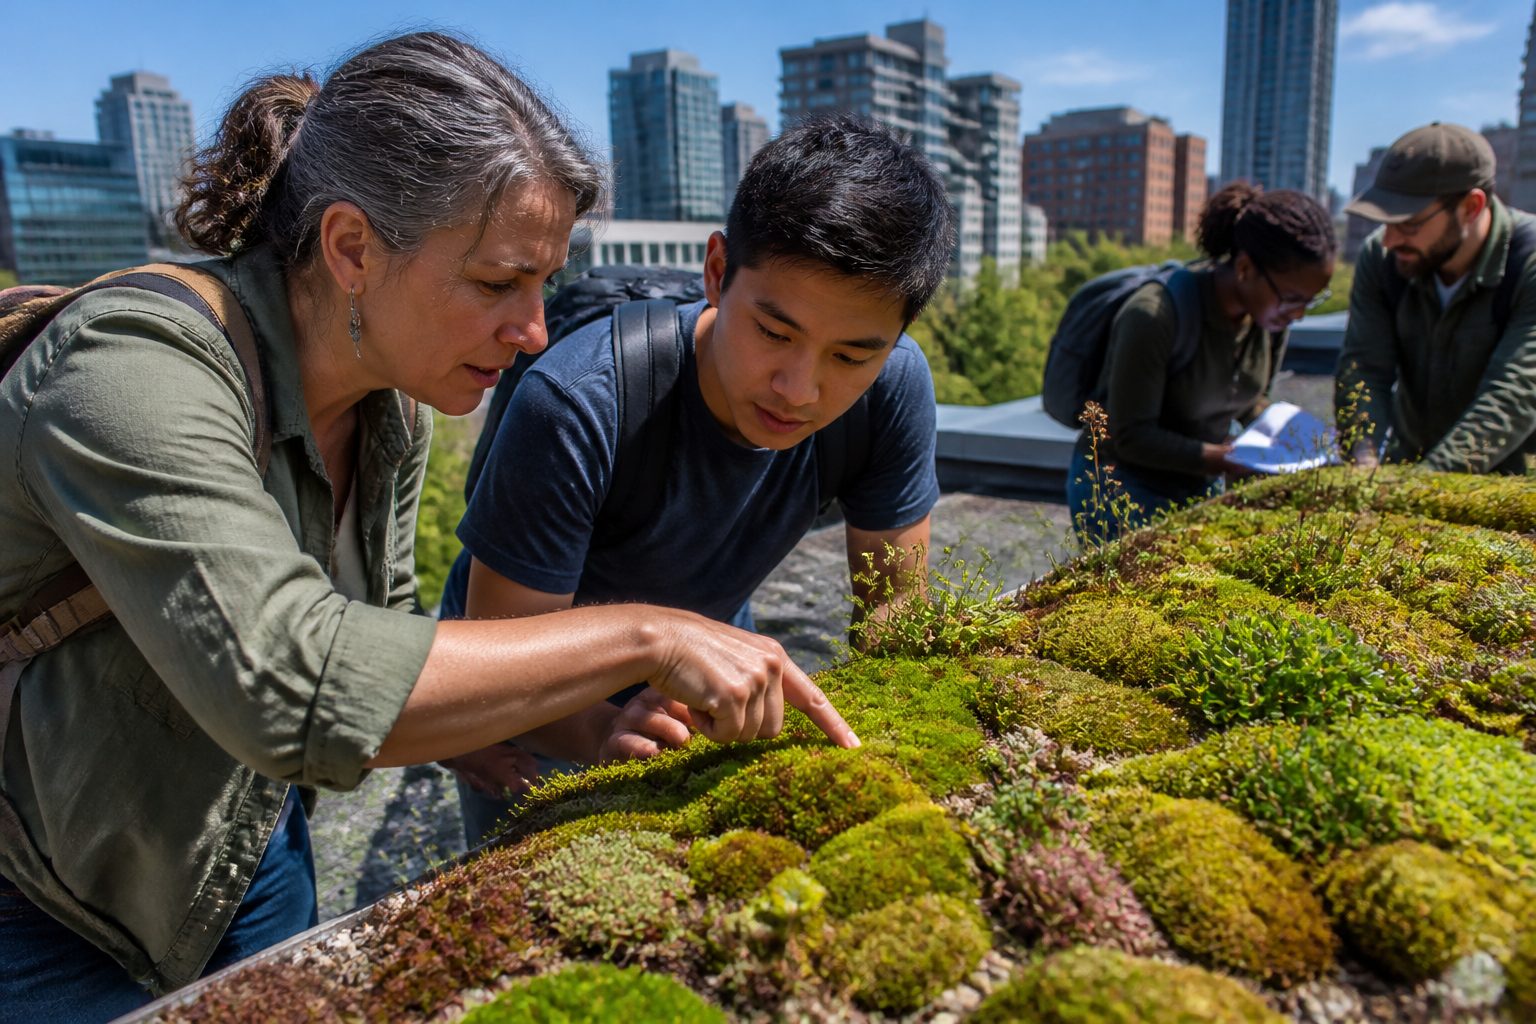
Green roofs look simple from the street, but up close they are a rough place to be a moss. Sun bakes the surface, wind strips moisture fast, and the growing media can be only an inch or two deep.
That is why moss identification for green roofs is less about memorizing a field guide and more about reading stress cues. If you can spot which plants handle drying and rewetting without falling apart, you can predict what will persist on your roof.
I like roof mosses because they are honest, they either cope or they disappear after one bad stretch of weather. When people ask for a “green roof moss” that stays green all summer, the answer depends on exposure, drainage, and how often the roof really dries out.
This article focuses on rooftop bryophytes you are likely to see on extensive systems and similar shallow builds. The goal is practical ID, so you can make a short list of candidates without claiming certainty when you only have a hand lens and a phone.
Why green roof conditions produce distinct moss communities
Green roofs select for species that tolerate fast drying, strong light, and thin substrate, so the moss mix differs from nearby lawns and shady walls. You often see the same few genera repeating from roof to roof because the filter is so harsh.
On an extensive roof, the moss layer may spend more time dry than moist, especially on windy corners. That favors drought tolerant moss types that can shut down quickly and restart after a short rain.
Nutrient inputs are odd on roofs, with bursts from dust, bird droppings, and decomposing sedum leaves. Mosses that handle periodic nutrient pulses without getting smothered by algae tend to hold their ground.
Temperature swings are bigger than most people expect, and the surface can heat far above air temperature on clear days. Species that hug the substrate or form tight cushions avoid some of that heat load.
Another roof-specific factor is mechanical abrasion from foot traffic, tools, and blown grit. Mosses that bind particles into a firm mat often survive where looser tufts get scuffed away.
Safety and access: observing roof mosses responsibly
Start with the boring part, get permission and follow the building’s access rules before you go hunting for rooftop bryophytes. Roof edges, skylights, and wet membranes are not places to improvise.
If you cannot use a proper walkway, do not step on the vegetation layer just to get a closer look. A single boot print can shear moss mats off the media, and the scar can stay visible for a year.
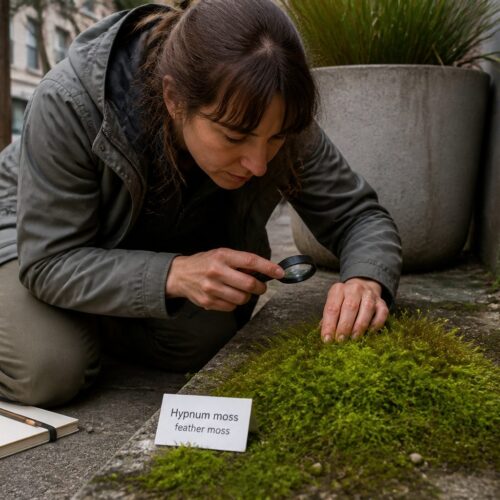
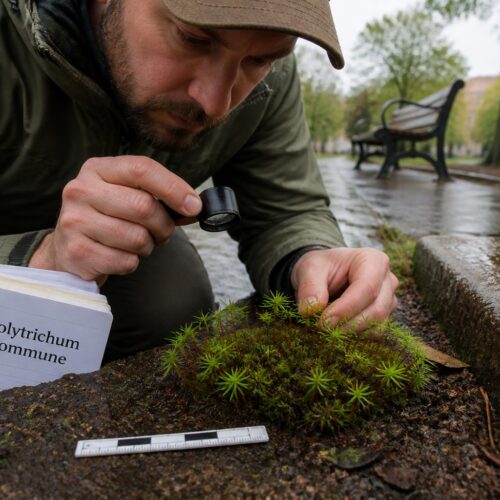
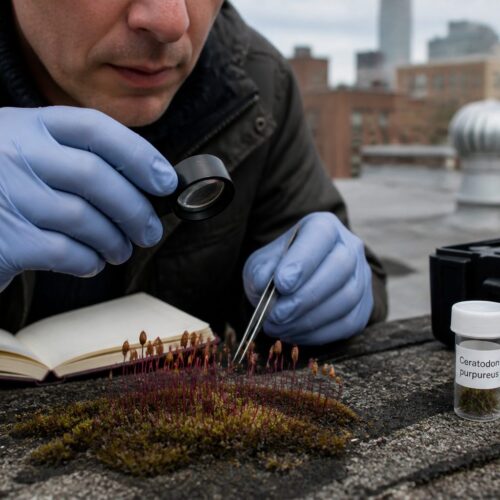
Bring a hand lens, a small ruler, and a phone that can lock focus close up, and leave scraping tools at home unless you have a sampling permit. Most moss identification for green roofs can be done from photos and gentle parting with a toothpick.
Pick a dry day for general mapping, then revisit after rain to see true color and leaf posture. Wet moss shows traits that dry moss hides, and the contrast helps you avoid misidentifying a stressed patch as a different species.
If you need a specimen for lab confirmation, take the smallest plug possible from an already disturbed edge. Put it in paper, not plastic, because sealed bags cook samples fast in the sun.
Microhabitats on roofs: drain areas, gravel borders, and shade pockets
Roofs look uniform until you pay attention to where water pauses, where grit collects, and where shade lands for part of the day. Microhabitats drive which green roof moss patches expand and which ones stall out.
I always start at drains and scuppers because they act like tiny wetlands between storms. You can find softer, taller moss there, while exposed ridges nearby hold only crusty mats or bare media.
| Roof microhabitat | What you see on the surface | Moss traits that tend to fit |
|---|---|---|
| Drain bowl and overflow zone | Longer damp periods, fine sediment, occasional standing water | Looser tufts, higher shoot density, frequent sporophytes |
| Gravel border and paver edges | Heat, reflected light, gritty abrasion, fast runoff | Tight cushions, low profile mats, strong attachment |
| Windward parapet corner | Media dries first, leaves sandblasted, winter desiccation | Drought tolerant moss forms, thickened leaf tips, compact shoots |
| Shade pocket under equipment | Lower light, longer dew retention, more algae risk | Flatter mats, greener tone, less hairpoint expression |
| Sedum canopy gap | Brief shade, then full sun, lots of leaf litter | Mat formers that shed debris and rehydrate fast |
Growth forms common on roofs (crusty mats, tight cushions, short tufts)
Growth form is the fastest filter for moss identification for green roofs, because roof species repeat the same architecture. If you learn three or four common forms, you can sort most patches before you even look at leaves.
Crusty mats spread like a thin skin over media or membrane edges, and they often look dead until rain hits. These are common in high sun zones, and they usually signal a moss that tolerates long dry spells.
Tight cushions look like little domes or pillows, and they resist wind because the shoots brace each other. When cushions dominate a roof corner, I assume that spot dries hard and often.
Short tufts stand up a bit more, and they show clearer individual stems when you part them. You see tufts more often where water lingers, like drain skirts or low spots behind a parapet.
Watch how the moss meets the substrate, because attachment style matters on roofs. A mat that peels up in sheets after a dry week is less reliable than one that grips media particles and survives a broom sweep.
Leaf traits linked to drying and rewetting cycles
Leaf behavior is where rooftop bryophytes show their priorities, and those priorities are usually water management. Many roof mosses twist, fold, or curl dry, then open within minutes of wetting.
Look for strong leaf costa, the midrib, because it helps the leaf keep shape during desiccation. A stout costa often pairs with a compact growth form, which is a common combo in drought tolerant moss species.
Hairpoints are another roof-friendly trait, and they can look like tiny white bristles at leaf tips when the plant is dry. They catch dew and fog, and they also reflect a bit of sun, which matters more than people admit on hot roofs.
Leaf margins can be rolled under, flat, or strongly recurved, and that changes how quickly the leaf surface loses water. Recurved margins often show up in exposed roof patches, where any extra boundary layer helps.
If you can get a sharp phone macro, capture the leaf tip and the way leaves overlap on the stem. Those two photos do more for green roof moss ID than a distant shot of a green smear.
Color and texture signals of sun and wind stress
Roof moss rarely stays evenly green, and color shifts can mislead beginners into inventing species that are not there. Sun and wind stress can turn the same patch from bright green to olive, bronze, or even gray within a month.
Dry crusts often look silvery because air gets trapped between curled leaves, and hairpoints become more visible. When rain returns, that same area can go deep green in ten minutes, which is why I never judge roof moss by dry color alone.
Texture tells you about structure, and structure tells you about water retention. A velvety surface usually means many upright leaf tips, while a glossy surface can mean compressed leaves or a film of algae.
Wind-stressed patches often show directional wear, with the windward side thinner and the leeward side thicker. If you see that pattern repeating around rooftop equipment, you have a clue about airflow, not species diversity.
Watch for blackened or bleached zones after winter, because freeze drying can damage exposed shoots. Some drought tolerant moss recovers from that by regrowing from protected stems at the base, so the patch looks ugly before it rebounds.
Sporophytes on roofs: when to look and what they indicate
Sporophytes are the stalks and capsules mosses use for spore release, and they can make identification much easier. On roofs, they also tell you the moss is reproducing rather than just hanging on.
You often see sporophytes after a run of cool, wet weeks, which in many cities means spring and fall. If a roof patch never produces capsules, it may still be a good green roof moss, but it might spread slowly.
- Scan after multi-day rain, not after a single shower
- Photograph capsules side-on and from above
- Note capsule shape, upright versus nodding
- Record seta length with a ruler or coin for scale
- Check for peristome teeth after capsules open
- Map where sporophytes cluster near drains or shade
Separating moss from sedum debris, algae, and lichen crusts
Roofs collect a mess of green and brown material, and misreads happen all the time. Moss identification for green roofs starts with confirming you are looking at moss, not a film or a crumbly crust.
Sedum debris can mat down and mimic a moss carpet, especially when old leaves bleach and tangle. If you tease it apart and find no stems with repeating leaves, it is litter, not rooftop bryophytes.
Algae often looks like a slick green stain that darkens when wet, and it has no obvious structure under a hand lens. If the patch smears onto your fingertip and leaves a green tint, treat it as algae until proven otherwise.
Lichen crusts are common on gravel borders and exposed pavers, and they can look like flat moss from a distance. Under magnification, lichens show a cracked, areolate surface or tiny cup structures, and they do not have leafy shoots.
Sometimes you get mixtures, with a drought tolerant moss growing through lichen or algae occupying gaps in a moss mat. In those cases, photograph the edge where one texture transitions into the other, because the boundary often reveals who is who.
Documenting roof mosses for long-term monitoring
If you want useful records, you need repeatable photos, not random closeups. A roof changes fast, and without a baseline you cannot tell whether your green roof moss is expanding or just shifting around.
Pick fixed points, like the northeast drain, a specific paver corner, or the base of an HVAC curb, and shoot the same frame each visit. I like one wide shot for context and three close shots that show texture, leaf posture, and any sporophytes.
Use a scale marker, even a small plastic ruler, because size is an ID clue and a health clue. A mat that thins from 8 mm to 2 mm height across summer is telling you about drought stress even if color stays green.
Record recent weather and irrigation, since roof moss responds to what happened last week more than what happened last month. If you are comparing roofs, note exposure and parapet height because wind patterns can change everything.
Keep your labels humble, like “cushion moss type A” or “hairpoint mat near drain,” until you confirm in the lab or with an experienced bryologist. That approach keeps monitoring honest and still gives you data you can act on.
Building a roof-specific species shortlist without overreaching
People want a clean list of species for every roof, but roofs punish certainty. A smart shortlist is based on traits and local observations first, then names second.
Start by separating your roof into zones, like full sun gravel edge, sedum canopy, and drain margin. Then match each zone to growth forms and leaf traits you already see surviving there.
For many North American roofs, common candidates for drought tolerant moss behavior include Syntrichia and Tortula types on the hottest edges, with Bryum and Ceratodon showing up where disturbance is frequent. You may also see Grimmia on gritty, mineral surfaces, especially where the roof mimics a rock outcrop.
I avoid claiming species from a single dry photo because too many roof mosses converge on the same look under stress. If you need a name for a report, write the genus with “cf.” only when you have clear leaf and capsule evidence.
The best shortlist is local, built from what your city’s roofs already host, not what a nursery catalog sells. When you base your green roof moss choices on nearby rooftop bryophytes, establishment gets easier and maintenance arguments get shorter.
Conclusion
Moss identification for green roofs works best when you treat the roof like a set of microclimates and read the moss as a response to those pressures. Growth form, leaf behavior, and stress color tell you more than a name pulled from a list.
If you document patches the same way each season, you will quickly learn which green roof moss types are stable and which ones are temporary visitors. Over time, that record becomes a practical guide to rooftop bryophytes that really handle sun, wind, and shallow media.