Most people start urban moss projects by tearing up chunks from sidewalks or roofs, then wondering why it browns out a month later. Moss propagation using spores takes longer, but it gives you clean starter material that adapts to your containers and surfaces.
You do not need a lab, but you do need patience and a willingness to work small. A few deli cups, a bright windowsill or cheap LED, and a careful routine can get you real results.
This article is written for beginner experiments where you want to see the whole life cycle up close. If you keep notes and accept slow progress, you can build a repeatable sterile propagation setup that fits on a shelf.
What spore propagation is and why it’s slower but rewarding
Spore propagation means starting moss from spores released by a mature moss spore capsule rather than from fragments of leafy shoots. Spores first grow into a threadlike stage called protonema, and only later form buds that become familiar leafy stems.
This is why moss propagation using spores feels slow compared with blending moss or pinning down clumps. You are watching a tiny plant build itself from scratch, and that takes time even when everything goes right.
The payoff is control, because you can start with a known parent patch and avoid hitchhiking algae, insects, and random liverworts. For small urban trials, that control matters more than speed.
Spore starts also scale nicely, because one capsule can seed many containers if you sow lightly. If you want to test different surfaces like brick, concrete, bark, or ceramic tile, spores make that easy.
I also like spores because they teach you what moss actually needs, not what a rescued clump tolerated outdoors. When your first protonema shows up, you know your spore germination conditions are at least close.
Finding and collecting spore capsules at the right stage
Look for local moss patches that already handle your city’s heat, wind, and dirty rain, because their genetics are already street tested. Sidewalk cracks, old retaining walls, shaded roof edges, and damp brick planters are common capsule producers.
A moss spore capsule sits on a stalk and changes color as it matures, often from green to tan, brown, or reddish brown depending on the species. You want capsules that look full and firm, not collapsed or already split open.
If the capsule has a cap-like lid still attached and the stalk is upright, it is often close but not fully open. If you see a neat open mouth with teeth-like structures, the capsule has started releasing spores and you may lose a lot during handling.
Use small scissors or nail clippers and cut the stalk, then drop the capsule into a clean paper envelope or a folded coffee filter. Plastic bags trap moisture and can turn your collection into a mold farm before you get home.
Label the envelope with location, surface type, and date, because you will forget and then regret it later. If you can, take a quick photo of the parent patch so you can match growth habits when your cultures mature.
Clean handling: reducing contamination in a simple home setup
Contamination is the main reason beginners quit, because mold grows faster than moss every single time. A sterile propagation setup at home is basically a system for keeping your spores away from dirty air, dirty hands, and dirty tools.
Work on a wiped-down table, wash your hands, and treat your containers like you are packing food for a picky toddler. If you can swing it, a clear plastic tote turned on its side makes a decent still-air box for quick sowing sessions.
| Contamination source | What it looks like early | Simple prevention step |
|---|---|---|
| Airborne mold spores | Fuzzy dots on medium edges | Sow inside a tote still-air box |
| Dirty tools | Streaks or spots near where you touched | Wipe tools with 70% isopropyl alcohol |
| Wet, unclean capsules | Cloudy film spreading from capsule debris | Let capsules dry, open them over the container |
| Overly rich medium | Fast green slime before protonema | Use low nutrient substrate, avoid fertilizer |
Choosing a growth medium: agar alternatives and fine substrates
Agar plates are great for seeing early stages, but you do not need agar to do moss propagation using spores. For beginner containers, fine mineral substrates often work better because they drain, resist rot, and mimic urban surfaces.
Good low-drama options include rinsed sand, crushed granite chicken grit, or very fine pumice sold for bonsai. Avoid potting soil at first, because it carries microbes and holds too much water for tiny protonema.
If you want a semi-sterile base without agar, try a thin layer of coconut coir that you rehydrate with boiling water, then cool with the lid on. Coir is not sterile, but it is predictable if you keep it lean and do not feed it.
For experiments on hard surfaces, you can also sow onto pre-wetted unglazed ceramic tile, a slice of bark, or a small chunk of concrete. The trick is to keep a thin water film without flooding, because spores drown easily.
I like to run two media side by side, one mineral and one tile, because they fail in different ways. When one gets algae, the other often stays clean enough to keep the project moving.
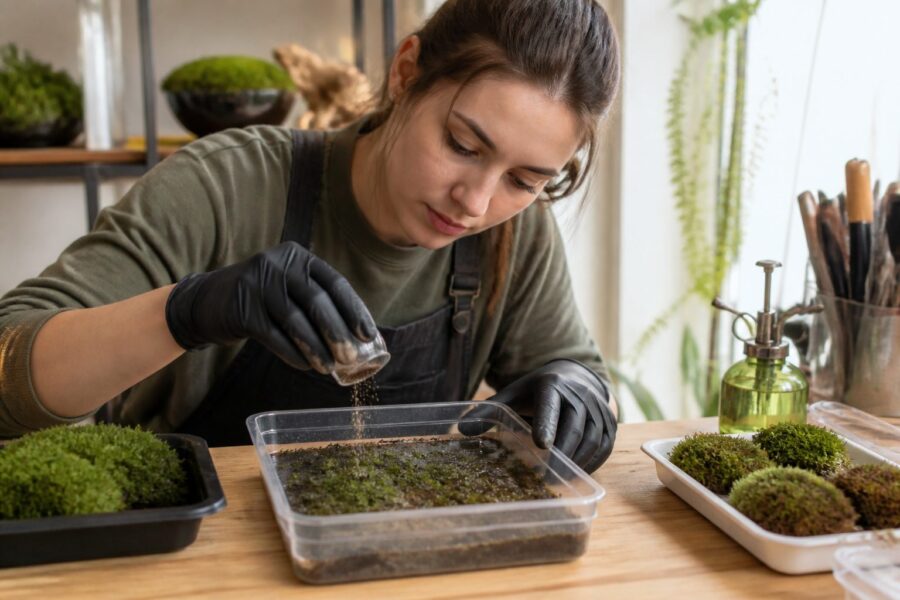
Sowing spores evenly: techniques for small containers
Even sowing matters because clumps of spores trap moisture and invite mold, while bare areas dry out and stall. You want a light dusting, like you are salting fries and trying not to overdo it.
Open the moss spore capsule over your container and tap it gently, then close the lid right away. If the capsule is stubborn, roll it between two clean spoons or crush it inside a folded paper square and shake the dust out.
For tiny cups, sow onto the lid instead of the base, then flip the lid onto the cup like a clamshell so the spores fall evenly. This sounds fussy, but it reduces the urge to hover and breathe into your container.
If you need more control, mix the spores with a pinch of sterile, dry sand and sprinkle the mix. The sand acts like a carrier so you can see where you have already sown.
Do not mist right after sowing unless your surface is bone dry, because droplets push spores into piles. A better move is to pre-wet the medium, sow, then leave it alone for the first day.
Humidity and temperature: keeping conditions stable
Humidity is the throttle for early growth, because spores and protonema dry out fast and do not bounce back like adult moss. A sealed deli cup or food container gives you stable spore germination conditions without constant spraying.
Room temperature works for many common urban mosses, and I aim for roughly 65 to 75 F if I can. Big swings slow everything down, so keep containers away from sunny window heat and cold night drafts.
- Use clear deli cups with tight lids
- Pre-wet medium until evenly damp, not shiny
- Crack lids for 5 to 10 minutes weekly
- Keep cups off cold windowsills at night
- Avoid heaters, routers, and warm appliances nearby
- Wipe condensation pools before they drip
Light needs for early stages: gentle, consistent exposure
Early moss stages like steady light, but harsh sun turns sealed containers into tiny ovens. Bright shade is the sweet spot, where you can read a book comfortably but the light is still strong.
If you use LEDs, a simple 5000K shop light on a timer is enough for small experiments. I run 12 to 14 hours daily, because consistency beats intensity for most beginner setups.
Keep the light a bit farther away than you think, especially with clear lids that focus heat. If the container walls stay fogged all day and the medium looks waterlogged, back the light off and cool things down.
Do not chase fast growth with high power grow lights at this stage, because algae loves that plan. Gentle light slows the green slime that often shows up before moss gets established.
Rotate containers once or twice a week so one side does not hog the light. This small habit makes your patches grow more evenly, which helps later when you transfer them.
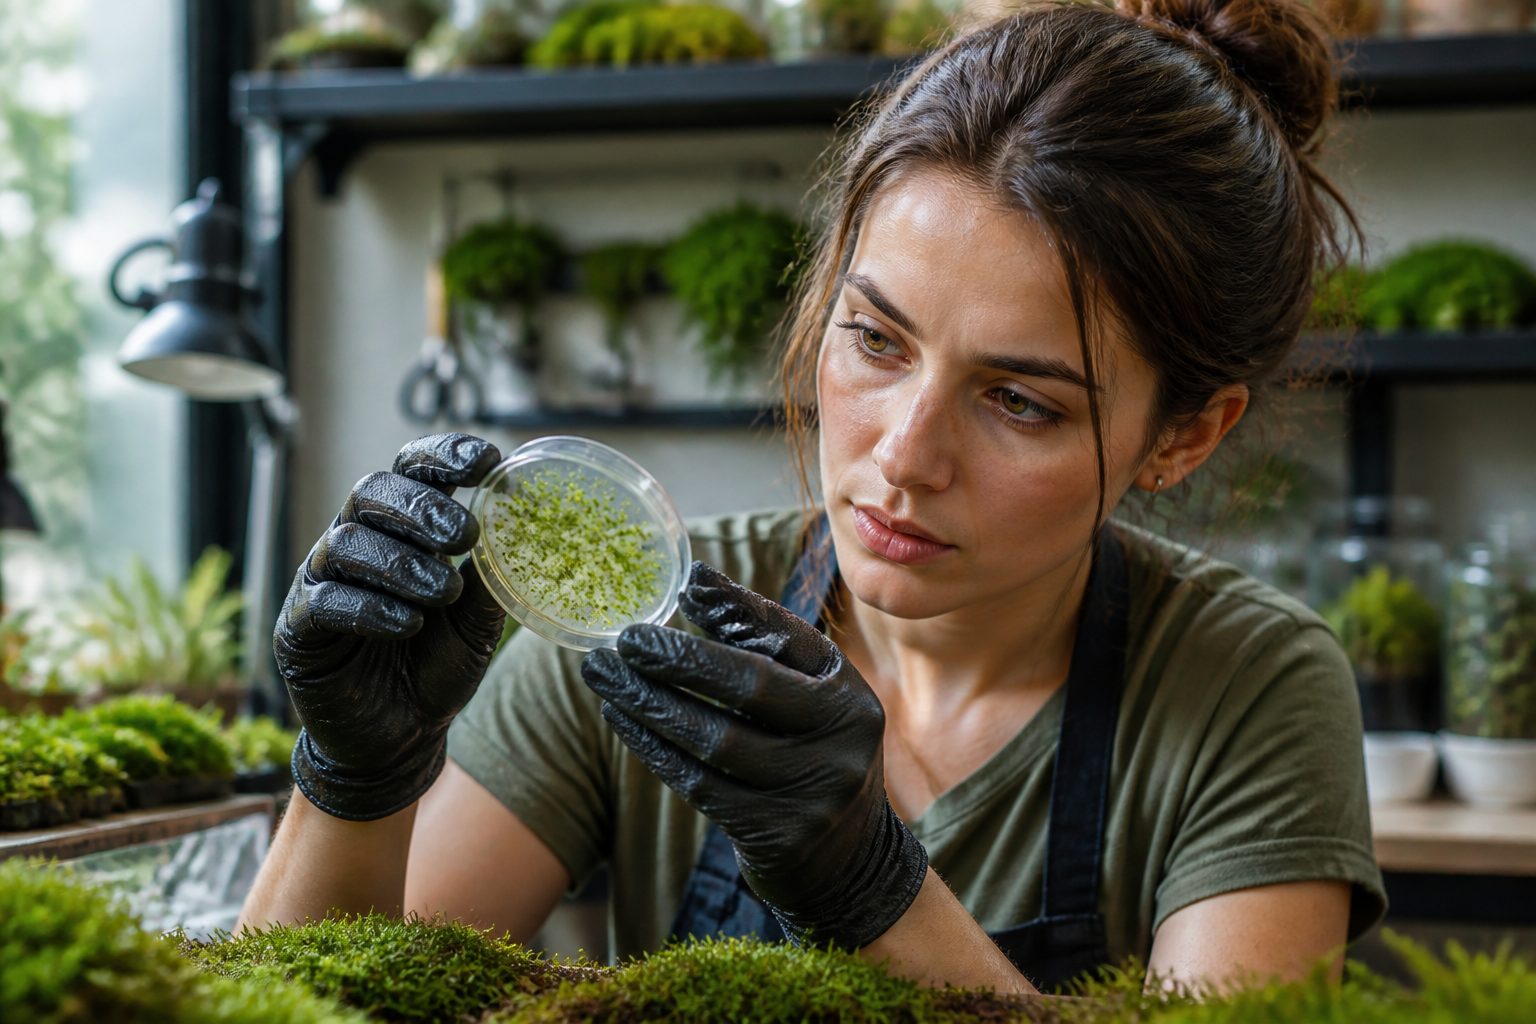
What you’ll see first: early growth stages to watch for
The first sign is usually a faint green haze on the surface, and it can take two weeks or it can take two months. If you see fuzzy white growth first, that is usually mold and you need to act fast.
Protonema looks like green threads or a thin film, and under a cheap clip-on macro lens it becomes obvious. This is the stage where many beginners mistake moss for algae, because both are just green at a glance.
After protonema spreads, you may notice tiny bumps that look like green pinheads. Those bumps are buds that can turn into leafy shoots if your spore germination conditions stay stable.
Expect uneven timing even within one container, because spores do not all wake up together. A corner might be weeks ahead of the center, especially if condensation drips or light hits at an angle.
Keep a simple log with dates and quick notes like “green haze” or “first buds,” because memory lies when you are waiting on slow plants. Photos taken from the same angle each week make progress real when it feels like nothing is happening.
Transferring young growth to new surfaces without loss
Transfer too early and you rip up protonema, but transfer too late and your container turns into a crowded swamp. I usually wait until I see small leafy shoots that hold together when nudged with a toothpick.
Work damp, not wet, because a dripping mat slides and tears. If your culture is on sand or grit, lift small patches with a flat plastic plant label or a butter knife wiped with alcohol.
For tile or concrete starts, you can often move the whole piece to a new humid box and just change the airflow. This is the cleanest transfer method, and it keeps the young moss anchored.
If you need to move to bark, brick, or a vertical surface, press the patch gently and keep it humid for a couple of weeks while it grabs on. A thin mesh or a strip of cotton thread can hold it in place without smothering it.
After transfer, reduce condensation drips by tilting the lid or adding a paper towel strip to catch water. Drips can blast a young patch loose, and that kind of setback is annoying after months of waiting.
Troubleshooting contamination and stalled development
If you see mold, isolate the container right away so you do not seed your whole shelf with spores. You can sometimes save clean areas by scooping them into a fresh cup, but do it quickly and accept some loss.
Green slime that spreads fast is usually algae, and it often means too much light, too much moisture, or a medium that is too rich. Reduce light intensity, crack the lid more often, and stop misting for a while.
Stalled development often comes from drying cycles you did not notice, like a lid that does not seal or a heat source nearby. Check for hairline gaps and weigh the container in your hand, because a lighter cup usually means it is drying out.
If you have protonema but no buds after a long time, try slightly more airflow and a small bump in light. Many mosses seem to switch gears when conditions are stable but not stagnant.
When nothing germinates at all, the simplest explanation is bad timing on collection, because an immature moss spore capsule may not contain viable spores yet. Go back to the parent patch, collect capsules at a later stage, and run a second batch with cleaner handling.
Conclusion
Moss propagation using spores rewards careful habits more than fancy gear, and that is good news for small urban experiments. A basic sterile propagation setup, light sowing, and stable spore germination conditions can get you from capsule dust to real shoots.
The slow pace is part of the deal, so plan on months, not weekends, and keep your experiments small enough that you can stay consistent. Once you get one container to bud and thicken, you will have starter material you can expand across new surfaces with confidence.

