Cushion moss looks tough, but it bruises easily when you treat it like a flat sheet of lawn. If you want more pillows without turning them into green crumbs, you have to work with how the clump is built.
This guide focuses on moss propagation from cushion moss using splits and careful anchoring, not blending it into a slurry. The goal is simple, keep the dome shape while you multiply clumps and get them to grab a new surface.
I like cushion moss because it stays sculptural in tiny urban gardens, tray planters, and bonsai pots where other mosses flatten out. The tradeoff is that cushion moss care is less forgiving when you rush the first month after division.
How cushion moss grows and why it propagates differently than flat mats
Cushion moss grows upward and outward at the same time, stacking short stems into a dense dome. That dome holds air pockets and moisture in the core, which is why it keeps its rounded look.
Those air pockets are not just cosmetic, they are part of the moss’s survival strategy. When you crush the dome, you collapse the structure that buffers the plant from quick dry downs.
Each cushion is basically a crowd of tiny shoots packed so tightly that the outside behaves like a skin. That “skin” slows evaporation, but it also means damage on the surface can spread inward if you tear it up.
Flat mat mosses spread like a carpet, so you can tear and press them down and they usually recover. Cushion types hate being pancaked because crushing breaks the stem tips that drive new growth.
With a mat, a ripped edge often turns into a new leading edge. With a cushion, a ripped crown often turns into a bald spot that takes months to fill back in.
When you do moss propagation from cushion moss, you are really dividing a living sponge with a skin. If you shred the outer layer too much, the clump dries fast and the center turns brown.
The center browning is usually not a mystery disease, it is a moisture and airflow problem you created during handling. Once the core goes dull and brittle, it stops supporting the dome and the whole thing slumps.
The best clump moss propagation keeps each piece thick enough to stay springy. Thin slices behave like scraps, and scraps dry before they ever attach.
Thickness also gives you a margin of error while you learn your watering rhythm. A thick wedge can handle one missed misting, while a thin shaving can be ruined in a single dry afternoon.
Cushion moss also attaches slowly compared with weedy sidewalk moss. Plan for a patient, steady setup rather than a weekend project that you forget about.
Slow attachment is normal, and it does not mean you failed on day three. What matters is that the clump stays stable and clean while it builds those first contact points.
If you keep expectations realistic, cushion moss is actually predictable. It does not explode with growth, but it also does not randomly die when the basics are right.
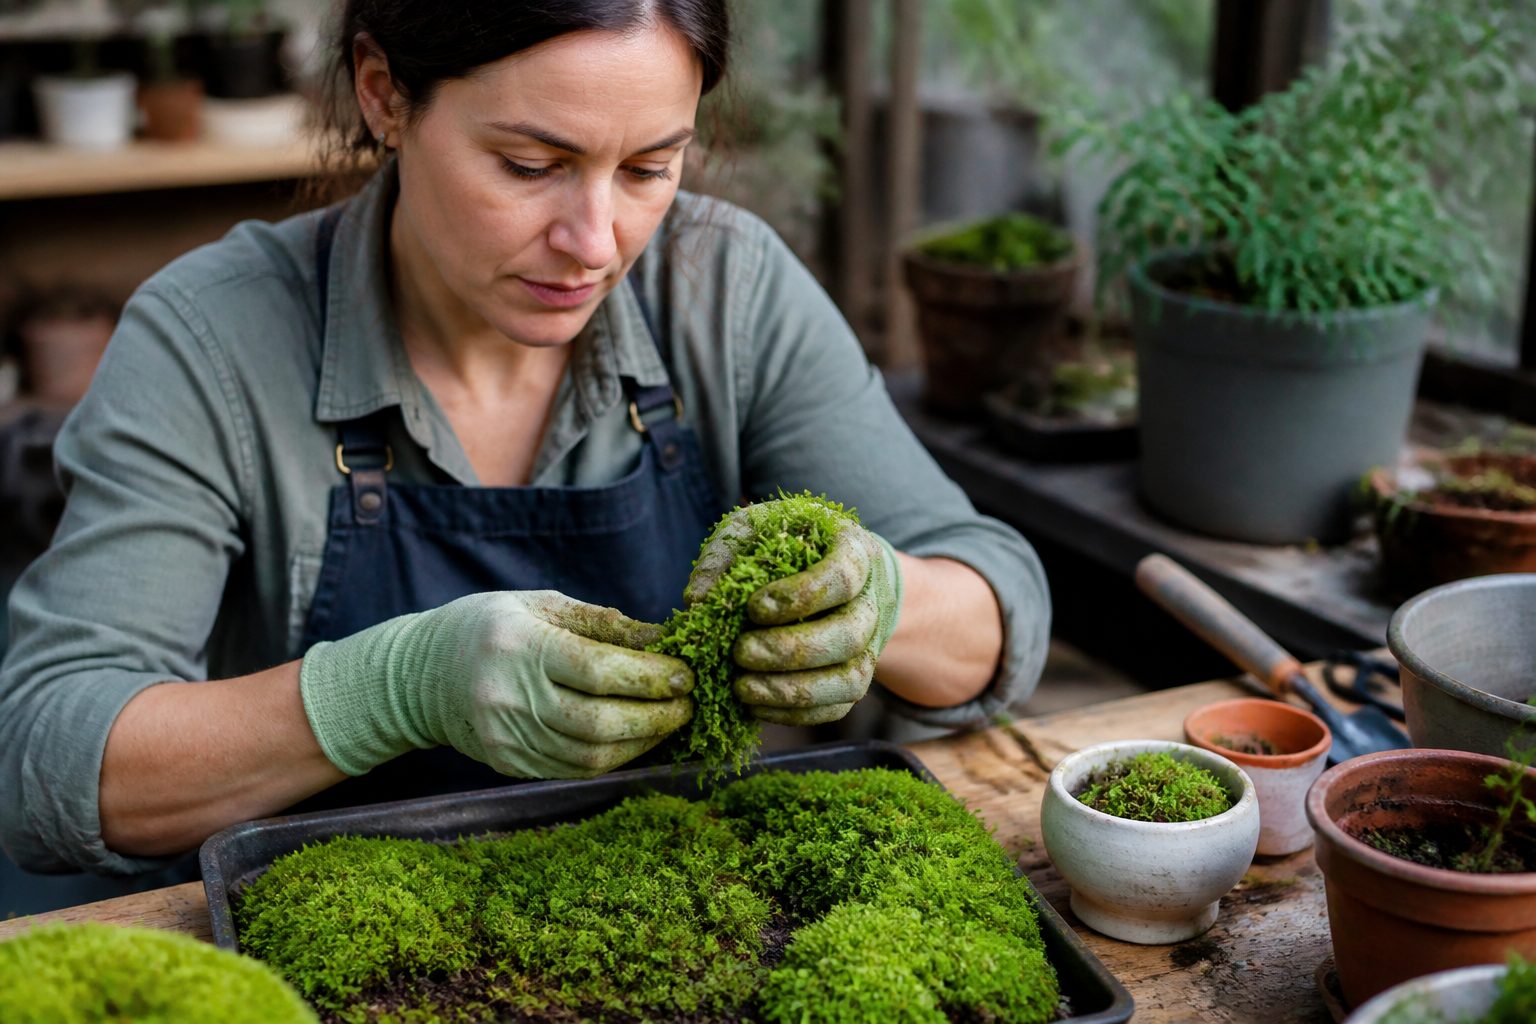
Picking donor clumps: size, firmness, and color cues
Start with donor clumps that are at least the size of a quarter, and bigger is better if you can spare it. Tiny domes look cute, but they do not have enough stored moisture to handle division stress.
If you only have small cushions, let them grow for a season before you start splitting. The patience pays off because larger donors give you cleaner wedges with less crumbling.
Press the clump gently with a fingertip and pay attention to spring, not squish. A good donor feels like a firm kitchen sponge, and a bad donor feels mushy or brittle.
Mushy donors often come from places that stay wet all day, like the shaded edge of a leaking pot or a constantly misted terrarium corner. Brittle donors often come from spots that bake, like a shallow rock ledge with reflected heat.
Color tells you more than people admit in cushion moss care. Strong donors are green through most of the dome, while weak donors show gray tips, yellowing, or a brown ring near the base.
I also look for an even color gradient from top to bottom, because patchy color can mean uneven moisture in the clump. A dome that is green on one side and dull on the other is harder to divide into equal, healthy pieces.
Avoid clumps with a lot of blackened stems in the middle, because that can mean old rot from chronic waterlogging. You can still keep them as display moss, but they are poor stock for clump moss propagation.
If you really want to rescue a clump like that, take only the healthiest outer skirt and leave the questionable core behind. That outer ring is usually where the active growth is anyway.
If you harvest from outdoors, pick from clean stone, bark, or compacted soil rather than from spots dusted with road salt. Salt stress often shows up later as bleaching and stalled growth on the new site.
Outdoor harvesting also means you should avoid clumps that are full of grass seedlings and random grit. Every extra contaminant is something you will have to pick out later while trying not to dent the dome.
If you are buying cushion moss, inspect it like produce and not like decor. A tray that looks fluffy from far away can still be hiding a lot of brown bases and loose, dry cores.
Donor selection is where you win most of your success, because healthy stock forgives small mistakes. Weak stock turns every small mistake into a collapse.
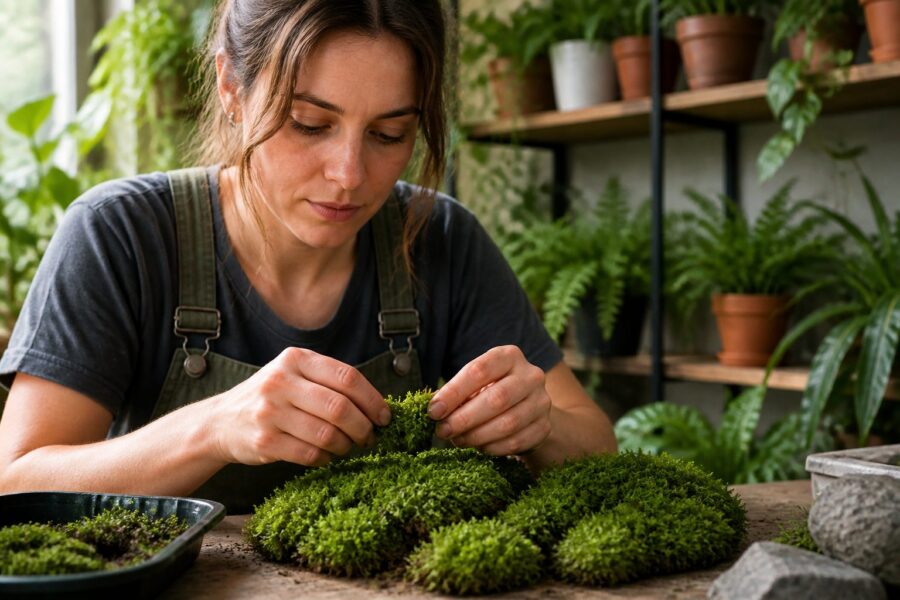
Splitting cushion moss cleanly: tools, timing, and gentle handling
Split cushion moss when it is damp, not dripping, because dry moss shatters and soaked moss smears apart. I mist, wait ten minutes, then work while the clump is pliable.
If the clump was stored very dry, I mist twice with a short pause in between so the moisture penetrates instead of just wetting the surface. You want the dome to flex slightly when you lift it, not crack at the edges.
Use a thin butter knife, a scalpel, or small bonsai scissors, and keep your hands dry so you do not mash the dome. Your goal is two or three thick wedges, not confetti.
I like to decide the split lines before I cut, because hesitation is how you end up tearing instead of slicing. A clean cut preserves more intact tips, and tips are what make the split look alive.
When you cut, go straight down and commit, then gently pry the sections apart. If you wiggle the blade like you are carving wood, you shred the stems and the edge dries out.
Try to keep the top surface facing up the whole time. Flipping the clump over is a common beginner move, and it usually ends with the dome getting flattened on the table.
If the donor has a bit of soil stuck to the base, do not wash it aggressively. A small amount of native grit can actually help the split pieces grip the new surface.
I only rinse if there is obvious mud that will smear onto the crown. Even then, I swish the base quickly in clean water and blot it, rather than running it under a hard stream.
| Tool or condition | Best use during splitting | Common mistake to avoid |
|---|---|---|
| Scalpel or craft knife | Clean vertical cuts through dense cores | Sawing back and forth and shredding tips |
| Bonsai scissors | Trimming ragged edges after the main split | Snipping the green top into a flat pad |
| Butter knife | Gentle prying to separate wedges | Levering hard and crushing the dome |
| Damp, rested clump | Holds together while you divide | Working bone dry or dripping wet |
After splitting, I set the pieces aside on a damp paper towel for a few minutes while I prep the receiving surface. That short rest keeps them from drying at the cut edges while you scramble.
If you see loose crumbs and dust, do not try to reassemble them into a dome. Those crumbs are better sprinkled into gaps as a cosmetic filler, not treated as a real propagation unit.
A good split should still look like a tiny cushion, just smaller. If it looks like a thin green pancake, you cut it too shallow.
Timing matters too, and I avoid splitting right before a heat wave or a long trip. The first week needs attention, and cushion moss does not like being left to guess.
Preparing the receiving surface for stable contact
Cushion moss attaches where stems touch a stable, slightly textured surface. Smooth glazed pottery and polished stone look nice, but they are a bad match unless you rough them up.
The texture does not need to be dramatic, it just needs micro grip. Even a lightly pitted rock or a gritty soil crust gives the stems something to hook into as they settle.
I prep rock or concrete by scrubbing off dust and algae with a stiff brush and plain water. If the surface is oily or sooty, attachment slows and the base stays slick.
If you are working with found stone, let it dry and then brush again, because fine dust can reappear as it dries. That dust turns into a slippery paste the first time you mist.
For soil or bonsai substrate, tamp it firm so the clump does not sink as you water. A sinking clump loses airflow and the bottom starts to rot, which wrecks the cushion profile.
I also level the spot where each dome will sit, because a lumpy base forces you to press harder to get contact. The more you press, the more you flatten, and then you are fighting your own setup.
A thin dusting of fine mineral grit helps, like crushed granite, decomposed granite, or coarse sand. Skip rich compost, because nutrients push algae and liverworts that creep over the dome.
Mineral grit also makes it easier to adjust the dome later without tearing roots, because it shifts cleanly. Organic mixes tend to smear and stick, which makes gentle repositioning harder.
Before placing the divided pieces, mist the receiving surface until it is evenly damp. Wet puddles are a problem, but a dry surface steals moisture from the clump too fast.
I aim for the surface to look darker but not glossy. If it looks glossy, I blot with a paper towel or wait a few minutes before placing the moss.
If you are mounting on wood, choose weathered wood rather than freshly cut resinous pieces. Fresh resin can repel water and create dry zones right where you need steady contact.
For indoor trays, I like a shallow layer of gritty substrate rather than bare plastic. Plastic stays slick and encourages puddling, which is the opposite of what cushion moss wants at the base.
Anchoring methods that keep the “cushion” look (without smothering it)
The easiest way to ruin a dome is to press it down like you are installing sod. You want contact at the base while the top stays airy and rounded.
I think of anchoring as preventing movement, not forcing adhesion. If the dome stays still, it can slowly grip on its own without being crushed into place.
My default is the moss pinning method with thin U shaped stainless floral pins or bent paper clips. I pin at the edges, not through the crown, so the green top never gets strangled.
Two pins are usually enough for a quarter sized split, and three pins are plenty for larger wedges. Too many pins turn into a cage that traps debris and makes cleaning annoying.
Fishing line works on rocks and driftwood where pins cannot bite. Wrap loosely around the base like a belt, and remove it once the clump resists a gentle tug.
If you use fishing line, choose a thin line and avoid crossing over the crown. A line across the top makes a permanent crease, and cushion moss does not bounce back like foam.
For tiny clumps in trays, a few grains of grit pressed around the base can hold them steady. This looks natural and avoids the common mistake of burying the sides to make them stay put.
That grit collar should sit like a ring around the skirt, not like a mound climbing up the sides. When you bury the sides, the dome loses its clean edge and starts to look like a lumpy hill.
Avoid glues unless you know exactly what is in them, because many craft adhesives trap moisture and grow mold underneath. If you must use something, use a tiny dot at the base only, then keep airflow high.
Even “safe” glue can create a dead zone where water cannot evaporate. That dead zone is where you find the first brown patch when everything else looks fine.
If you are anchoring to a vertical or sloped surface, use more support than you think you need at first. Gravity slowly shifts a fresh split, and a one millimeter slide can break the first weak attachment points.
Once the clump is anchored, leave it alone and let it settle. Constant adjustments are basically repeated micro trauma, and cushion moss responds by drying and tightening instead of expanding.
Watering cushion moss: keeping the core moist without waterlogging
Cushion moss watering is a balancing act, because the dome can look dry on top while the core stays wet. If you water on a schedule instead of by touch, you will eventually rot a few clumps.
I check moisture by looking at color and then gently touching the side of the dome near the base. If the base feels cool and damp, I hold off even if the top looks a bit lighter.
Mist until the surface darkens, then stop before droplets bead and roll into the center. A fine mister beats a squeeze bottle, because heavy drops punch dents into the cushion.
If you only have a heavy sprayer, spray upward and let the mist fall like fog rather than blasting the dome directly. The goal is even dampness, not a localized soaking.
Water quality matters more than most people expect, especially in shallow trays. Hard water leaves minerals on the tips, and those deposits can make the surface look dull and stressed.
If you have to use tap water, let it sit overnight so chlorine can dissipate, and avoid spraying until runoff. Runoff drags minerals into the core and keeps the base wet longer than it should be.
In dry indoor air, people often overcompensate with constant misting. It is usually better to mist lightly and increase humidity around the setup than to keep the dome wet all day.
A simple humidity tray nearby or a loose cover with daily venting can stabilize moisture without drowning the moss. The trick is humid air and a damp base, not stagnant wetness.
- Mist with a fine sprayer, not a stream
- Water when the dome lightens in color
- Keep the base damp, never submerged
- Empty saucers and trays after watering
- Increase airflow before reducing watering
- Use rainwater or low mineral water when possible
If you keep your cushions outdoors, rain can be both helpful and risky. A gentle rain is perfect, but long storms can saturate the core and invite rot if the clump sits in a puddle.
After heavy rain, I tilt trays to drain and I make sure the clumps are not sitting against soggy leaf litter. Cushion moss can handle a lot, but it hates being sealed against wet debris.
When a clump is newly divided, it usually needs slightly more frequent misting than an established dome. Once it attaches, you can let it dry a bit more between waterings to keep the core healthy.
If you see the dome shrinking and tightening dramatically, it is too dry too often. If you see the base darkening and the dome feeling heavy, it is staying wet too long.
Light placement: preventing bleaching on the top surface
Bleaching happens when the top of the dome takes strong sun while the base stays wet. That combination cooks the tips and you end up with a pale cap that never quite greens back up.
Bleaching can also happen under intense indoor lights if the dome is too close and the air is dry. The moss is small, but it still responds like a living surface that can overheat.
Bright shade is the sweet spot for most cushion species used in urban moss cultivation. Morning sun can work, but hard afternoon sun on a balcony usually turns into crispy tips.
If you only have a sunny spot, use a sheer curtain or place the tray behind taller plants that filter light. Dappled light mimics the woodland edge conditions where cushion moss often looks its best.
Indoors, place the tray near an east window or under a modest LED grow light, and keep the light high enough to avoid hot spots. If the moss is directly under a strong light, rotate the tray every few days so one side does not fade.
I also pay attention to reflected light from white walls and glass, because it can double the intensity on the crown. A dome near a bright window can be fine in winter and suddenly too much in late spring.
Watch the color shift, because it shows stress earlier than texture does. When the top turns yellow green and stays that way after misting, reduce light or increase distance.
If the dome turns dark and loose while staying wet, you may have gone too dim and too humid at the same time. Cushion moss can tolerate low light, but it tends to lose density if it is pampered in the dark.
If you want deeper green, chase humidity and steady moisture before you chase dimness. Many people move moss to a dark corner and then wonder why it stretches and loosens into a shaggy mound.
Seasonal changes matter, especially on windowsills. A spot that is perfect in January can be harsh in July, so adjust placement before you see damage.
When you change light, change it gradually if you can. Sudden shifts are when you see the most tip burn, particularly on newly divided clumps that are already stressed.
Managing weeds, algae, and debris that distort the cushion shape
Debris is the quiet killer of the dome shape, because it makes little wet pockets that stay slimy. A single stuck leaf can hold moisture long enough to rot a crater into the top.
Even tiny bits of bark can wedge between stems and create a permanent dent. The dome wants to be uniform, so anything that sits on top becomes a pressure point.
I remove grit, twigs, and seed husks with tweezers, not fingers. Fingers are clumsy and they compress the tips, which slows recovery after moss propagation from cushion moss.
Tweezers also let you lift debris straight up instead of dragging it across the crown. Dragging is what pulls tips and leaves fuzzy scars on the surface.
Algae shows up as a shiny film on the substrate around the base, and it spreads when light and nutrients are high. Scrape it back, reduce fertilized runoff, and stop using compost heavy mixes near the clumps.
If algae keeps returning, it is usually telling you the surface stays wet too long. Improving drainage and airflow does more than any quick cleaning session.
Weed sprouts are easiest to pull when they are small, because their roots tunnel into the moss base fast. If you wait until you can identify the plant, you will rip a chunk of cushion out with it.
When I pull a sprout, I pinch the stem low and pull slowly while supporting the moss with tweezers. That support keeps the dome from lifting and breaking its early attachment points.
If you keep moss in a covered bin for humidity, open it daily for fresh air. Stale air plus constant wetness is how you get fuzzy mold that mats the surface and ruins the cushion look.
Mold is often a sign you are trapping too much moisture after misting. A slightly ajar lid, a few vent holes, or a small fan across the room can change everything.
I also avoid letting dead moss sit in place, because it becomes a sponge for algae and fungus. If a patch is clearly gone, I trim it out cleanly rather than hoping it will magically revive.
Keeping the area around the domes clean makes the domes look cleaner too. Cushion moss is sculptural, so a tidy base makes the shape read as intentional instead of messy.
Encouraging side growth so clumps expand and knit together
After clump moss propagation, the fastest new growth usually comes from the sides, not the top. The edges have more contact points and they stay evenly moist.
That side growth is what gives you the “skirt” that eventually thickens into a wider cushion. When the skirt stays healthy, the dome keeps its lifted look instead of turning into a flat pad.
Space divided cushions close enough that their skirts can touch as they expand, but do not jam them together on day one. When you crowd them early, the contact area stays wet and the seam turns brown.
I like to leave a small gap that looks a little too wide at first. In a few months, that gap often disappears as the domes swell and the edges knit.
Keep the substrate around the clumps slightly rough so new stems can grab and creep. On bare smooth stone, the dome may stay the same size for months even with perfect cushion moss care.
If you are working on stone, adding a thin smear of mineral grit into the pores can help. You are not feeding the moss, you are just giving it texture to colonize.
If a clump leans, correct it early with a tiny reposition and a new pin, because leaning becomes permanent. Once the base attaches at an angle, the dome grows lopsided and looks like a bad haircut.
Leaning is often caused by uneven moisture or a slope you did not notice. Fixing the base contact and the anchoring usually fixes the shape without any trimming.
Resist the urge to feed it, because fertilizer favors algae and fast weeds over moss. If you want a boost, focus on stable moisture and clean water, then give it time.
If you really want to encourage knitting, focus on consistency rather than intensity. A steady, moderate environment beats dramatic swings between soaking and drying.
Once the clumps start touching, keep an eye on the seam for trapped debris. A clean seam usually turns into a smooth merge, while a dirty seam becomes a brown line that never looks natural.
When the domes finally knit, do not rush to remove all anchors at once. I remove one pin or one wrap at a time so the moss can prove it is stable before it is fully on its own.
A 30-day care routine for newly divided cushion moss
The first month decides whether your splits stay domed or slump into sad lumps. I treat the first week like recovery time, and I do not move the clumps around to admire them.
New splits are basically healing cut edges while trying to attach, so every disturbance costs them energy. If you want to check progress, look closely without touching.
Days 1 to 7, mist lightly once or twice a day depending on your indoor humidity, and keep the setup in bright shade. Check for wobble, because attachment starts with stillness.
If you see wobble, add a pin or adjust the line rather than pressing down harder. Pressure flattens the crown, while stability supports the dome.
During the first week, I also remove any debris immediately, even if it is tiny. Early on, a speck of leaf can create a wet spot that turns into a permanent scar.
Days 8 to 14, reduce misting slightly and increase airflow, especially if you see any darkening at the base. If you used the moss pinning method, make sure pins still hold the base down without cutting into the sides.
This is also when you watch for algae around the base, because it can show up fast in a humid recovery setup. If you see shine, scrape it back and let the surface dry a touch more between misting.
Days 15 to 21, test attachment by nudging the clump at the edge with tweezers, and stop if it slides. If it grips, you can start spacing waterings farther apart while keeping the surface from going bone dry.
If it still slides at this stage, do not panic and do not rip it up to check underneath. Re-anchor it, keep conditions steady, and assume it needs more time.
Days 22 to 30, begin normal cushion moss care for your site, which usually means deeper dry downs between misting and slightly higher light. If the dome stays firm and the edges look fuzzy with new growth, your moss propagation from cushion moss worked.
By the end of the month, you should see the clump holding its shape even when it dries slightly. That is a good sign the core is healthy and the base is not staying swampy.
If you want to expand again, wait until the new clumps look stable for a few more weeks. Repeated splitting too soon is how you end up with a tray of stressed fragments instead of a field of domes.
I also keep notes for the first month, because cushion moss responds to small differences in airflow and light. A quick note about what worked saves you from repeating the same mistakes next season.
Conclusion
Good clump moss propagation is mostly about restraint, because cushion moss punishes heavy hands and sloppy moisture. Split thick pieces, anchor at the base, and let the dome keep its air.
The best results come from treating cushion moss like a slow craft, not a fast hack. When you respect the structure of the dome, the moss stays sculptural instead of collapsing into a mat.
If you treat the first 30 days like a careful setup instead of a craft project, the cushions usually reward you with slow, steady expansion. When the clumps finally knit, the result looks natural, not glued on.
Once you get a feel for stable contact, clean surfaces, and gentle watering, you can scale up without changing the method. Cushion moss does not need tricks, it just needs you to stop rushing it.

