Rhizoids look like tiny roots, but in moss they are more like anchor lines than plumbing. If you want moss identification by rhizoids to be more than a gimmick, you need to know what these fibers can and cannot tell you.
Urban growers notice rhizoids when a mat peels off brick, or when a clump clings stubbornly to bark after rain. Those same attachment habits can narrow your options fast, especially when leaves are worn, dry, or covered in grit.
I treat rhizoids as a supporting character, not the hero, because many species overlap in leaf shape but differ in how they grab a surface. When you pair moss rhizoids with growth form and substrate, you start getting repeatable IDs instead of lucky guesses.
What rhizoids are and why they can support an ID
Rhizoids are slender filaments produced by moss stems, usually near the base, that help the plant stick to a substrate. They do absorb some water on contact, but their main job is moss attachment, not feeding the whole colony like true roots.
For moss identification by rhizoids, the first useful fact is where the fibers originate. Some mosses keep rhizoids mostly at the stem base, while others throw them along the stem wherever it touches a surface.
The second useful fact is texture and organization, because rhizoids can be scattered like loose threads or packed into a felted pad. That felt can make a colony look darker at the bottom, and it can change how the mat lifts when you nudge an edge.
Rhizoids also react to environment, which is why you should treat them as clues, not proof. A moss on a windy wall may build denser anchoring than the same species in sheltered soil, and that can trick you if you expect one “correct” look.
Still, rhizoids are often visible when leaves are curled tight from drying, which is common on rooftops and sidewalk cracks. When capsules are missing and leaf tips are broken, moss rhizoids can be the cleanest feature left to read.
How to look at rhizoids responsibly (minimal disturbance methods)
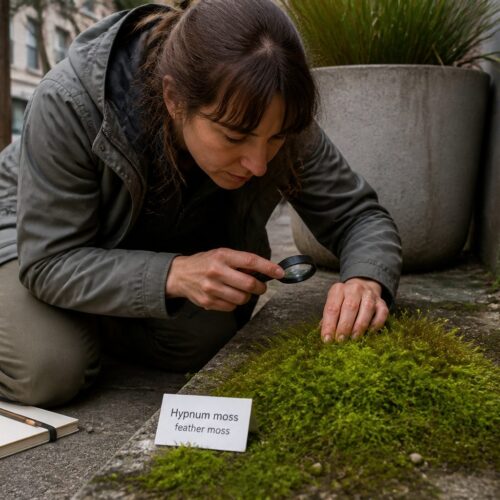
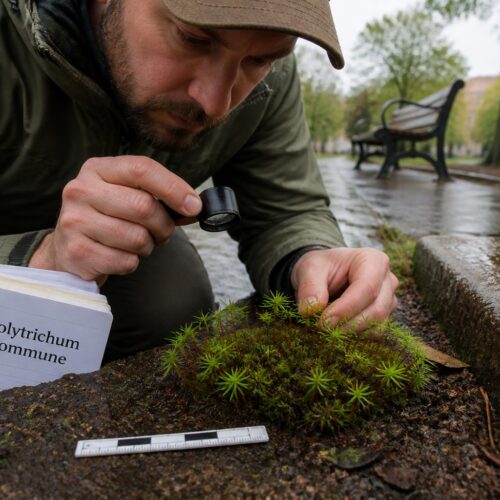
If you rip a tuft off a wall, you destroy the very attachment pattern you wanted to observe. I prefer to start with a hand lens and a bright side light, because raking light makes fibers pop without any pulling.
On mats, use a thin blade of grass, toothpick, or plastic tag to gently lift only the outer edge. You want to see whether the mat releases as a sheet, tears into stems, or stays welded down by dense moss rhizoids.
For tiny urban colonies, mist the patch first and wait a minute. Hydrated stems flex instead of snapping, and you can part them slightly to see rhizoids without turning the base into compost.
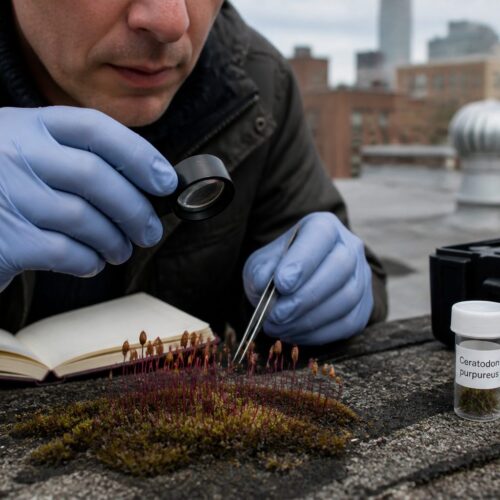
If you must take a sample, take a thumbnail sized piece from the margin, never the center. The center is the colony’s engine room, and the edge regrows faster after you remove a small bite.
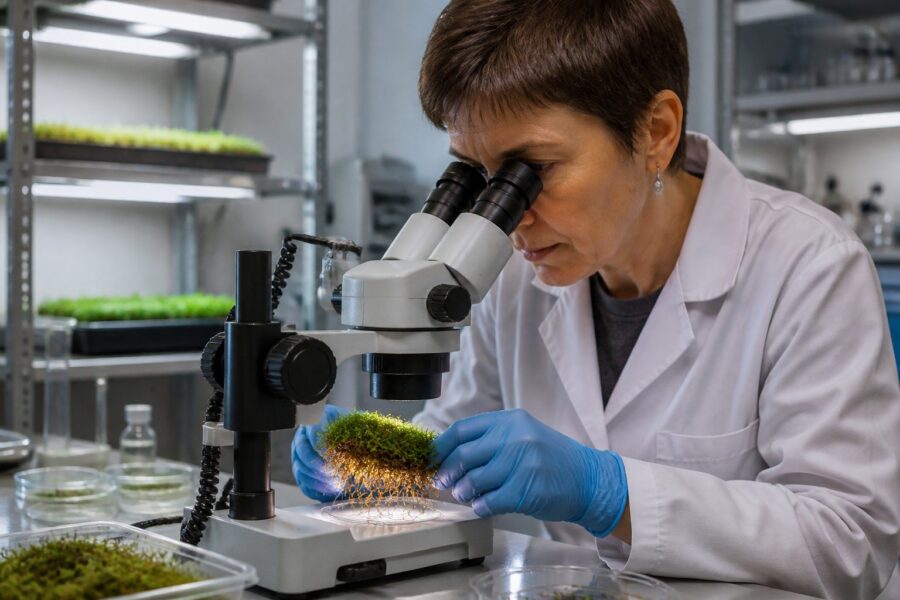
Back at a desk, place the sample on white paper and tease apart one stem with tweezers, slowly and with patience. Rhizoid color and density are easier to judge when you isolate a single stem base instead of staring into a tangled clump.
Where rhizoids appear: stem base, along stems, and under mats
Rhizoids can show up in three main places, and that placement is one of the best reasons to use moss identification by rhizoids. If you only check the very bottom of a tuft, you can miss species that attach all along creeping stems.
Look for basal rhizoids first, because many upright acrocarp mosses keep their anchoring near the stem base. Then scan the lower stem for scattered fibers, which often appear where the stem bends and touches the substrate.
| Rhizoid location | What you see in the field | What it often suggests |
|---|---|---|
| Stem base only | Tufts lift as small clumps, fibers concentrated at the bottom | Upright growth with localized anchoring |
| Lower stem in patches | Fibers appear at bend points, especially where stems touch soil or bark | Stems re-anchor after shifting or drying cycles |
| Along creeping stems | Many attachment points, mat resists peeling in strips | Spreading growth with frequent contact anchoring |
| Under the mat as a felt | Dark, fuzzy base layer, sometimes holding grit like a brush | Older colony with built-up rhizoid mat and trapped debris |
Rhizoid color: brown, red-brown, and pale fibers (what to note)
Rhizoid color is easy to overrate, but it is still worth recording because it stays visible after leaves fade. When you see rhizoid color clearly, note whether it is pale, tan, medium brown, or red-brown, and whether the color is uniform or darkens toward the base.
Brown rhizoids are common in a lot of sidewalk and garden mosses, so “brown” alone rarely seals an ID. What helps more is the shade and contrast, like chocolate brown fibers against pale stems, or rusty red-brown fibers that stand out even when wet.
Red-brown tones sometimes show strongest in older parts of the colony, where the base has seen more drying, UV, and dust. If the only red you see is in a dead, crumbling layer, treat it as an age signal rather than a species signal.
Pale rhizoids can look almost clear when hydrated, and they can disappear against light sand or mortar. In those cases, tilt the sample and use side lighting, because the shine on wet fibers is often easier to spot than the pigment.
When you log moss identification by rhizoids, write down the lighting and moisture conditions because color shifts with water. A dry rhizoid bundle can look darker and more opaque, while the same bundle looks thinner and lighter after misting.
Rhizoid density: sparse vs. dense attachment and what it suggests
Density is where moss rhizoids get practical, because it changes how the colony behaves under your fingers. A sparsely attached tuft often lifts in one piece with a little nudge, while a densely attached mat fights you and leaves fibers behind.
Sparse rhizoids can suggest a moss that relies on tight leaf packing and stem stiffness to hold position. You often see that in small cushions on soil that can be dislodged by a boot heel or a strong hose spray.
Dense rhizoids can suggest a colony built for shear forces, like wind on a roof tile or runoff on a retaining wall. Dense attachment also shows up in older colonies that have had time to build a thick felt at the base.
Be careful with “dense equals stronger,” because some mosses look strongly attached only because debris has glued the base down. Dust, algae films, and tiny rootlets from nearby plants can lock a mat to the surface and fake a heavy rhizoid network.
For moss identification by rhizoids, compare stems from the edge and the center. The edge often has younger stems with fewer fibers, while the center has older stems with heavier rhizoid production and more accumulated grit.
Rhizoids and substrate: differences on bark, soil, and stone
Substrate changes what rhizoids look like, and ignoring that is a fast way to misread moss attachment. Bark offers cracks and fibers to grab, soil offers loose particles to bind, and stone offers almost nothing except pores and micro pits.
On bark, rhizoids often run into crevices and disappear, so you may see fewer free fibers even when attachment is strong. I look for where the stem base “keys in” to bark ridges, because that mechanical fit matters as much as the rhizoids themselves.
On soil, rhizoids often carry grains and look thicker than they are, almost like tiny ropes dusted with sand. If you rinse a stem gently in a drop of water, you can see whether the thickness is fiber or just stuck particles.
On stone and concrete, many mosses spread as thin mats with frequent contact points, and rhizoids may appear along creeping stems. Mortar joints can act like soil pockets, so check whether the moss anchors mainly in joints while the green parts bridge over the harder surface.
Urban stone often has biofilm, soot, and salts, and those can stain rhizoid color in ways that look biological but are not. If the rhizoids match the color of the grime on your fingertip after you touch the wall, treat that color with suspicion.
Rhizoids vs. trapped debris: separating fibers from hair, roots, and lint
City moss is a magnet for junk, and a lot of “rhizoids” turn out to be pet hair or textile lint. If you want moss identification by rhizoids to work, you have to prove the fibers connect to the stem and are not just woven through the mat.
Real rhizoids usually emerge from the stem surface in a consistent zone, often near the base or at contact points. Lint and hair cross over stems randomly, and they do not branch from the stem in an organized way.
Fine plant roots from nearby weeds are another common mistake, especially in sidewalk cracks. Roots tend to be thicker, smoother, and more directionally purposeful, while moss rhizoids look like a messy brush of many filaments.
Use a drop of water and a toothpick to separate fibers, because water makes lint float and shift while rhizoids stay attached. Under a hand lens, rhizoids often look slightly rough or granular from stuck particles, while synthetic fibers look uniformly smooth.
When you see a single long “fiber” running centimeters beyond the moss, assume it is not a rhizoid until proven otherwise. Most rhizoids are short relative to the stem, and they form clusters rather than lone fishing lines.
- Check that fibers originate from the stem surface
- Look for clustered filaments, not a single long strand
- Mist and watch whether the fiber floats free
- Compare thickness against a known stem diameter
- Scan for directional plant roots in the same crack
- Use side lighting to see attachment points clearly
Rhizoid mats and felted bases: how they change the colony’s look
A felted base is what happens when rhizoids, dead stem parts, and trapped particles build up into a dark underlayer. It can make a colony look older and thicker than it really is, especially when the green tips are short.
In some mats, the felt is so dense that it forms a peelable “skin” under the living shoots. When you lift an edge and the underside looks like brown felt fabric, you are seeing rhizoids doing long-term construction work.
Felted bases affect water behavior, which matters for urban moss cultivation on walls and planters. The felt holds moisture and grit, so the colony stays damp longer after rain, but it can also trap salts that burn tips in winter.
For moss identification by rhizoids, note whether the felt is continuous or patchy. A continuous felt often pairs with creeping growth that contacts the substrate often, while patchy felt can show tufts that only anchor at a few points.
Do not confuse a felted base with a layer of dead leaves from nearby trees. Leaf litter has recognizable fragments and veins, while rhizoid felt looks like uniform fuzz with embedded grit and tiny dark stem stubs.
Using rhizoids with growth form and branching to narrow options
Rhizoids alone rarely name a species, but they can push you toward a smaller set of candidates. I get the best results when I combine moss rhizoids with growth form, like cushion versus carpet, and with the way stems branch.
Upright cushions often have concentrated basal rhizoids, and the colony lifts as small plugs from soil or thin turf. Creeping carpets often have rhizoids at many contact points, and they tear into strips when you try to peel them.
Branching matters because regularly pinnate or feathery branching often pairs with spreading mats that need multiple anchor points. Sparse branching and tight tufts often pair with localized attachment, where moss attachment happens mostly at the base.
In urban settings, watch for mixed colonies where one moss grows over another, because that can scramble the rhizoid picture. If you see two different stem thicknesses or leaf shapes, separate them before you judge rhizoid density or rhizoid color.
When you write notes for moss identification by rhizoids, include a quick statement about growth direction. “Stems creeping left to right with frequent re-anchoring” is more useful than “lots of rhizoids,” and it stays useful months later.
What to record: photos, sketches, and short descriptions that stay useful
Most moss ID notes fail because they are too vague, and rhizoids deserve better than “brown fuzz.” A good record captures where rhizoids appear, how dense they are, and what substrate they attach to, all in plain language.
Take one photo of the colony in place, one close-up of the edge where it meets the surface, and one underside shot if you can lift an edge without damage. A cheap clip-on macro lens helps, but steady light and focus matter more than fancy gear.
For rhizoid color, include something neutral in the frame, like white paper or a pale plastic label, so your camera does not auto-correct everything warm or cool. If you can, photograph both dry and lightly misted, because fibers can vanish when fully soaked.
Sketching sounds old-fashioned, but a thirty-second drawing of stem direction and attachment points can save you later. I often sketch the mat edge and mark “rhizoids every few millimeters” versus “rhizoids only at base,” and that beats scrolling through fifty similar photos.
Keep descriptions short, concrete, and repeatable, like “dense felted base, red-brown fibers, strong grip on brick pores.” Those phrases make moss identification by rhizoids searchable in your own notes, which is what you want when you revisit a wall months later.
Common mistakes: pulling too hard and misreading old, dead bases
The most common mistake is treating the colony like a sticker you can peel off cleanly. When you pull too hard, stems snap and you end up holding a tuft with missing rhizoids, then you blame the moss for being “hard to read.”
Another mistake is using only the oldest base layer to judge rhizoid color. Old, dead bases can turn uniformly brown or black from decay and urban grime, and that can hide the real rhizoid color of the living stems.
People also confuse “no rhizoids visible” with “no rhizoids present,” especially on bark where fibers tuck into crevices. If a tuft stays attached after you gently lift and release it, rhizoids are there even if you cannot see them easily.
Over-cleaning is another trap, because scrubbing away grit can rip off the finest fibers. If you need to remove soil grains, swirl the stem in water and stop, because you want to preserve the attachment structures you are trying to study.
Finally, do not treat rhizoid density as a fixed trait across every microhabitat. A moss on a shaded planter lip can show looser moss attachment than the same moss on a sun-baked wall, and both can still be the same species.
Conclusion
Moss identification by rhizoids works best when you treat rhizoids as physical evidence of how a colony lives on a surface. Where the fibers appear, how dense they are, and how they behave when you lift an edge can narrow your options quickly.
Rhizoid color is worth noting, but it needs context like moisture level, substrate staining, and whether you are looking at living stems or dead base. If you pair moss rhizoids with growth form, branching, and substrate, your IDs get steadier and your moss cultivation choices get smarter.