Moss IDs get easier when you stop staring at color and start reading structure. For moss identification by stem branching, the way a shoot splits, or refuses to split, often tells you more than a quick photo ever will.
Branching is one of those traits you can check on a sidewalk wall, a roof tile, or a planter edge without turning your morning walk into a science expedition. If you grow moss in trays or on urban stone, branching also tells you whether your colony is thriving or just surviving.
This article sticks to three branching looks you can train your eye to spot, unbranched, forked, and feathered shoots. Along the way, I will point out the common traps that make people call a moss “forked” when it is really broken, or “feathered” when it is just crowded.
Why branching pattern is a strong “structure” clue for moss IDs
Branching is harder for a moss to fake than color, because pigments shift with sun, moisture, and pollution. A colony can look brown today and green tomorrow, but its underlying moss branching plan stays pretty consistent.
When you practice moss identification by stem branching, you are basically reading how the plant builds its body over time. That growth habit is tied to species and genus, so it narrows your options fast.
Branching also works well in the city because you can see it even on dusty or algae coated surfaces. On brick, concrete, and tree bark, the stems still show their geometry if you get close.
I trust branching more than “leaf shape” when I am doing a quick field ID, because leaves fold, curl, and shrink when dry. A dry patch can make every leaf look like a needle, while the branch layout still reads clearly.
The catch is that you must look at several shoots, not just one. A single stem can be damaged or young, so the pattern only becomes obvious when you sample your eyes across the patch.
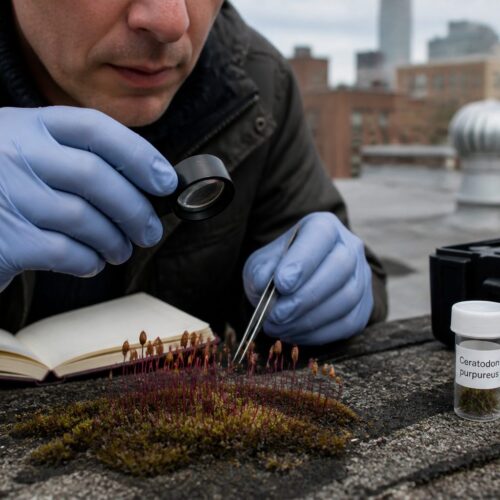
What you need to examine branching without pulling up whole patches
You do not need to rip moss off a wall to see stem branching, and you really should not if you are trying to keep an urban colony stable. A cheap hand lens in the 10x to 20x range changes everything, because you can follow a stem for a few centimeters and see where side shoots start.
I also like a thin wooden skewer or toothpick to gently part the shoots like hair. The goal is to expose one stem at a time, then trace it from base to tip without snapping it.
For moss on hard surfaces, a small spray bottle is more useful than tweezers. A light mist makes the shoots relax and separate, so the branching becomes readable instead of looking like a dry tangle.
Your phone camera can help if you use it like a notebook rather than a glamour shot tool. Take one close photo for texture, then one slightly wider photo that shows how the stems repeat across the colony.
If you cultivate moss, keep a little “sacrificial” tray where you allow yourself to lift a tiny fragment once in a while. Even then, lift a pinhead sized piece from an edge, because the center of a mat often holds the colony together.
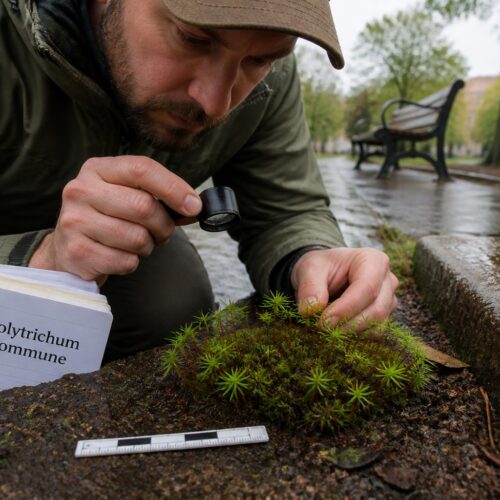
Unbranched shoots: when a simple stem is the main feature
Unbranched moss shoots are the easiest pattern to recognize, because the stem looks like a single wand with leaves attached. You may still see tiny buds, but you do not see repeated side stems coming off at regular spots.
This is where people get tripped up by crowding, because a dense patch can look branched when it is really just many unbranched stems packed together. Part the patch and isolate one shoot, then check whether the “branch” is actually a neighboring stem.
| What you see | What it usually means | Quick check |
|---|---|---|
| Single stem with no side shoots | Truly unbranched growth habit | Trace one stem from base to tip with a lens |
| “Branches” that detach when you part the patch | Neighboring stems, not branching | Use a skewer to separate shoots and recheck |
| One stem with a single short side shoot near the base | Occasional branching or regeneration point | Compare five more stems in the same area |
| Many stems rising from one point like a tuft | Clumped growth, still often unbranched | Look for shared base versus true side branches |
Irregular branching: recognizing “messy” patterns that still repeat
Some mosses refuse to look tidy, and their stems throw branches at odd angles and uneven distances. That irregular branching can still be consistent across the colony, so you look for the repeat, not perfection.
In urban settings, irregular branching shows up a lot on disturbed substrates like crumbling mortar or compacted soil in sidewalk cracks. The moss grows around grit, salt stains, and foot traffic, so the stems zigzag and branch where they can.
When I assess messy moss branching, I pick a small “window” the size of a quarter and study only that area. If three or four stems in the window branch in similarly awkward ways, you are seeing a real pattern.
Irregular branching often pairs with uneven shoot height, where some stems stand tall and others stay short. That mix can make a patch look like it contains multiple species, even when it is one species responding to micro shade and micro moisture.
For moss identification by stem branching, label this category honestly in your notes instead of forcing it into forked or pinnate branching. A “messy but repeating” description keeps you from locking onto the wrong genus too early.
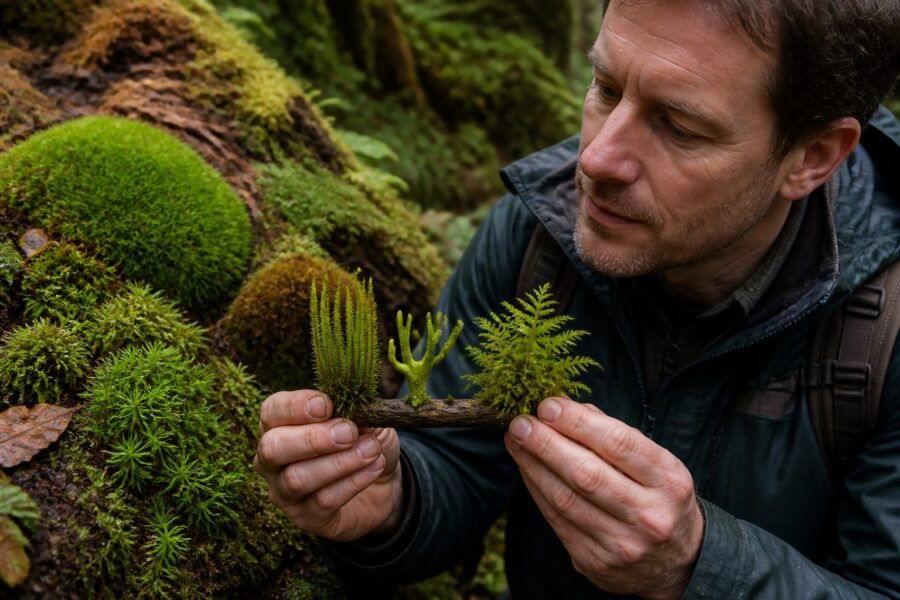
Forked (dichotomous) branching: what a true fork looks like
Forked moss has a stem that splits into two branches that look roughly equal in strength. A true fork reads like a Y, not like a main stem with a weak side twig.
The key detail is symmetry over a short distance, because both arms of the fork keep growing and keep carrying leaves. If one arm stops quickly, you might be looking at damage, or at a side branch that only pretends to be a fork.
To confirm forked moss, find more than one fork on the same stem or in nearby stems. If you only see a single fork in the whole patch, I assume something snapped and regrew until proven otherwise.
Forked branching often looks clearer after a light mist, because the leaves spread and stop hiding the split point. On dry shoots, the leaves can clamp down and turn a fork into a confusing knot.
In cultivation trays, forked growth can show up when the moss is actively extending across a surface and the tip divides. If you keep seeing forks right at the advancing edge, that supports a real dichotomous habit rather than random breakage.
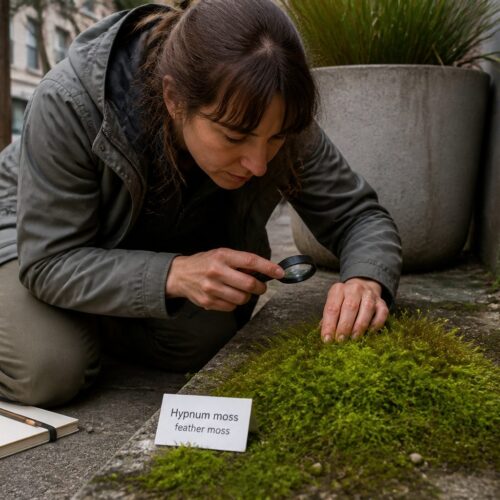
Feathered (pinnate) branching: spotting a main stem with side branches
Pinnate branching is the “feather” look, with a clear main stem and smaller side branches arranged along it. When people say a moss looks like a tiny fern, this is usually the branching they mean.
The main stem stays dominant, and the side branches tend to repeat at a similar angle. That repeating angle is what separates pinnate branching from irregular branching that just happens to have side shoots.
- Main stem stays thicker than side branches
- Side branches repeat along the stem
- Side branches emerge at similar angles
- Overall shoot looks flattened or featherlike
- Multiple “feathers” repeat across the patch
Branch density and spacing: tight, moderate, and open looks
Branch density is how crowded the branches are along a stem, and it changes the whole look of a moss patch. Two species can both show pinnate branching, but one looks like a bottle brush while the other looks airy.
Tight branching means short spacing between branches, so you see a thick, plush texture from a normal viewing distance. In urban moss cultivation, tight branching often shows up in consistently moist spots like shaded fountain stone or north facing brick.
Moderate spacing is the middle ground where you can still see gaps between side branches. This is the look that photographs best, because the structure reads cleanly instead of collapsing into a green blur.
Open branching has longer stretches of stem between branch points, and the patch can look stringy. I see open looks on hot walls and on rooftops where the moss dries hard between rains.
When you do moss identification by stem branching, write down density as a separate trait instead of treating it like a species level clue by itself. Density shifts with light and water, while the basic moss branching type usually stays put.
New shoots, broken tips, and regrowth: avoiding branching mistakes
The most common branching mistake is calling a broken tip a fork. A snapped stem can regrow from two nearby buds, and that regrowth can look like forked moss if you do not find the break point.
Look for a scar, a kink, or a sudden change in leaf size right below the split. Regrowth often produces smaller, tighter leaves at first, so the “fork” has a weird baby look compared to the rest of the stem.
New shoots also confuse people because they rise from the base and weave through older stems. If you grab the wrong shoot with your eyes, you end up tracing two different stems and inventing a branching pattern that is not there.
In cultivation, trimming and handling can create false branching everywhere. If you recently pressed moss onto a substrate or moved a tray, assume the next few weeks will show a lot of repair growth that does not match the “textbook” pattern.
I trust branching calls most when I see mature, intact tips that are still extending. Tips tell the truth, while damaged mid stems tell stories about squirrels, shoes, and your own watering can.
Branching differences within one colony: edge vs. center growth
A single moss colony can show different branching looks depending on where you look. The center often has older, packed shoots, while the edge has younger, exploring shoots that show the clearest structure.
Edges often look more unbranched because the colony is sending out simple stems to claim new ground. Once those stems settle into a stable microclimate, side branches may start filling in and the patch thickens.
The center can look more pinnate just because everything is layered, and older stems have had time to branch and branch again. That layering can fake “feathered” structure even in mosses that only branch occasionally.
If you are checking forked moss, scan both edge and center for repeated Y splits. If forks only show up in one battered corner by a walkway, I assume mechanical damage first.
For moss identification by stem branching, I take notes from three zones, the dry edge, the moist center, and a mid zone between them. That habit stops me from building an ID on the weirdest part of the patch.
Pairing branching with leaf size and overall texture for better accuracy
Branching gets you close, but leaves and texture finish the job. When you pair moss branching with leaf size, you can separate lookalikes that share the same general growth plan.
Start with the “hand feel” look, glossy versus matte, plush versus wiry, flat versus tufted. Those texture cues are not perfect, but they keep you from forcing a feathery ID onto a stiff little tuft species.
Then check leaf size relative to stem thickness, because some mosses have chunky stems with tiny leaves and others have fine stems with big, floppy leaves. That ratio shows up even when the moss is dry and the leaves are curled.
If you suspect pinnate branching, look for whether the side branches carry similar leaves to the main stem or noticeably smaller ones. A strong difference between main stem leaves and branch leaves can be a clue that you are looking at a particular group, not just a generic feather look.
For forked moss, check whether the leaves near the fork are evenly sized on both arms. If one arm has stunted leaves, you may be looking at regrowth or a shaded side shoot rather than a true dichotomous split.
A field workflow: quick branching sketches and what to write down
If you want your IDs to improve fast, stop relying on memory and start making tiny sketches. A ten second doodle of a stem with two side branches often captures more than a photo that turns the moss into green noise.
I draw one “typical” stem from the edge and one from the center, then I label them with simple words like unbranched, irregular, forked, or pinnate branching. I also add branch density, tight, moderate, or open, because that changes how the colony reads from a distance.
Write down the substrate in plain language, brick, concrete, asphalt crack soil, oak bark, or roof shingle grit. Substrate does not identify the moss by itself, but it narrows your expectations and helps you compare notes across sites.
Record moisture conditions as you see them, not as you wish they were, like “dry wall, gets sprinkler mist” or “always damp under AC drip.” Urban moss patches live on weird water sources, and those sources change branching density and shoot length.
Finally, note whether the patch looks recently disturbed, with broken tips, bare spots, or mixed debris. Those details protect your moss identification by stem branching from the biggest enemy, damage that imitates structure.
Conclusion
Branching is one of the fastest ways to get serious about moss IDs, because it stays readable when color and leaf posture change. Once you can separate unbranched shoots, forked moss, and pinnate branching, you stop guessing and start narrowing.
The best approach is simple, mist the patch, isolate a few stems, and look for repetition across the colony. Your notes will get sharper when you treat moss branching as a set of patterns with common failure points like breakage and regrowth.
If you cultivate moss in the city, branching also tells you how your care is going, because tight healthy growth looks different from stressed, open stems. Keep practicing moss identification by stem branching on the same few neighborhood patches, and your eye will improve faster than any app.