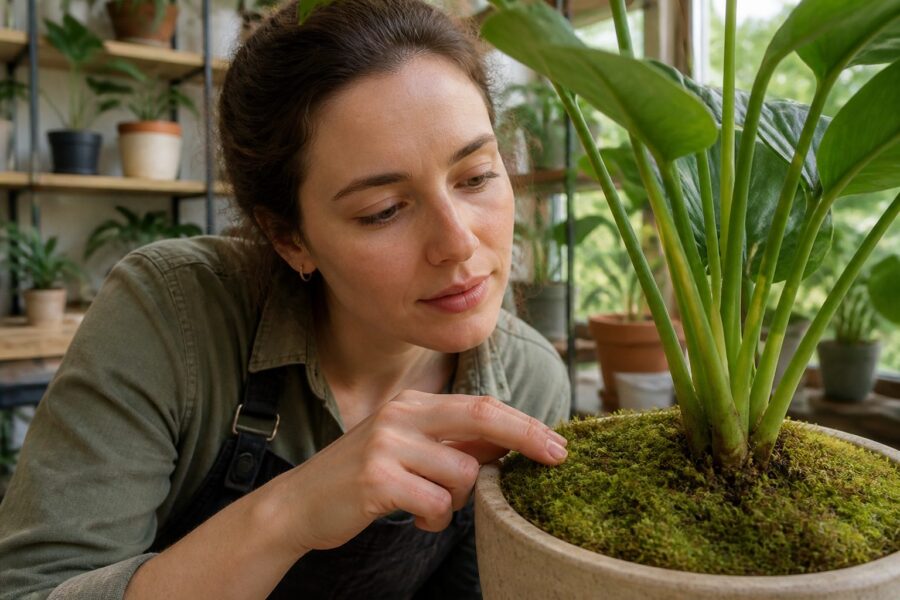
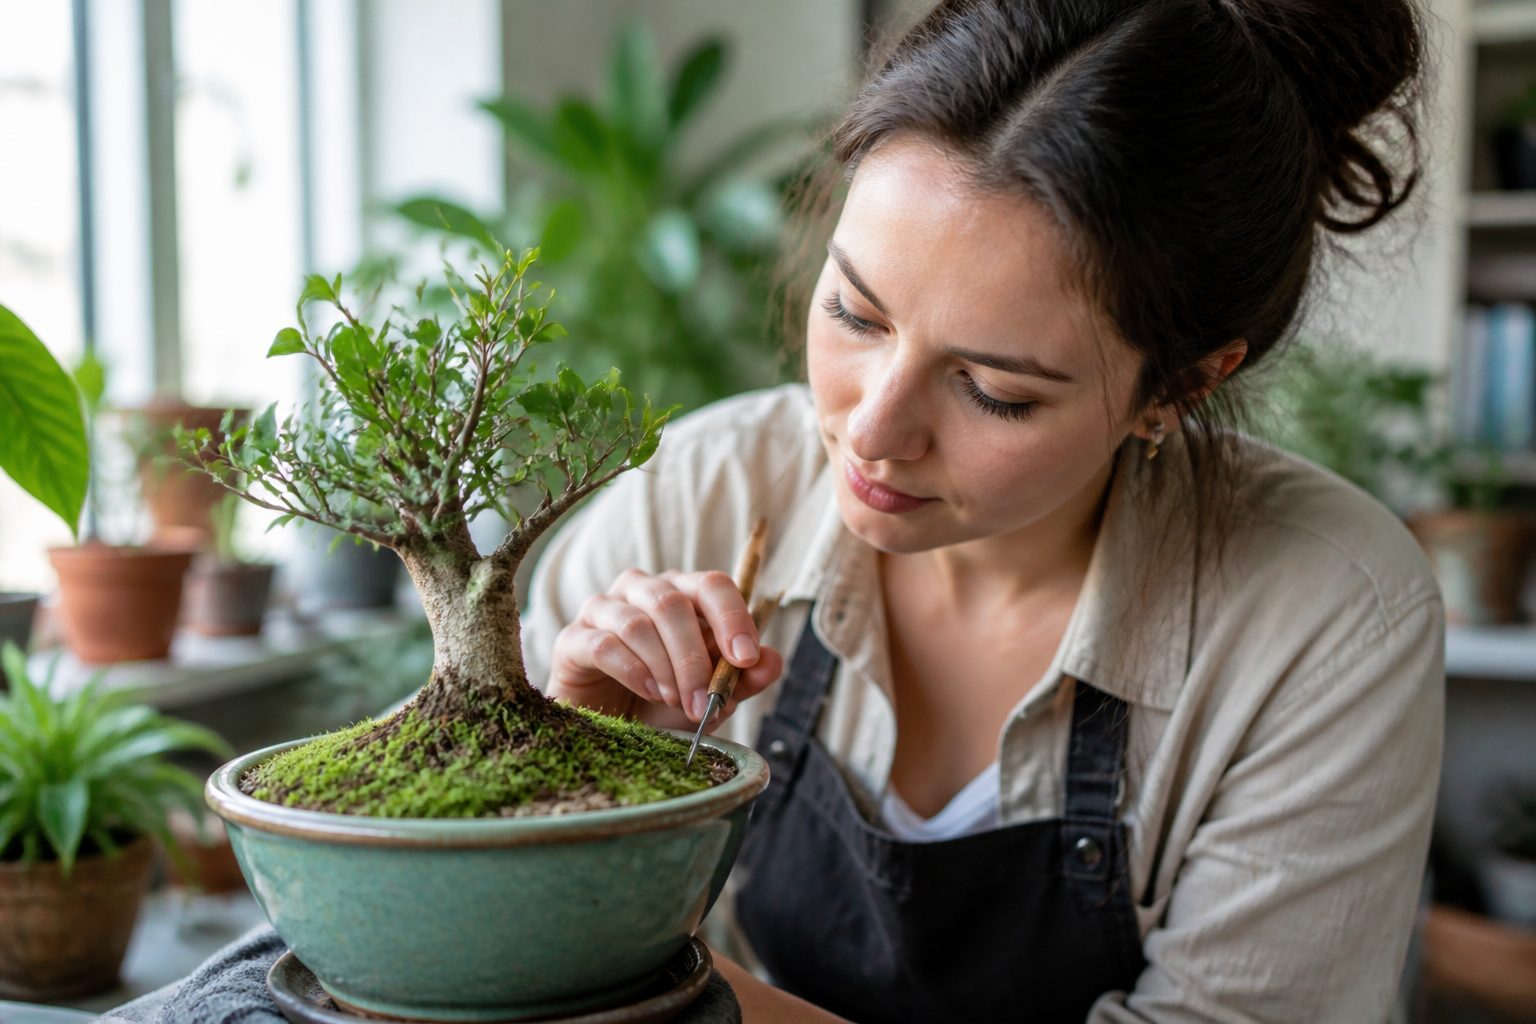
Moss on the soil surface of a houseplant looks like a tiny green surprise, but it is usually a very readable clue about how that pot has been treated. If you want to identify moss in potted plants, you can do a lot with a careful look, a hand lens, and a few notes about where the pot sits.
Container moss is not random, it shows up when moisture and light hit a sweet spot that many potting mixes accidentally provide. Once you get used to planter moss ID, you start seeing the same handful of forms over and over in nursery pot moss and in long kept decorative planters.
I like moss in pots because it is honest about conditions, and it does not pretend to be a plant problem unless you make it one. The trick is learning what you are looking at so you do not confuse soil surface moss with algae, liverwort, or a crust of fertilizer salts.
Why moss shows up in pots: watering, shade, and soil surface conditions
Moss shows up when the top centimeter of mix stays damp long enough for spores to germinate and stay alive. If your pot dries fast, moss may still exist deeper down, but you will not see a green skin on the surface.
Overwatering is the obvious culprit, but steady light watering can be worse than occasional deep watering because it keeps the surface wet. Many people water by habit instead of by weight, and moss quietly rewards that routine.
Shade matters because moss does not need blazing sun, and bright indirect light is often perfect. A pot under a bench, under a patio table, or behind a sheer curtain can grow moss even if the plant itself looks underlit.
Soil surface texture also drives what you see, since fine peat based mixes crust and hold water at the top. Barky mixes for orchids and aroids dry at the surface and usually push moss to the pot rim and drainage holes instead.
Airflow is the quiet factor people miss, especially indoors where a pot can sit in still air for weeks. If the pot lives near a fan, an open window, or a breezy balcony rail, moss has a harder time staying hydrated between waterings.
First look: thin green films vs. true moss shoots
The first step to identify moss in potted plants is deciding whether you have a film or a plant with structure. A thin green film is often algae or cyanobacteria, and it looks like paint rather than a miniature forest.
True moss usually shows individual shoots, even when they are tiny, and those shoots cast little shadows when side lit. If you tilt the pot and shine a flashlight across the surface, moss pops into texture and algae stays flat.
Early moss can start as a fuzzy haze, so do not panic if it looks halfway between film and tuft. Give it a week with the same watering routine and it will either organize into shoots or stay as a slick layer.
Touch can help, but use a toothpick or bamboo skewer instead of your finger so you do not compact the mix. Algae smears and breaks, while moss lifts in threads or tiny clumps that keep their shape.
Color is a clue, but it is not a shortcut, since both algae and moss can be bright green in good light. I trust texture more than color when I am doing quick planter moss ID on a crowded windowsill.
Growth forms common in containers (tiny tufts, low mats, cushions)
Most nursery pot moss falls into a few growth forms that match container life, and those forms guide your ID faster than species guessing. In pots, moss often stays small because the surface dries, gets disturbed, or gets shaded by the plant canopy.
Look for whether the moss grows as isolated tufts, a creeping mat, or a puffy cushion, because each form points to different groups. A hand lens helps, but you can often see the form with your naked eye if you back up a little.
| Container growth form | What it looks like on the soil surface | Common pot scenario |
|---|---|---|
| Tiny tufts | Small upright clumps, often around stems or rim | Intermittent drying, bright windows, small pots |
| Low mats | Carpet that creeps between grains of mix | Even moisture, shaded top layer, fine peat mixes |
| Cushions | Rounded puffs that lift slightly above the mix | Older planters, stable humidity, outdoor shade |
| Rim bands | Green ring hugging the pot edge and drainage zones | Water wicks to edges, porous terracotta, bottom watering |
Leaf clues you can see with a hand lens in tight spaces
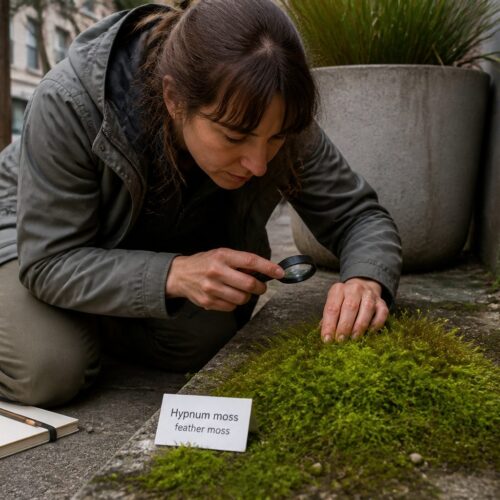
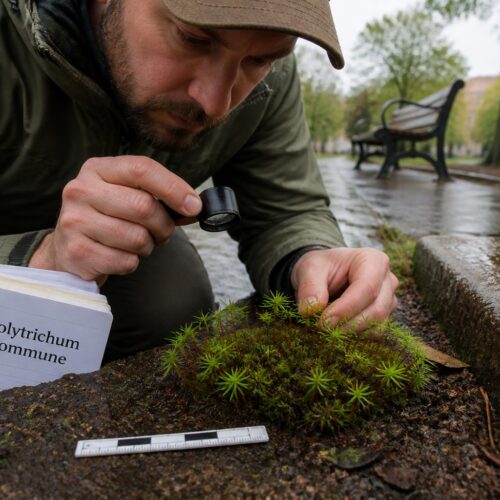
A 10x to 20x hand lens is enough to make planter moss ID feel real instead of guesswork. You do not need to pull the moss out, you just need a stable angle and decent light.
Start by checking whether leaves spiral around the stem or seem to lie in two ranks, because many common pot mosses show a clear spiral. If the shoots look flattened like tiny braids, you may be looking at a pleurocarpous mat former rather than an upright tuft.
Then look for a midrib, called a costa, which can run partway or all the way to the leaf tip. A strong costa is common in many urban container mosses, and it often makes the leaf look stiff and spear shaped.
Leaf tips matter more than people expect, since some pot mosses end in a sharp point and others end bluntly or with a hairlike awn. That awn can catch light and make the moss look silvery when the soil surface moss dries.
Finally, watch what happens when the surface dries, because many moss leaves twist or curl in a repeatable way. If you water and the shoots open within minutes, you are probably dealing with a drought tolerant urban species that rides out dry spells on patios and balconies.
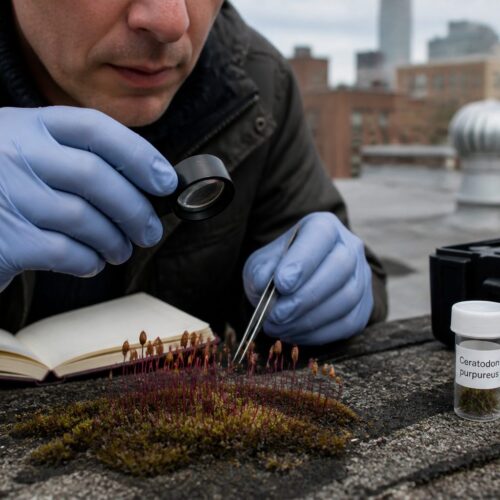
Sporophytes in pots: small capsules that appear suddenly
Sporophytes are the little stalks with capsules that make people think their pot has grown weeds overnight. They can show up fast after a stretch of steady moisture, especially in spring or after you move a pot outdoors.
If you see thin reddish or straw colored stalks rising above the green, you are looking at moss reproduction, not a seedling. Those stalks usually come from the moss itself, not from the houseplant roots or the potting mix.
Capsule shape is a useful clue for identify moss in potted plants, even without naming the species. Some capsules stand upright like tiny bullets, while others nod or hang and look like miniature lanterns.
Do not strip sporophytes off right away if you are trying to learn, because they are your best free ID tool. Take a photo first, then decide if you care, since they do not usually harm the plant and they fade on their own.
If you never see sporophytes, that does not mean it is not moss, it just means conditions have not lined up for that life stage. Indoor pots often stay too dry at the surface or too dark for sporophytes, even when moss shoots survive.
Separating moss from liverwort and algae in potting mix
The most common confusion in soil surface moss is liverwort, especially Marchantia, which looks like flat green ribbons with little cups. Liverwort does not have obvious leafy shoots, and it spreads as a sheet that hugs the mix like a wet sticker.
Algae looks like a slick glaze or a bright green stain that fills low spots between particles. If you can wipe it and leave green on the tool, you are probably dealing with algae, not a moss plant body.
Liverwort often shows a faint pattern on the surface, like a snakeskin or polygon texture, when you look close. Moss looks like many little units, even when it forms a mat, because you can pick out stems and leaf clusters.
Fungus can also get blamed, since white mycelium threads sometimes run under a green layer. When you see both, treat them as separate clues, because the fungus says organic matter is breaking down and the green says light and moisture stay steady.
If your planter moss ID keeps flipping between categories, change your lighting and try again. Side lighting and a hand lens usually settle the argument in under a minute.
How fertilizer and mulch layers change what you see
Fertilizer changes pot moss in two ways, it feeds the plant you want and it changes the chemistry at the surface. High nitrogen feeding can push algae and liverwort harder than moss, so a sudden green slick after fertilizing is a common pattern.
Mulch layers, like decorative gravel, orchid bark top dressing, or coco chips, change which organisms can anchor. When you cover the soil surface moss habitat with coarse pieces, moss often retreats to the edges where fine particles still collect.
- Check for white crusts from fertilizer salts on the rim and surface
- Look for green growth concentrated under slow release fertilizer prills
- Note whether top dressing traps moisture under gravel gaps
- Watch for algae films after liquid feeding in low light
- Compare moss presence on bare mix versus bark topped pots
- Inspect drainage holes for moss when the top stays covered
Using pot location (indoors, patio, balcony) to narrow IDs
Location is a real ID filter because only certain mosses tolerate indoor light and indoor drying cycles. When I see nursery pot moss that survives inside year round, I assume it is tough and adaptable before I even touch a lens.
Indoors, moss tends to stay low and patchy, and it often clings to the pot wall where condensation and wicking keep it damp. A pot on a pebble tray can grow a green ring even if the center stays mostly bare.
On patios, you get more sporophytes and more obvious tufts because night humidity and dew keep the surface wet. Pots under eaves can be perfect moss incubators, since they stay shaded but still catch windblown spores.
Balconies add wind, which sounds anti moss, but wind also brings spores and keeps leaves dry enough that moss gets less competition from slime molds and algae. If the balcony faces north or east, moss can thrive on the soil surface without baking.
If you move a pot between indoors and outdoors, expect the moss community to change, not just grow faster or slower. The species that handled your living room may die back and get replaced by a different mat former that likes rain and cooler nights.
Recording an ID without disturbing roots or soil structure
You can document and identify moss in potted plants without scraping the surface, and that matters if the plant hates disturbance. The easiest method is a photo set that includes a wide shot, a close shot, and a hand lens shot through the lens.
Take photos when the moss is moist and when it is dry, because leaf posture changes are diagnostic. I keep a note that says “opens fast after watering” or “stays curled when wet” because those observations stick.
Write down the potting mix type, since peat heavy mixes favor mats and bark heavy mixes favor rim bands and tufts. If you do not know the mix, at least note whether the surface has fine particles or chunky pieces.
Record watering style in plain language, like bottom watered weekly or misted every other day, because that tells you why the soil surface stays wet. If you use a moisture meter, note the reading at the top centimeter, not deep in the pot.
If you want to go one step more technical, measure light with a phone lux app at the soil surface. That single number explains a lot when you compare an indoor shelf pot to a bright patio planter.
Common misidentifications in planters and how to fix them
The classic misread is calling everything green “moss” and then treating it like a disease. If you correct that habit, your planter moss ID gets cleaner and you stop reaching for peroxide for no reason.
People also confuse moss with tiny dicot seedlings, especially when the moss has upright shoots. Seedlings have obvious paired cotyledons and a single stem, while moss has many shoots and no true roots, just fine rhizoids you rarely see from above.
Another mistake is assuming moss means the whole pot is waterlogged, which is not always true. Moss can live on a damp surface while the root zone below is airy, especially in a pot that gets frequent light watering.
Salt crusts and perlite dust can mimic pale moss tips, especially on succulents where the surface stays bright and dry. If it crunches and breaks into grains, it is not a plant, and a quick rinse test on a small corner can confirm it.
Liverwort is the misidentification that causes the most frustration, since it can smother the surface and repel water. If you confirm liverwort, you fix it by changing surface drying and light, not by picking at it every day and spreading fragments around.
Conclusion
When you identify moss in potted plants, you end up learning more about your watering habits and microclimates than about Latin names. Moss is a small, blunt report card on shade, surface moisture, and how stable the top layer stays.
Use texture first, then growth form, then hand lens leaf clues, and you will separate moss from algae and liverwort with less second guessing. If you keep simple records and photos, your future planter moss ID calls get faster, even across different pots and seasons.