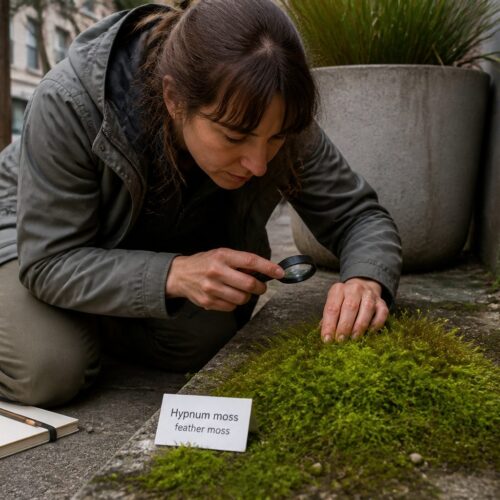
A hand lens is the fastest way to turn a green patch on a sidewalk wall into a set of usable clues. If you want to learn how to use a hand lens for moss identification, you need a repeatable order of operations, not random peeking.
I see a lot of beginners buy fancy moss ID tools and still get stuck because they look at the wrong features first. A hand lens works best when you treat it like a tiny field microscope for moss, with a short checklist and good habits.
Most mosses in cities are small, dry, and beaten up by sun and grit, so the details hide until you control focus and light. Once you can reliably see leaf tips, the costa, and the margins, the rest of moss ID gets less mysterious.
Choosing a Hand Lens: 10x vs. 15x and What You Actually Need
If you buy only one lens, a 10x hand lens moss setup is the sweet spot for most field work. It is bright, forgiving, and wide enough that you can keep your place on a tiny shoot without losing it every second.
A 15x lens can show more, but it also shows more shake, more glare, and more frustration. I carry 15x for occasional checks on teeth or capsule details, but I do not want it as my only option.
Look for a doublet or triplet lens, because cheap single lenses smear the edges and make cell patterns look fake. Good glass matters more than fancy branding, especially when you are trying to judge a faint border or a slightly recurved margin.
A folding metal housing protects the lens, but it also gives you a consistent grip point for steadier viewing. If the lens has a lanyard loop, use it, because hand lenses love to fall into leaf litter and vanish.
Do not overbuild your kit at first, because too many options slow your learning. A solid 10x plus a phone camera for occasional documentation beats a bag full of gadgets you never master.
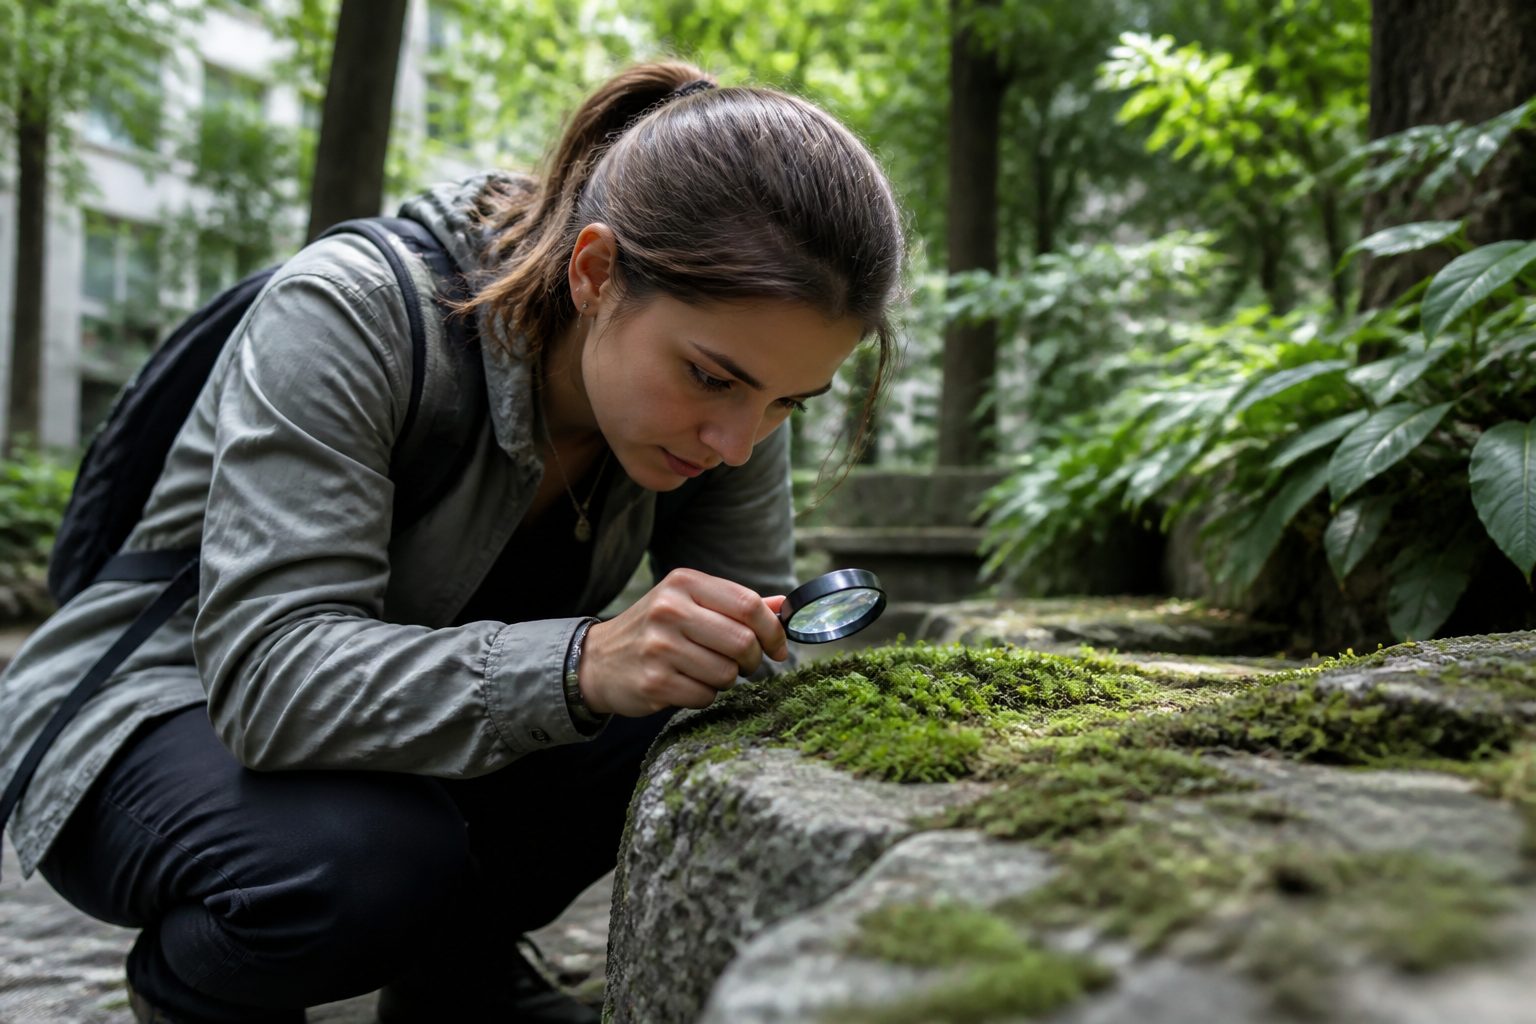
How to Hold the Lens and Get a Sharp Image Every Time
The biggest breakthrough is realizing you do not move the lens toward the moss, you move your whole viewing triangle together. Hold the lens close to your eye, bring the moss up to the lens, and then fine tune distance by moving the sample, not your head.
Brace your hands, because shake is the enemy at 10x and it gets worse at 15x. I press my lens hand against my cheekbone and use my other hand to steady the twig, rock chip, or substrate.
If the moss is on a wall or tree, make a tripod out of your arms by leaning a forearm against the surface. You can also rest your wrist on your knee if you squat, which sounds awkward until you try it and the image stops swimming.
Focus comes from distance, not from squinting harder, so relax your eye and move slowly. When you overshoot focus, back up and approach again, because the sharp zone is small and your brain learns it faster with a consistent motion.
If you wear glasses, keep them on unless you have a strong prescription that forces weird angles. Many people do fine by placing the lens right against the glasses, then adjusting the moss distance until the leaf edges snap into view.
The First 3 Targets: Leaf Tips, Costa, and Leaf Margins
When you are learning how to use a hand lens for moss identification, you need a first look routine that works on almost every specimen. Leaf tips, the costa, and leaf margins show up across many groups, even when the plant is dry or dirty.
Start with the cleanest, most intact leaves you can find, usually near the middle of a shoot rather than the battered outer edge. Ignore the temptation to chase cell patterns right away, because a hand lens rarely gives a trustworthy cell view except on very large leaves.
| Target | What to check with a hand lens | What it can suggest |
|---|---|---|
| Leaf tip | Acute, obtuse, apiculate, hair-point present | Grimmia and Syntrichia often show obvious hair-points, many Bryum do not |
| Costa | Single or double, strong or faint, ending before tip or reaching tip | Strong single costa points toward many acrocarps, double costa hints at some pleurocarps |
| Leaf margin | Flat, recurved, revolute, bordered, toothed near tip | Recurved margins show up in many urban wall mosses, borders can narrow options fast |
| Overall leaf shape | Lanceolate, ovate, spatulate, long and narrow | Broad ovate leaves can push you toward Plagiomnium or related forms |
Reading Leaf Posture: Twisted, Curled, or Flattened
Leaf posture is a fast clue you can see even before you get perfect focus. Many city mosses look like dead fuzz when dry, then turn into neat stars or feathered mats after rain.
With a hand lens, check whether leaves twist around the stem, curl inward, or lie flat and overlapping. That posture is often consistent within a genus, even when the plant is stressed by heat or road salt.
Twisted leaves in dry weather can point you toward common sidewalk species like Syntrichia, especially when you also see hair-points. Curled leaves that hug the stem can make a shoot look thinner than it is, so judge posture on several stems before you commit.
Flattened leaves in two ranks can show up in some pleurocarps, and it changes how you aim your light. If you shine light straight down, flattened shoots can glare, so angle the light to reveal the edge and the costa line.
Do one quick wet check when you can, even if it is just a drop of water from your bottle. A tiny rehydration can reveal whether leaves spread widely, stay tight, or show a crisp change in shape that you can write down.
Spotting Hair-Points, Teeth, and Rolled Edges
Hair-points are the easiest win with a 10x hand lens moss view, because they pop as pale, glassy tips. Check whether the hair-point is long and hyaline, short and rough, or absent on most leaves.
Teeth are trickier, because grit and torn leaf tissue can mimic serration. Look for regular, repeated teeth near the upper margin, and compare several leaves so one damaged leaf does not fool you.
Rolled edges matter because they change the leaf outline and hide the true width of the lamina. If the margin is recurved or revolute, you will see a shadow line along the edge and the leaf will look thicker than it should.
Some mosses have a border that looks like a thin, brighter frame around the leaf. A border can be subtle at 10x, so rotate the shoot and use side light until the margin line separates from the inner tissue.
When you see hair-points plus rolled margins on a sun baked wall, you can narrow your search quickly. That is when a hand lens beats flipping through photos, because you are checking structure, not color.
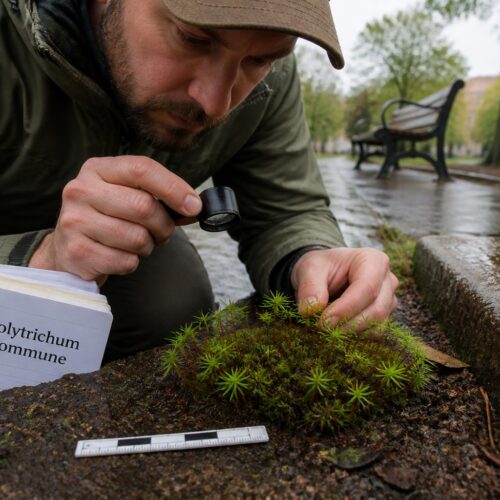
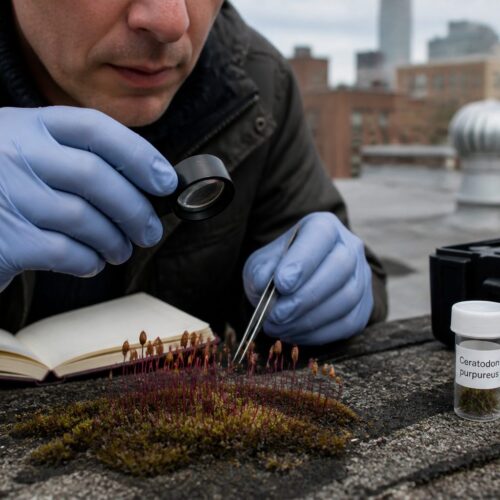
Finding Sporophyte Details: Capsule Shape and Lid Features
Sporophytes are the shortcut to an ID, but urban mosses often refuse to fruit on your schedule. When you do find capsules, slow down and treat them like a separate specimen with its own set of features.
Start with capsule orientation, because it is visible even with shaky hands. An upright capsule reads differently than a nodding one, and a strongly curved seta can be obvious before you see any fine detail.
Then check capsule shape, such as ovoid, cylindrical, or pear shaped, and note whether it has a constricted neck. A 10x lens often shows the outline cleanly, while 15x helps you judge whether the capsule is symmetric or slightly gibbous.
The lid, or operculum, can be conic, short beaked, or long beaked, and this is one place where field microscopy moss habits pay off. Tilt the capsule so the lid edge catches light, because straight on viewing makes the lid shape look flatter than it is.
If the lid is missing, look for peristome teeth, but expect limits with a hand lens. You can still record whether teeth exist and whether they look pale or reddish, then confirm later with a real microscope if the ID hinges on it.
Checking Stem and Branching Without Pulling the Plant Apart
Many beginners overhandle moss, then wonder why every leaf looks torn and every margin looks toothed. You can learn a lot by inspecting stems and branching patterns while leaving the cushion or mat mostly intact.
First, decide whether you are looking at an upright tufting moss or a creeping pleurocarp mat. Growth form is not a final ID, but it sets expectations for what you should see when you follow a stem with your lens.
- Trace one stem from base to tip before switching stems
- Check for regular side branches versus irregular sprouts
- Look for a central stem with many short branchlets
- Note whether branches taper or end bluntly
- Watch for flagelliform, threadlike branches at edges
- Record whether the mat peels as a sheet or breaks into tufts
Lighting tricks: sun angle, shade, and simple reflectors
Light is half the battle, and most mosses look worse under flat midday sun. I prefer open shade or low sun, because raking light makes margins, costae, and hair-points stand out.
If you are stuck in harsh sun, use your body as a shade screen and then reintroduce light from the side. A small change in angle can turn a shiny blur into a crisp leaf outline.
A cheap white index card works as a reflector, and it is one of the best moss ID tools you can carry. Hold it opposite the sun to bounce light into the cushion, then rotate it until the costa line appears as a bright thread.
For dark bark mats, a phone flashlight can help, but it also creates glare that hides teeth and borders. Diffuse the beam by aiming it at your palm first, then letting the reflected light fall onto the moss.
Wet moss reflects more, so be careful when you add water for posture checks. If glare gets bad, tilt the shoot and use side light, because straight overhead light turns everything into a shiny green plate.
Field notes that match what you see through the lens
Good field notes sound boring, and that is why they work. Write what you can see through the lens, not what you hope the moss is based on a photo you remember.
I like a short template that forces specificity, such as substrate, growth form, leaf posture dry, leaf posture wet, costa, margin, and tip. That list maps directly to how to use a hand lens for moss identification, so you do not skip the basics.
Use comparisons that you can repeat, like “hair-point about half the leaf length” or “costa reaches the tip on most leaves.” Avoid vague words like “strong” unless you anchor them to something visible, such as costa width relative to the leaf base.
Sketching helps even if you cannot draw, because it forces you to pick an angle and commit to what you saw. A quick outline of one leaf with a marked costa and margin shape can save you later when photos fail to capture depth.
Take at least one photo of the habitat and one of the colony, then use the lens for the details. Phone macro shots can lie about color and flatten posture, but they still document scale and context for later microscope work.
Common hand-lens errors and how to avoid them
The most common error is chasing tiny details before you confirm you are looking at a leaf at all. Beginners often stare at the top of a cushion and end up studying algae, dirt, or broken fragments instead of an intact shoot.
Another error is using too much magnification too soon, then blaming the plant for being “too small.” A 10x hand lens moss view with good light beats a shaky 20x view that never settles.
People also misread margins because they view from one angle and assume the edge is flat. Rotate the shoot and check both sides, because a recurved margin can vanish when you tilt it the wrong way.
Dryness causes false features, such as curled leaves that look toothed or wrinkled, and dust that looks like papillae. If you can, rehydrate a tiny corner of the colony and compare it to the dry part, then note both states.
The last error is forgetting that a hand lens is not a lab microscope, so some IDs need a later check. Treat your hand lens work as sorting and narrowing, then use field microscopy moss methods or a compound scope when the species level call depends on cell shape or peristome structure.
Conclusion
A hand lens rewards consistency, so build a habit of looking at the same features in the same order. When you practice how to use a hand lens for moss identification, your brain starts to recognize patterns before you even name them.
Keep your kit simple, your light controlled, and your notes tied to what you actually saw. Over time, those small observations turn your moss ID tools into a real system instead of a pile of gear.