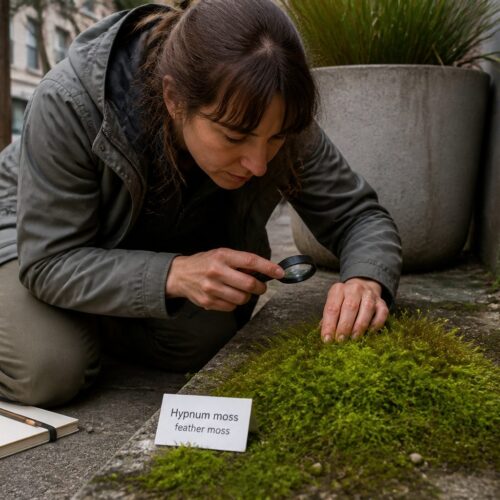
Moss identification in shade vs sun gets weird fast, because the plant you saw yesterday can look like a different species today. Light changes how moss holds water, how quickly it dries, and how hard it has to work to avoid frying.
In cities, that problem gets worse because buildings and pavement create sharp edges between shade and sun. One side of a brick wall can stay damp and green while the other side turns pale, crispy, and compact.
If you want reliable IDs, you have to read moss like a set of clues, not a single snapshot. Color, density, leaf posture, and sporophytes all shift with light, so you need to separate traits from stress.
Why the Same Species Looks Different Under Different Light
Mosses do not have the plumbing that vascular plants use to buffer drought and heat. When light increases, the surface dries faster, and the whole plant changes its posture and pigment to cope.
Shade keeps humidity higher and temperatures lower, so the same species can afford to spread out and stay open. Sun forces a tighter, more defensive growth form, which can trick you during moss identification in shade vs sun.
Even within one patch, micro topography matters, because a millimeter of shelter changes evaporation. A moss tuft tucked into mortar behaves like shade moss traits even if the wall faces south.
Light also changes what else grows there, including algae films, lichens, and tiny liverworts mixed into the mat. Those tagalongs can change the overall color and texture you think belongs to the moss.
I treat sun and shade as two different field sites, even when they are ten feet apart. If I do not, I end up forcing a name onto a stressed specimen and calling it “variation” when it is really just hardship.
Color Shifts: Bright Green, Yellow-Green, and Brownish Tones
Moss color changes are one of the first things people notice, and also one of the least reliable traits when you ignore light. A sun tolerant moss often looks washed out at noon and then turns richer after a soaking rain.
In shade, chlorophyll stays protected by moisture and cooler temperatures, so many species keep a deeper green. In sun, the same shoots can shift to yellow green, olive, or even tan as pigments and leaf surfaces change.
Watch for browning that starts at the tips, because that can mean repeated scorch and rapid drying. Browning that starts at the base can mean burial by dust, dog urine splash, or a mat that is aging out underneath.
Some urban sun pockets create a rusty cast that is not the moss at all, it is iron-rich dust or brick grit ground into the mat. If you rinse a tiny sample in water and the “color” floats off, you just solved a false clue.
When you compare shade and sun, do it after you wet both samples, because dryness exaggerates pale tones. A spray bottle turns “dead” looking sun moss back to green in seconds, and that quick rebound tells you a lot.
Growth density: tight cushions vs. looser mats
Growth density is a practical clue for moss identification in shade vs sun, because it reflects water loss pressure. Sun exposure pushes many species into tight cushions or short, packed turfs that reduce airflow inside the colony.
Shade often allows looser mats, longer stems, and a softer surface that holds dew longer into the morning. The catch is that trampling and sweeping can also compress a mat, so you have to read the site history.
| Trait you notice | More common in sun pockets | More common in steady shade |
|---|---|---|
| Colony shape | Rounded cushions, low turfs | Spreading mats, draping sheets |
| Stem length | Shorter shoots, clipped look | Longer shoots, layered look |
| Surface texture | Firm, bristly, sometimes crusty | Soft, springy, often slick when wet |
| Edge behavior | Sharp edges, patchy borders | Feathered edges, gradual expansion |
| Common confusion | Sun stress mimics a different species | Shade elongation mimics a different genus |
Leaf posture changes: curled dry states and open wet states
Leaf posture is where beginners get burned, because a dry moss can look spiky, wiry, or needlelike. Then you wet it and the same plant relaxes into a flat, leafy texture that screams a different ID.
In sun, drying happens faster, so you see the curled state more often, especially on sidewalks and roof edges. In shade, you catch more open leaves and a smoother outline, which can make shade moss traits look “broader” than they really are.
Some species twist leaves around the stem when dry, creating a ropey look that reads as “hairy” from a distance. That can be a real trait, but it can also be a hydration snapshot that you took at the wrong time.
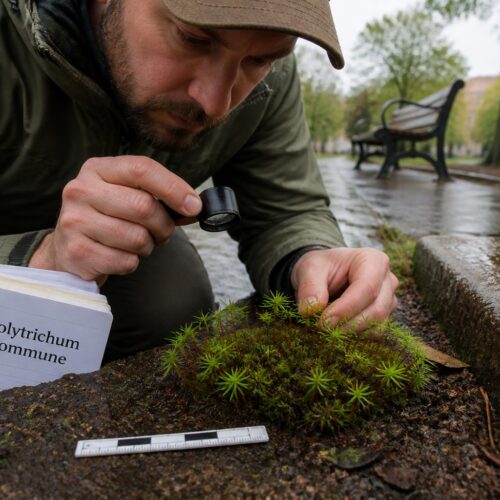
If you carry a hand lens, look for whether the leaf tip is truly long and hairlike, or if it is just a rolled margin making a false point. I have miscalled common sidewalk moss as “haircap” more times than I want to admit because of that trick.
For reliable moss identification in shade vs sun, rehydrate a tiny pinch and watch the change for one minute. A fast, dramatic opening often signals a drought adapted species that lives on sun exposure and quick wetting cycles.
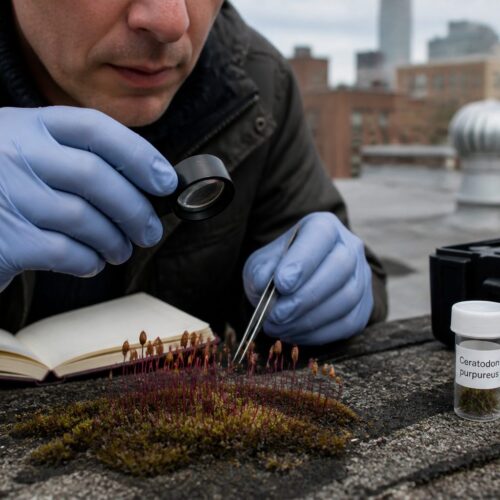
Sporophyte frequency: when light affects what you find
Sporophytes are gold for identification, but light can change how many you see and when you see them. A patch in brighter conditions may produce more capsules in some species, while other species shut down reproduction under stress.
In shade, sporophytes can persist longer because capsules do not desiccate and snap off as quickly. In sun, you may get a short window where capsules mature fast, then disappear after wind and heat do their work.
Urban maintenance also skews what you find, because a sunny curb gets weed whacked and swept more often than a shaded courtyard corner. That human factor can look like a biological pattern if you do not notice the scuffed substrate.
If you are hunting sporophytes, check the edges of the colony where stems are younger and less buried by dust. Capsules often stand above the mat there, especially after a rain that lifts the leaves and makes stalks easier to spot.
I keep a mental note of the last soaking rain, because sporophytes are easier to see when the gametophyte is plump. Dry mats swallow their own stalks, and that makes a fertile species look sterile.
Heat and wind effects in urban sun pockets
Urban sun pockets are not “natural sun,” they are heat traps with extra wind tunnels between buildings. The moss experiences hotter surfaces, faster evaporation, and more mechanical drying than it would on a forest rock.
That is where sun tolerant moss earns its reputation, because it can handle repeated bake and rewet cycles. You often see compact colonies on concrete, asphalt edges, rooftop gravel, and the top course of brick walls.
Wind matters because it strips the boundary layer of humid air that moss relies on. A breezy corner can turn a “sun” site into an extreme site, even if it only gets a few hours of direct light.
Heat also changes chemistry on the surface, because salts concentrate as water evaporates. That is why patches near road splash or de-icing runoff often look scorched and brown, and moss color changes there can be misleading.
If you want to cultivate moss in the city, do not copy the harshest sun pocket you can find and expect it to work in a tray. Those spots select for survivors, and your new transplant will crash unless you match the moisture rhythm.
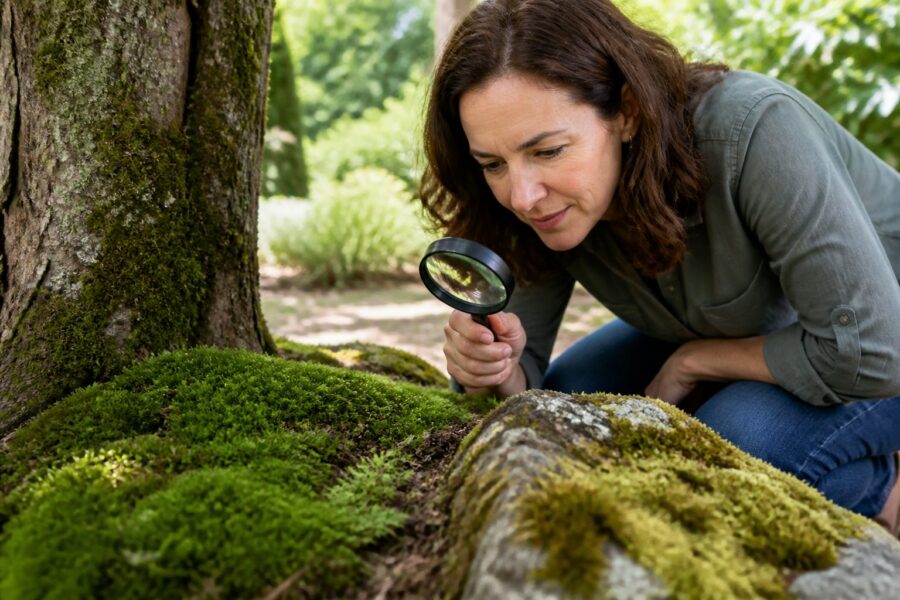
Shade microclimates: drip lines, courtyards, and under shrubs
Shade is not one thing, because a drip line under a roof behaves differently than shade under a hedge. The best shade moss traits show up where humidity stays high and the surface gets frequent light misting or runoff.
Courtyards can be sneaky because they look shaded but still get bright reflected light off pale walls. That reflected glare can push moss toward sunlike forms while the air stays cool, which confuses moss identification in shade vs sun.
Under shrubs, the main driver is interception, because leaves catch rain and deliver it as slow drip at the branch tips. Moss often forms arcs or bands that trace those drip points, and the pattern itself becomes an ID clue for site conditions.
In deep shade, moss can stretch, producing longer stems and wider spacing between leaves. That elongation can resemble a different species if you only learned the “field guide” look from sun exposed sidewalk samples.
If you are scouting for cultivation stock, shaded mortar and shaded stone steps often give the cleanest, least salt stressed material. I avoid shaded soil under dense shrubs because it is usually mixed with algae and fine grit that is hard to separate.
How to avoid ID errors caused by stress and drying
Most ID errors happen when you treat stress signals as taxonomy. Drought curl, sun bleaching, and dust coating can make common species look “rare” if you want the story more than the evidence.
The fix is simple but not glamorous, you rehydrate and you slow down. A small vial of water or a spray bottle lets you see the true leaf shape instead of the emergency posture.
- Rewet a small sample and wait 60 seconds
- Check the same patch in morning and late afternoon
- Look for clean shoots inside the colony, not just the crusty edge
- Note substrate type, brick, concrete, bark, or soil
- Scan for salt burn near roads and sidewalks
- Use a hand lens to confirm leaf tip and margin behavior
A side-by-side comparison method you can do in one walk
If you want to get good at moss identification in shade vs sun, pick one common species and chase it across light conditions. Sidewalk cracks, tree bases, and brick walls often host the same species in multiple exposures within a single block.
Start in full shade and take a close look at color, leaf openness, and how far the mat spreads. Then walk to the nearest sunny patch on the same substrate, because substrate changes can swamp the light signal.
Wet both patches, even if you only use a few drops, and watch which one changes faster. Fast opening in the sun patch often means the colony lives in a rapid pulse cycle, while the shade patch may stay open longer.
Use your phone camera as a measuring tool by shooting from the same distance each time. Consistent framing makes it easier to compare density and colony edge shape later, instead of relying on memory.
Do not ignore the in-between zones like dappled shade under a street tree. Those transition spots often show mixed traits, and they teach you what stress looks like before it becomes full bleaching or dieback.
Note-taking prompts that capture light conditions clearly
Most field notes say “shade” or “sun” and then wonder why the ID falls apart later. Light is a moving target, so you need a few concrete prompts that describe what the moss actually experienced.
I write down direction, time, and whether the light was direct, reflected, or filtered through leaves. That small habit makes moss color changes make sense when I review photos days later.
Record how long the site stays wet after rain, even if you can only estimate based on stains and dampness. A shaded spot that dries in an hour behaves more like sun than like a protected courtyard corner.
Note nearby heat sources like asphalt, dark metal fences, dryer vents, and south facing brick. Those things change temperature without changing “sunny” on a weather app.
Finally, write one sentence about disturbance, such as foot traffic, sweeping, irrigation overspray, or dog routes. Those details explain why a sun tolerant moss might look shredded, while the same species in shade looks plush and intact.
Conclusion
Moss identification in shade vs sun works best when you treat light as a force that edits the moss in real time. Once you expect color shifts, density changes, and posture tricks, your IDs get calmer and more accurate.
Use rehydration, side by side comparisons, and notes that describe actual exposure instead of vague labels. When you do that, shade moss traits and sun tolerant moss traits stop being contradictions and start being useful clues.
Urban moss is honest about its conditions, but it speaks in stress responses first and species traits second. Read both, and moss color changes become a guide instead of a trap.