Moss spreads best when it has something to grab, not when it has something to eat. A moss propagation substrate mix is mostly about texture, moisture, and stability, so the fragments you choose matter more than any fertilizer plan.
If you have ever watched a fresh slurry slide off a smooth pot or a stone, you already know the problem. Moss needs a fine, gritty landing pad that stays damp and stays put long enough for rhizoids to anchor.
Urban growers deal with extra variables like heat from walls, wind tunnels between buildings, and hard tap water that slowly pushes pH upward. The good news is that you can build a moss growing medium that behaves predictably with cheap, easy materials.
What a substrate does for moss (and what it doesn’t do)
A substrate gives moss a place to attach, and attachment is the whole game in early propagation. If the moss cannot hold, it dries faster, shifts in rain, and breaks into patches that never knit together.
The substrate also buffers moisture by holding a thin film of water between particles. That film keeps moss hydrated even when the surface looks dry to you.
What the substrate does not do is feed moss the way potting soil feeds tomatoes. Moss gets most of its nutrients from dust, rainwater, and whatever dissolves off nearby surfaces.
If you pack in compost and expect faster growth, you usually get algae, fungus gnats, and a sour smell instead. Moss tolerates low nutrients, and many species prefer it.
Think of your moss propagation substrate mix like sandpaper, not like fertilizer. You are building a stable, slightly rough surface that stays damp without turning into mud.
Texture matters most: building a surface moss can grip
Moss rhizoids are not roots, but they still need crevices and micro pockets to wedge into. A fine texture substrate with mixed particle sizes gives you that, because small grains fill gaps while larger grains keep airflow.
When the surface is too smooth, moss mats shrink as they dry and peel like a sticker. When the surface is too fluffy, the moss settles unevenly and the top dries before it can attach.
I prefer mixes that feel like gritty flour when you rub them between wet fingers. You want a little drag, not slick mud and not chunky gravel.
Fine mineral particles also help your slurry stay where you painted it. If you are doing plug planting, that same fine grit lets you press the plug in and get real contact.
Texture is also your best defense against crusting. A crust forms when clay or peat dries into a hard sheet, and moss hates that because it blocks water from soaking back in.
pH and minerals: keeping conditions friendly without chasing perfection
Most common nursery and urban mosses tolerate a range, but many spread faster on an acidic substrate for moss in the mild zone around pH 5 to 6.5. The bigger issue is consistency, because wild swings from alkaline water or concrete dust can stall growth.
Minerals matter because some substrates leach salts or lime that push pH up over time. If your moss is browning at the edges while the center stays green, I often suspect drying plus alkalinity rather than a nutrient shortage.
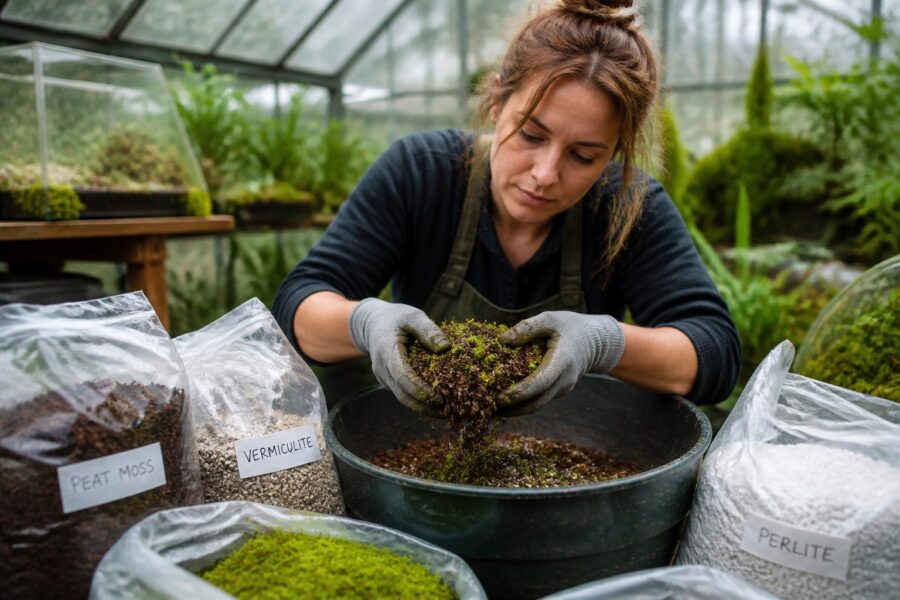
| Substrate component | Typical pH influence | Notes for moss propagation |
|---|---|---|
| Sphagnum peat (small %) | Lowers pH | Use sparingly to avoid sour, airless mix |
| Pine bark fines | Slightly lowers pH | Good texture, rinse if dusty |
| Crushed granite or decomposed granite | Mostly neutral | Great grit, holds a thin water film |
| Crushed limestone or marble chips | Raises pH | Avoid unless growing calcicole mosses on purpose |
| Concrete sand or mortar sand | Often raises pH | Can carry lime dust, wash well before use |
Simple substrate recipes for containers and small nursery setups
For trays and pots, I like a base that stays damp but does not collapse. A practical moss propagation substrate mix is two parts decomposed granite, one part pine bark fines, and one part screened coco coir.
If you cannot find decomposed granite, use washed coarse sand plus a smaller amount of granite grit sold for poultry or traction. Keep the top layer fine so your fragments do not sink into voids.
For species that like a smoother bed, such as many sheet mosses used in terrariums, sift the mix through a 1/8 inch screen. That step makes the surface more uniform and helps the moss knit faster.
For cushion mosses and haircap types, leave a little more grit and a few bark specks. They often attach better when there are tiny ridges to lock onto.
Skip slow release fertilizer in propagation containers, even if it feels wrong to leave it out. If you want to add something, a light dusting of crushed leaf mold under the mineral layer is safer than mixing rich organics through the whole profile.
Low-mess mixes for indoor propagation
Indoor propagation is where you pay for mess, because fine particles end up in sinks, humidifiers, and carpet. A low mess moss growing medium usually leans mineral, because minerals rinse clean and do not float around as brown scum.
My go to indoor mix is washed granite grit blended with a small amount of coco coir that you pre hydrate and squeeze hard. The coir adds moisture buffering, and the grit keeps the surface open so it does not go anaerobic.
If you want an even cleaner setup, use a thin cap of akadama dust or bonsai soil fines over the grit. That cap gives you a fine texture substrate for attachment, and it keeps the larger grains from showing through thin moss.
Indoor moss hates stagnant air, so I avoid peat heavy mixes that stay wet and sour. If you smell anything earthy in a bad way, you already have too much organic matter for a closed container.
Use distilled or rainwater if your tap water is hard, because indoor setups concentrate minerals as water evaporates. If you must use tap water, flush the tray once a month until water runs clear from the drain holes.
Outdoor mixes that resist drying and erosion
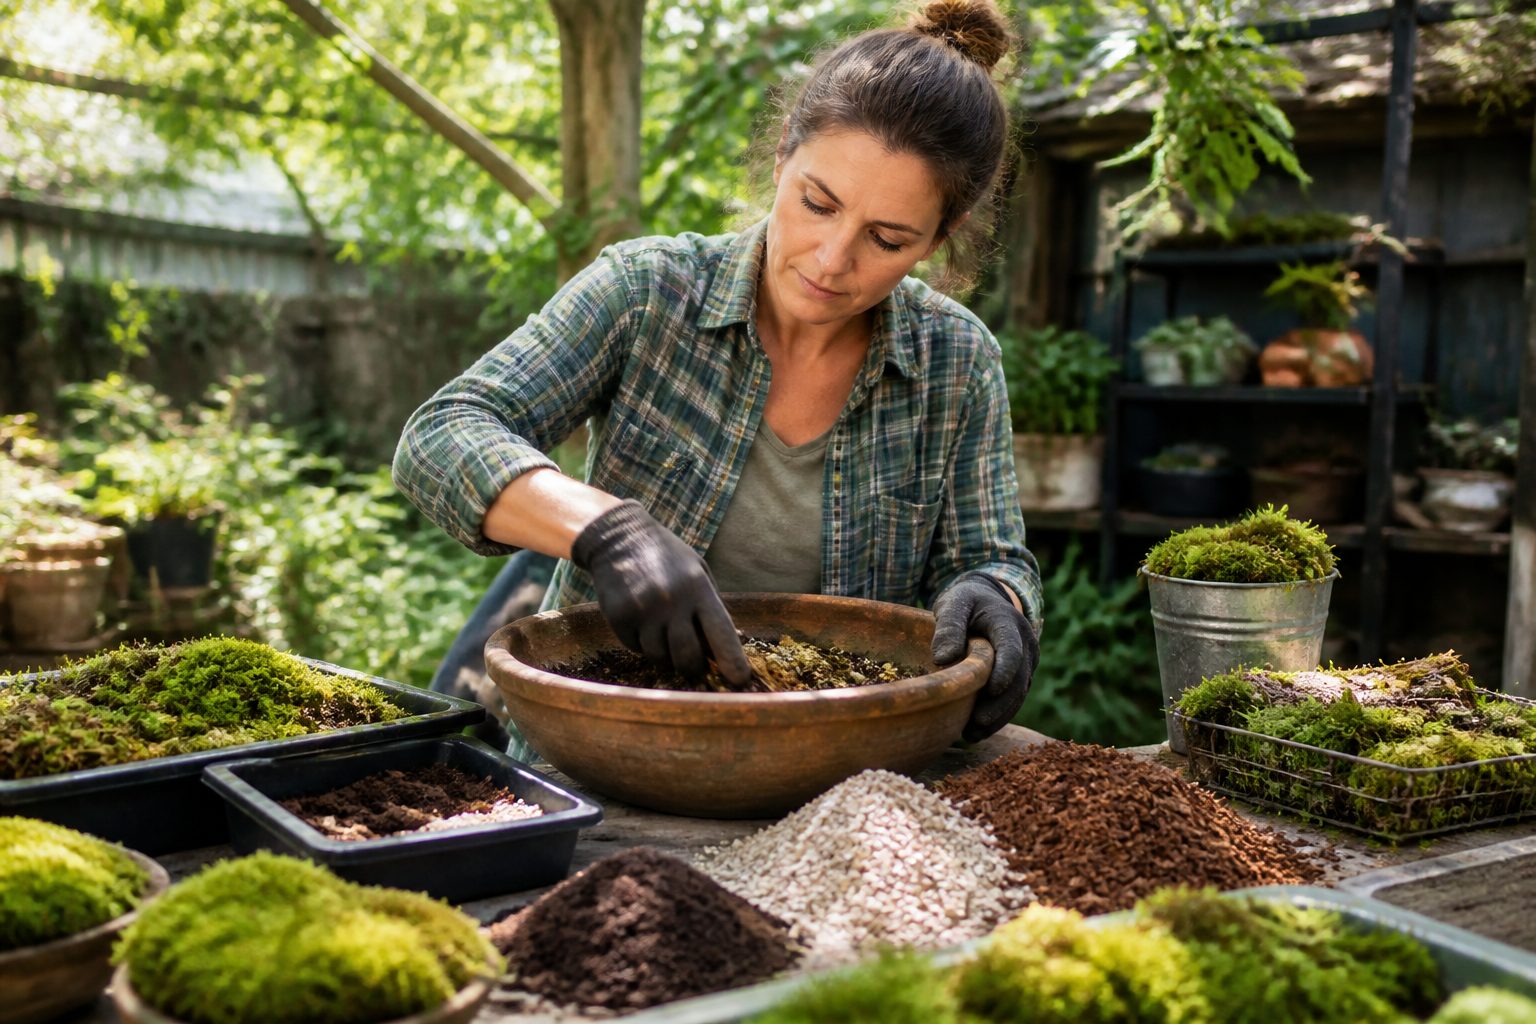
Outdoors, your mix needs weight so it does not wash away in the first storm. It also needs some sponge, because wind and sun can pull moisture out fast even in a shady courtyard.
A reliable outdoor moss propagation substrate mix is two parts screened topsoil mineral fraction, one part decomposed granite, and one part pine bark fines. Screen the topsoil through 1/8 inch mesh to remove sticks and big organic chunks.
If you are working on slopes or berms, add a small amount of clay fines or calcined clay to help the mix knit. Too much clay turns into a slick seal, so keep it under about ten percent by volume.
On windy rooftops, I like to top dress with a thin layer of granite screenings after you place the moss. That top dressing pins fragments down and reduces splash erosion from hard rain.
Outdoor mixes also benefit from shade cloth during the first month, even if the site is technically shaded. Early establishment fails more from drying cycles than from cold, at least in most city microclimates.
When to use sand, fines, or crushed stone (and when not to)
Sand is useful when you need drainage and a gritty tooth, but the type matters. Washed concrete sand works, yet unwashed sand often carries lime dust that pushes you away from an acidic substrate for moss.
Fines are the secret ingredient for fast fill in, because they create a continuous surface film of moisture. If your mix is all coarse particles, moss bridges gaps slowly and you get patchy growth for months.
Crushed stone is good as a base layer for stability, but it is a poor top layer for propagation. Moss fragments fall between stones, dry out, and disappear unless you cap the stone with a fine texture substrate.
A common mistake is using aquarium gravel or decorative pebbles and expecting moss to carpet them. You can grow moss over gravel, but you need a fines layer or a mud like slurry that hardens into place.
If you are trying to mimic rock moss on boulders, use screenings, not gravel. Screenings lock together, and that locked surface stays stable long enough for rhizoids to do their slow work.
Using organic components safely: avoiding rot and fungus problems
Organic matter is tempting because it holds water, but it can turn against you fast. In moss propagation, rot usually starts when organics stay wet with no airflow and the mix turns sour.
If you use organics, keep them fibrous and low nutrient, like pine bark fines or rinsed coco coir. Avoid compost, manure, and worm castings, because they feed algae and molds that smother young moss.
Leaf mold can work, but only when it is fully broken down and screened fine. I treat it like a seasoning, not like the main course, and I still cap it with mineral grit.
Fungus problems often show up as white fuzz on the substrate before the moss attaches. When that happens, increase airflow, reduce misting frequency, and scrape off the worst patches rather than spraying random fungicides.
Gnats are another warning sign, because they love wet organics. If you see them, switch to a more mineral moss growing medium and let the surface dry slightly between misting cycles.
How thick should the substrate layer be for reliable establishment
Thickness depends on where you are growing, but most propagation fails because the layer is too thin to stay evenly damp. For trays and shallow pans, I like at least 3/4 inch of mix, with a finer top 1/4 inch.
If you are coating a stone or a vertical surface, thickness becomes a different problem because weight makes it slump. In that case, build a thin paste of fines and clay, then press moss into it and top dust with screenings.
For outdoor beds, 1.5 to 2 inches is a comfortable target. That depth gives moisture storage and a buffer against heat spikes from paving and brick.
Do not bury moss under substrate, because moss needs light and airflow at the surface. You want contact, not coverage, so press it down firmly and leave it exposed.
If your site has aggressive weeds, a thicker mineral layer also buys you time. Moss can fill in slowly, and weeds exploit bare spots fast when the substrate is rich and deep.
Testing your mix with a small trial patch before scaling up
Before you spread a new moss propagation substrate mix across a whole roof tray or courtyard bed, test a patch you can watch daily. A two square foot trial tells you more than any recipe, because your water, light, and wind are the real variables.
Make two or three mini plots with small tweaks, like more fines in one and more grit in another. Keep the moss source the same so you are comparing the substrate, not the species mix.
Track simple signs, like how quickly the surface dries after misting and whether fragments shift after rain. If the surface crusts or cracks, your fine texture substrate is too clay heavy or too peat heavy.
Look for attachment, not greenness, because moss can stay green while it is still loose. I do a gentle fingertip tug after two weeks, and I want resistance, not a mat that slides.
If a plot grows algae faster than moss, pull back on organics and reduce nutrient inputs from runoff. Algae is a sign that your moss growing medium is acting like potting soil, and moss usually loses that competition.
Conclusion
The best substrate for moss propagation is boring on purpose, because moss wants stability, moisture film, and a gritty grip. Build your moss propagation substrate mix around fine mineral particles, then add just enough organic fiber to slow drying.
Keep pH friendly by avoiding lime dust and rich compost, and do not obsess over perfect numbers. If you can maintain an acidic substrate for moss with consistent water quality, you will usually see faster fill in than you get from any additive.
Start with a small trial, adjust texture first, and only then change ingredients. When your mix stays put and stays evenly damp, moss does what it always does, it creeps, stitches, and quietly takes over.
- Pre wash sand and grit to remove lime dust
- Cap coarse bases with a fines rich top layer
- Keep organics low nutrient and low percentage
- Aim for a gritty, rubs like flour surface texture
- Trial patches before full bed installation

